


Architect: Doug Carrick (2001)
#41 - SCOREGolf Top 100 Golf Courses in Canada
#17 - SCOREGolf Top 59 Canadian Public Courses

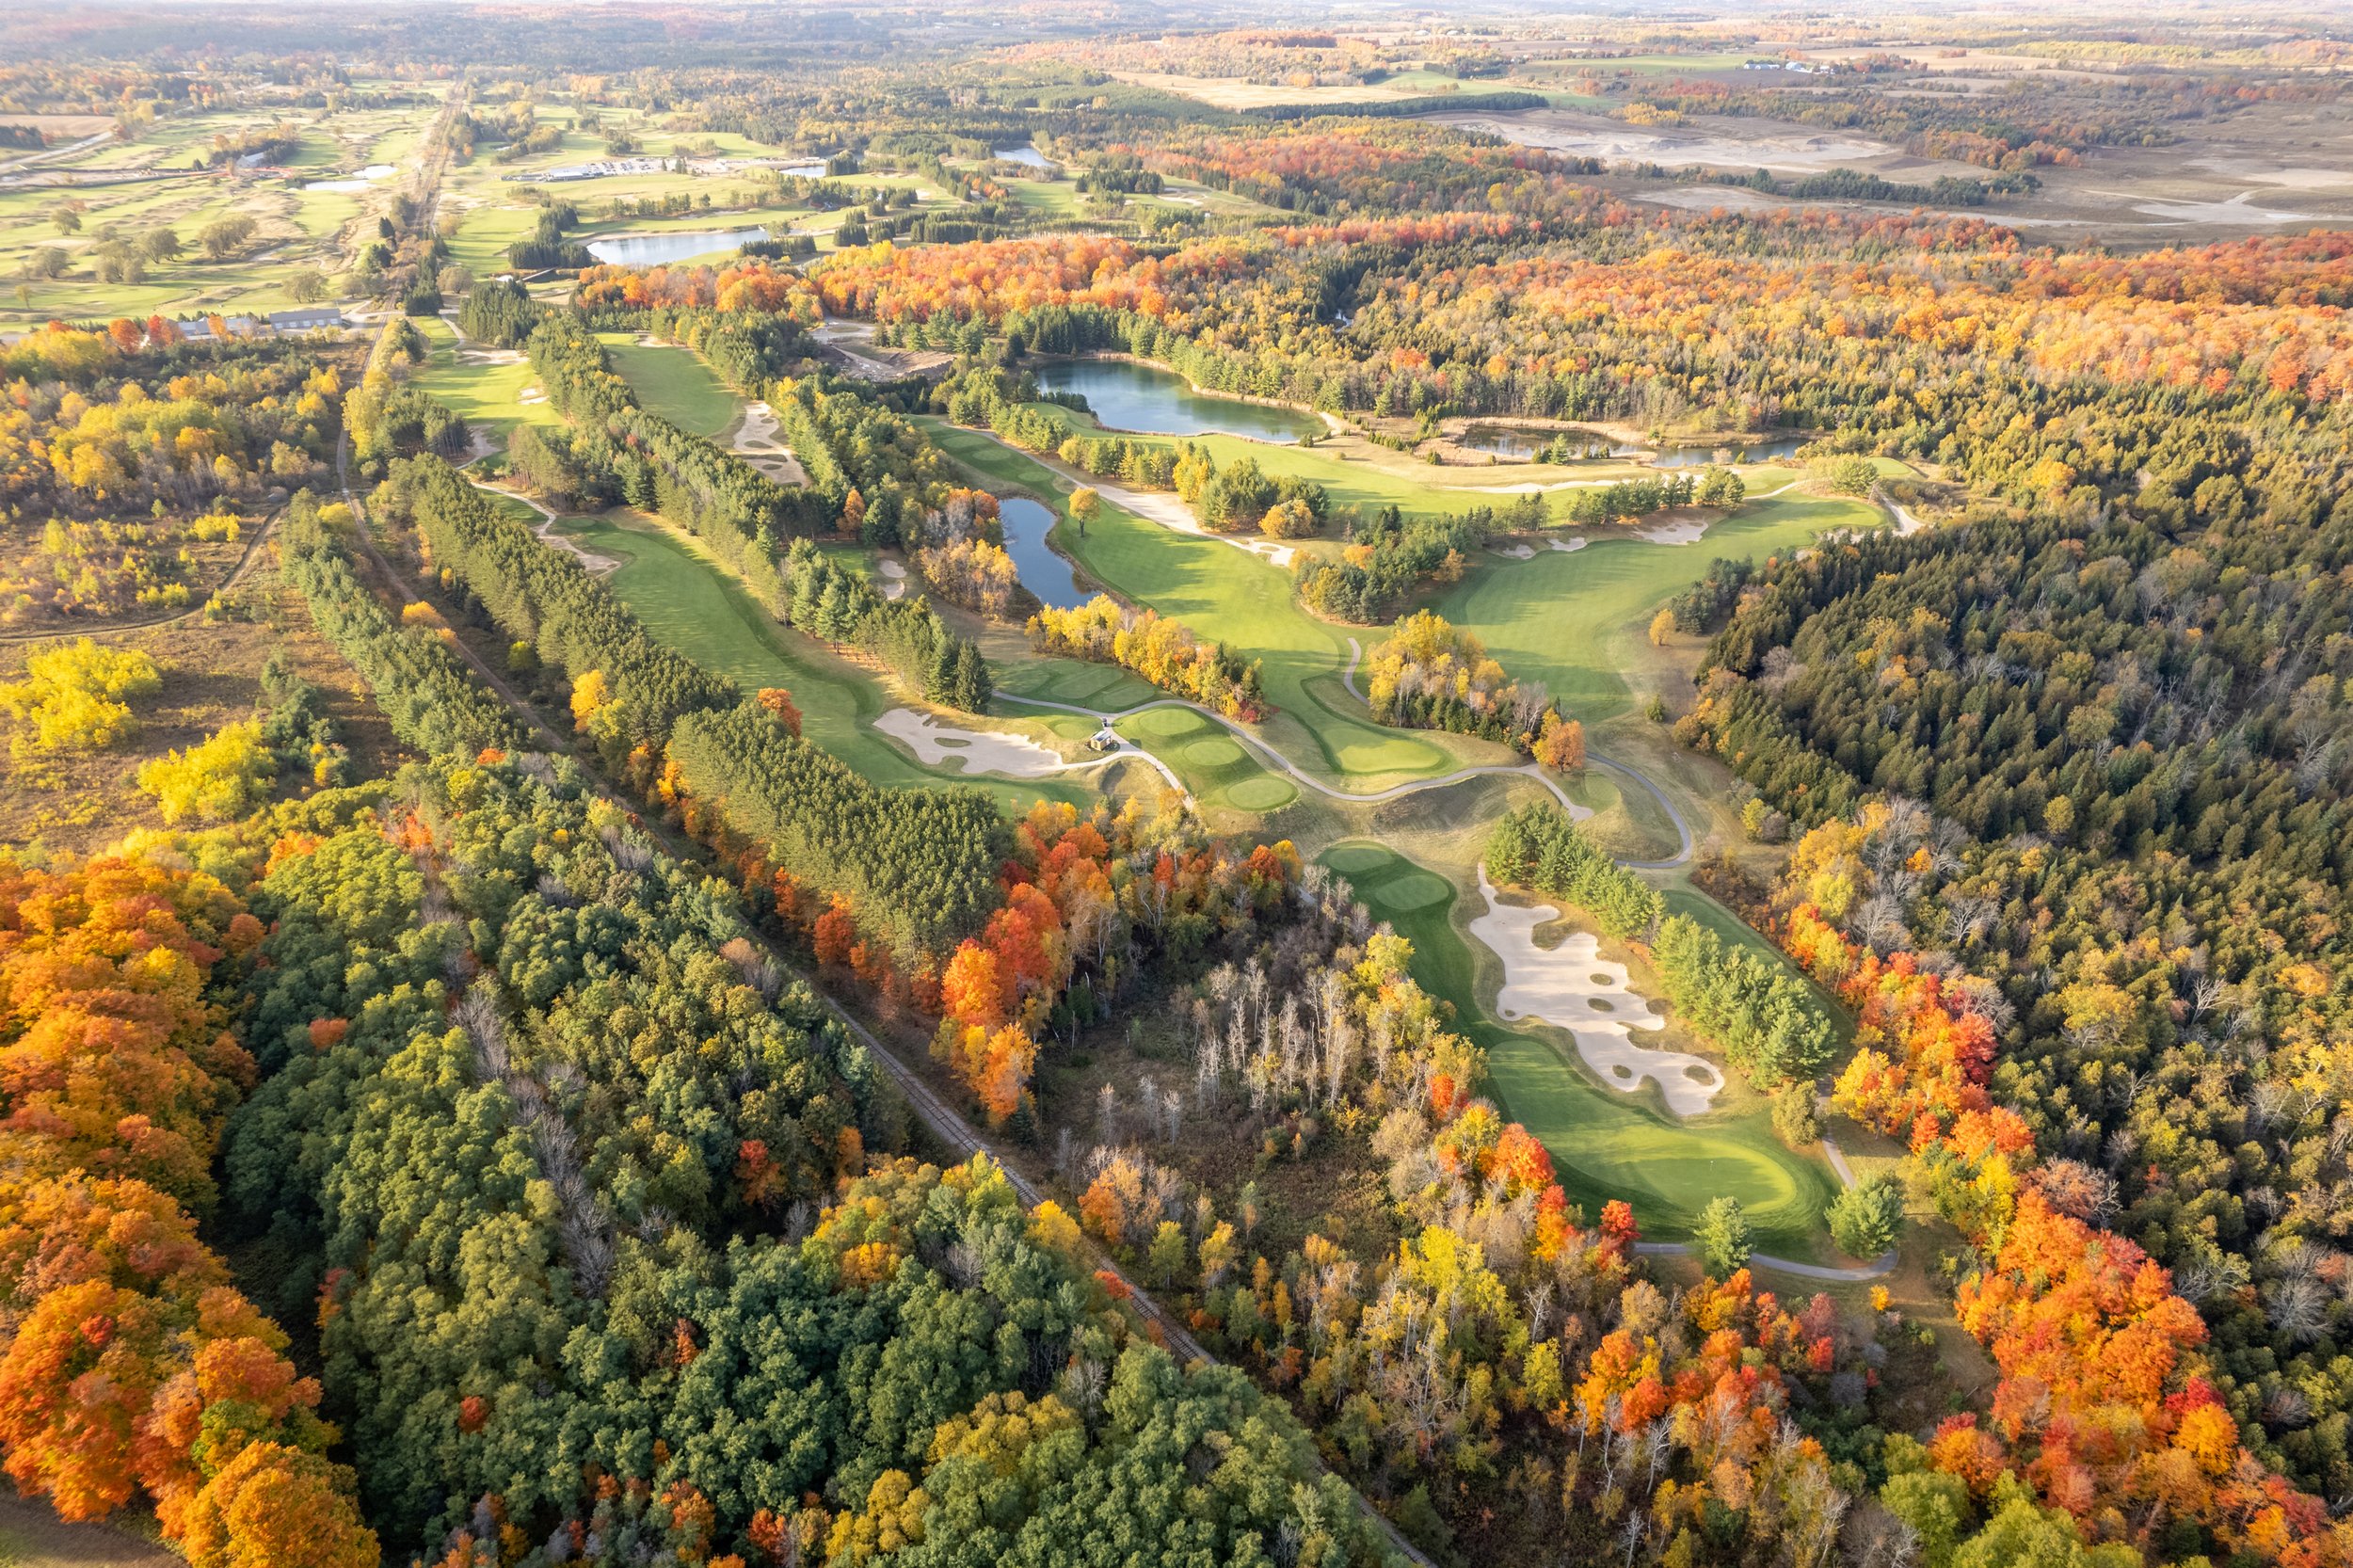
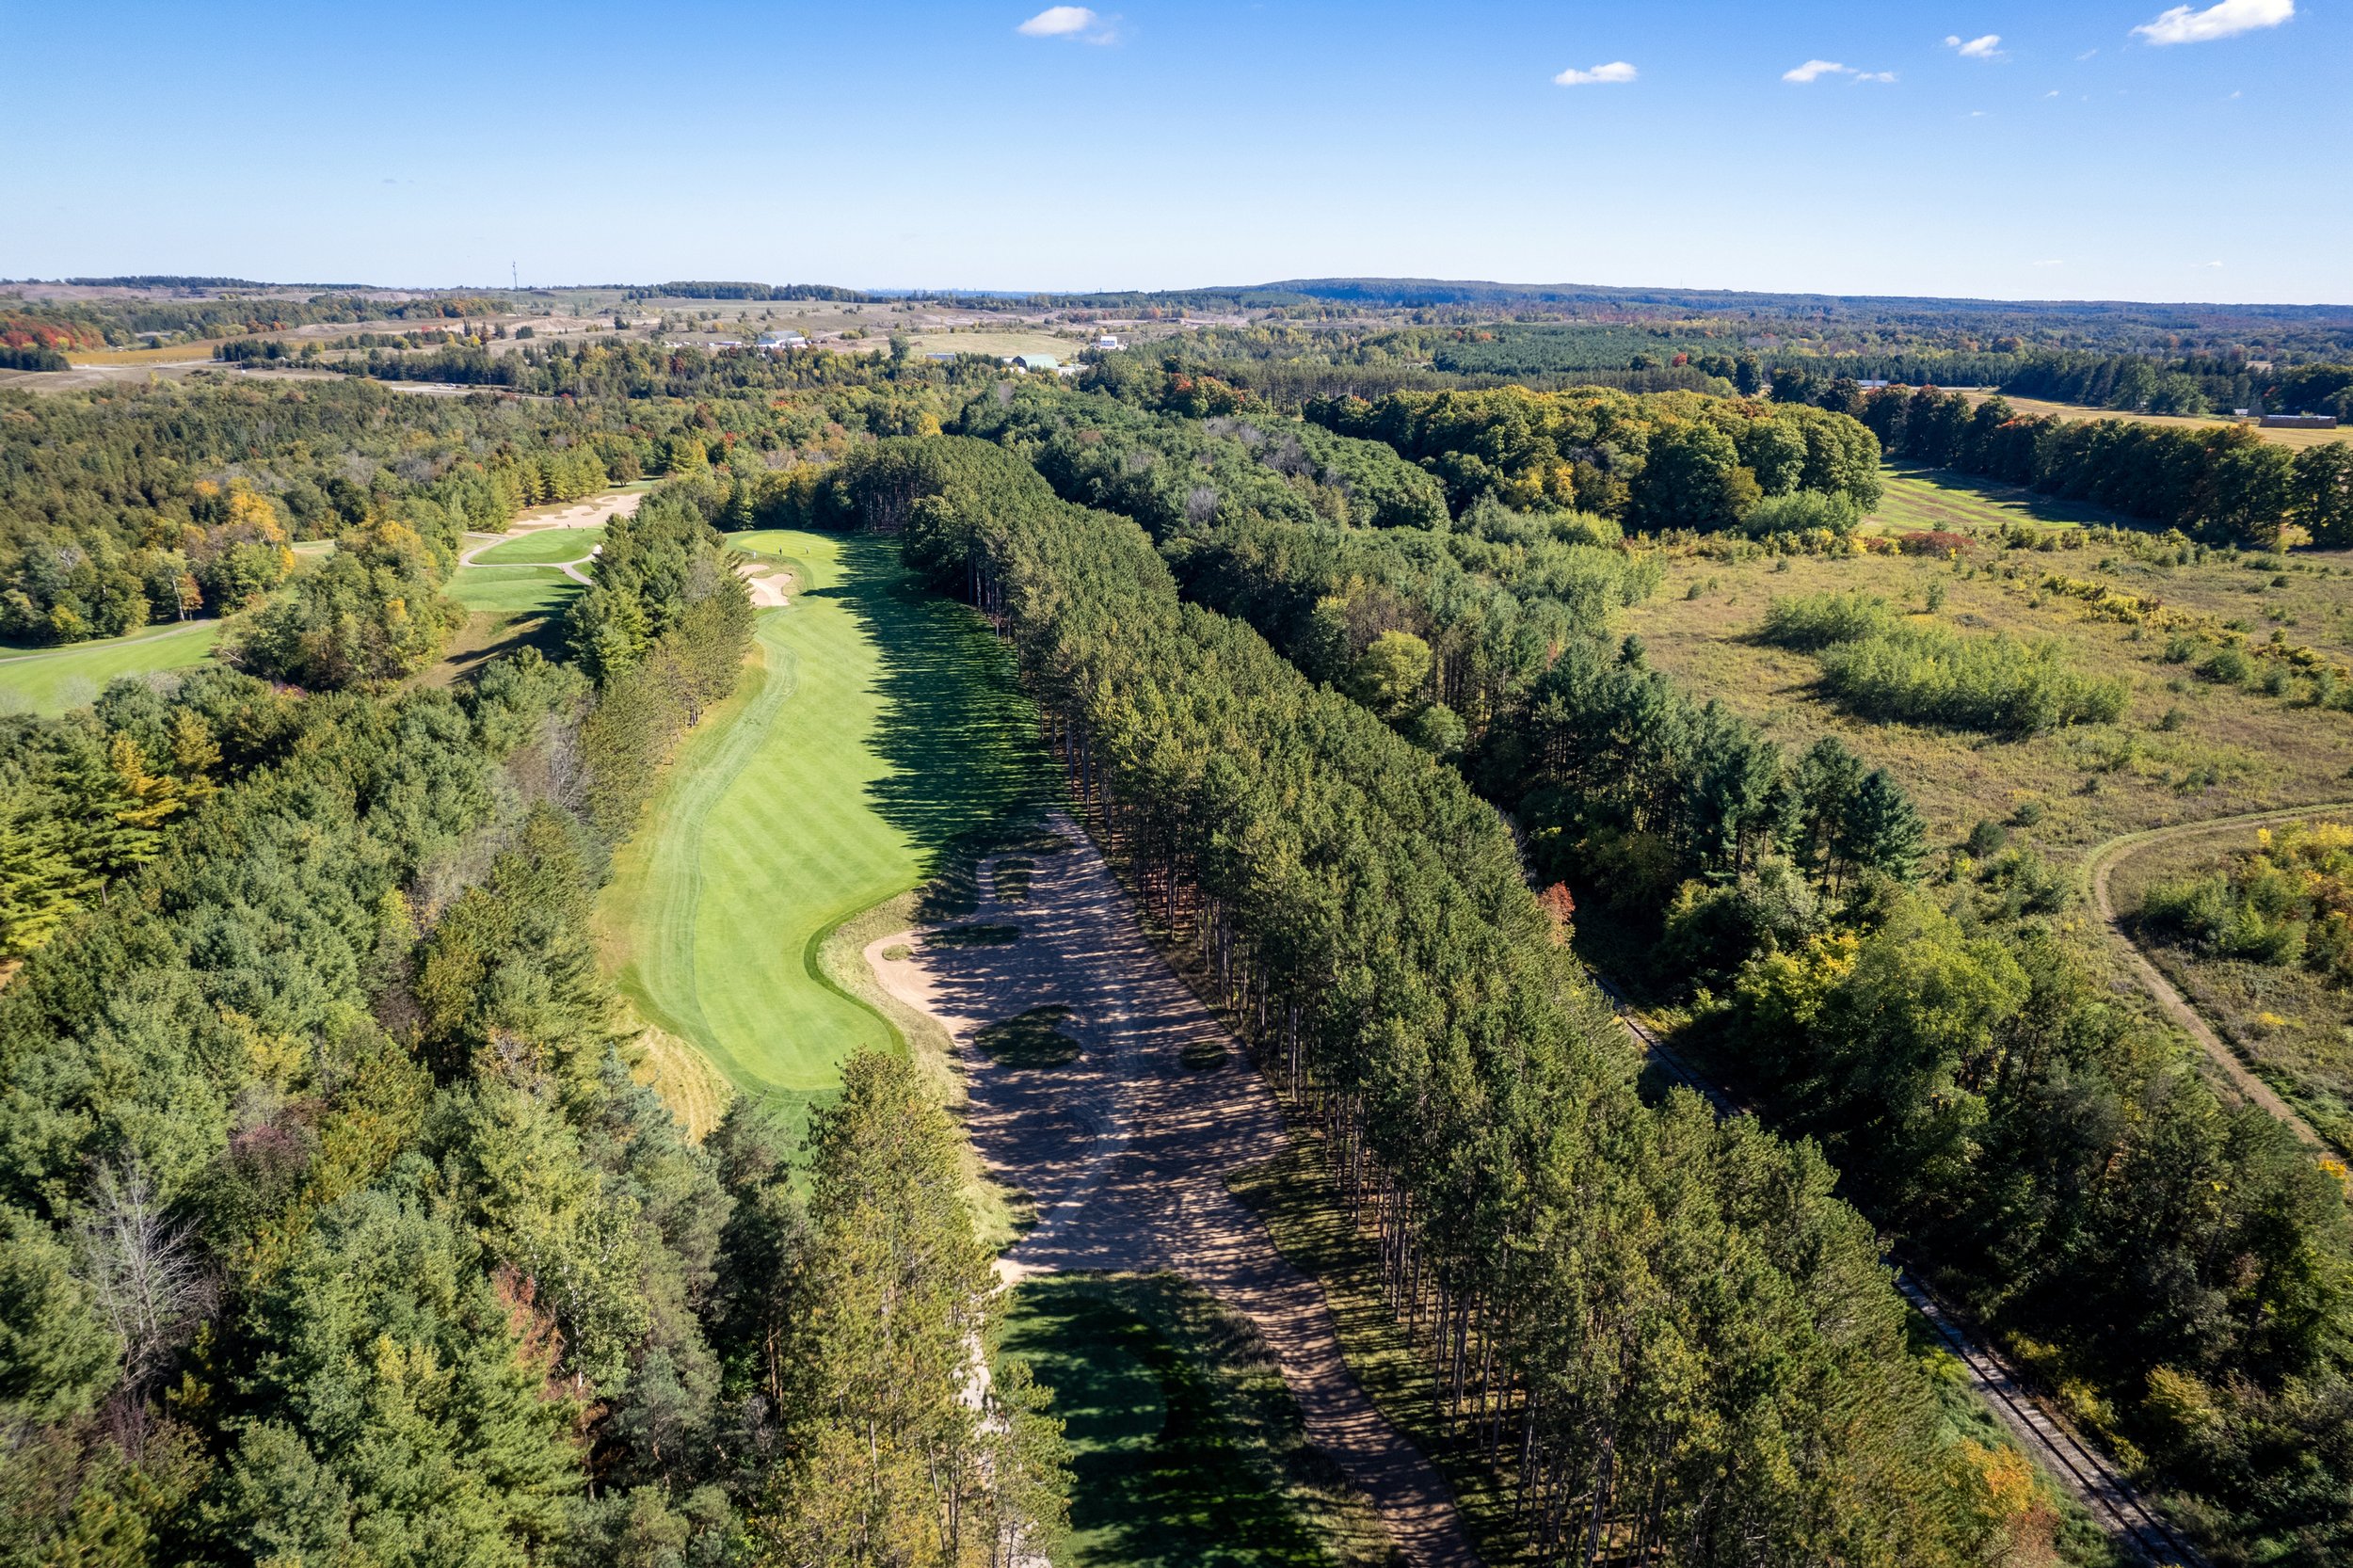
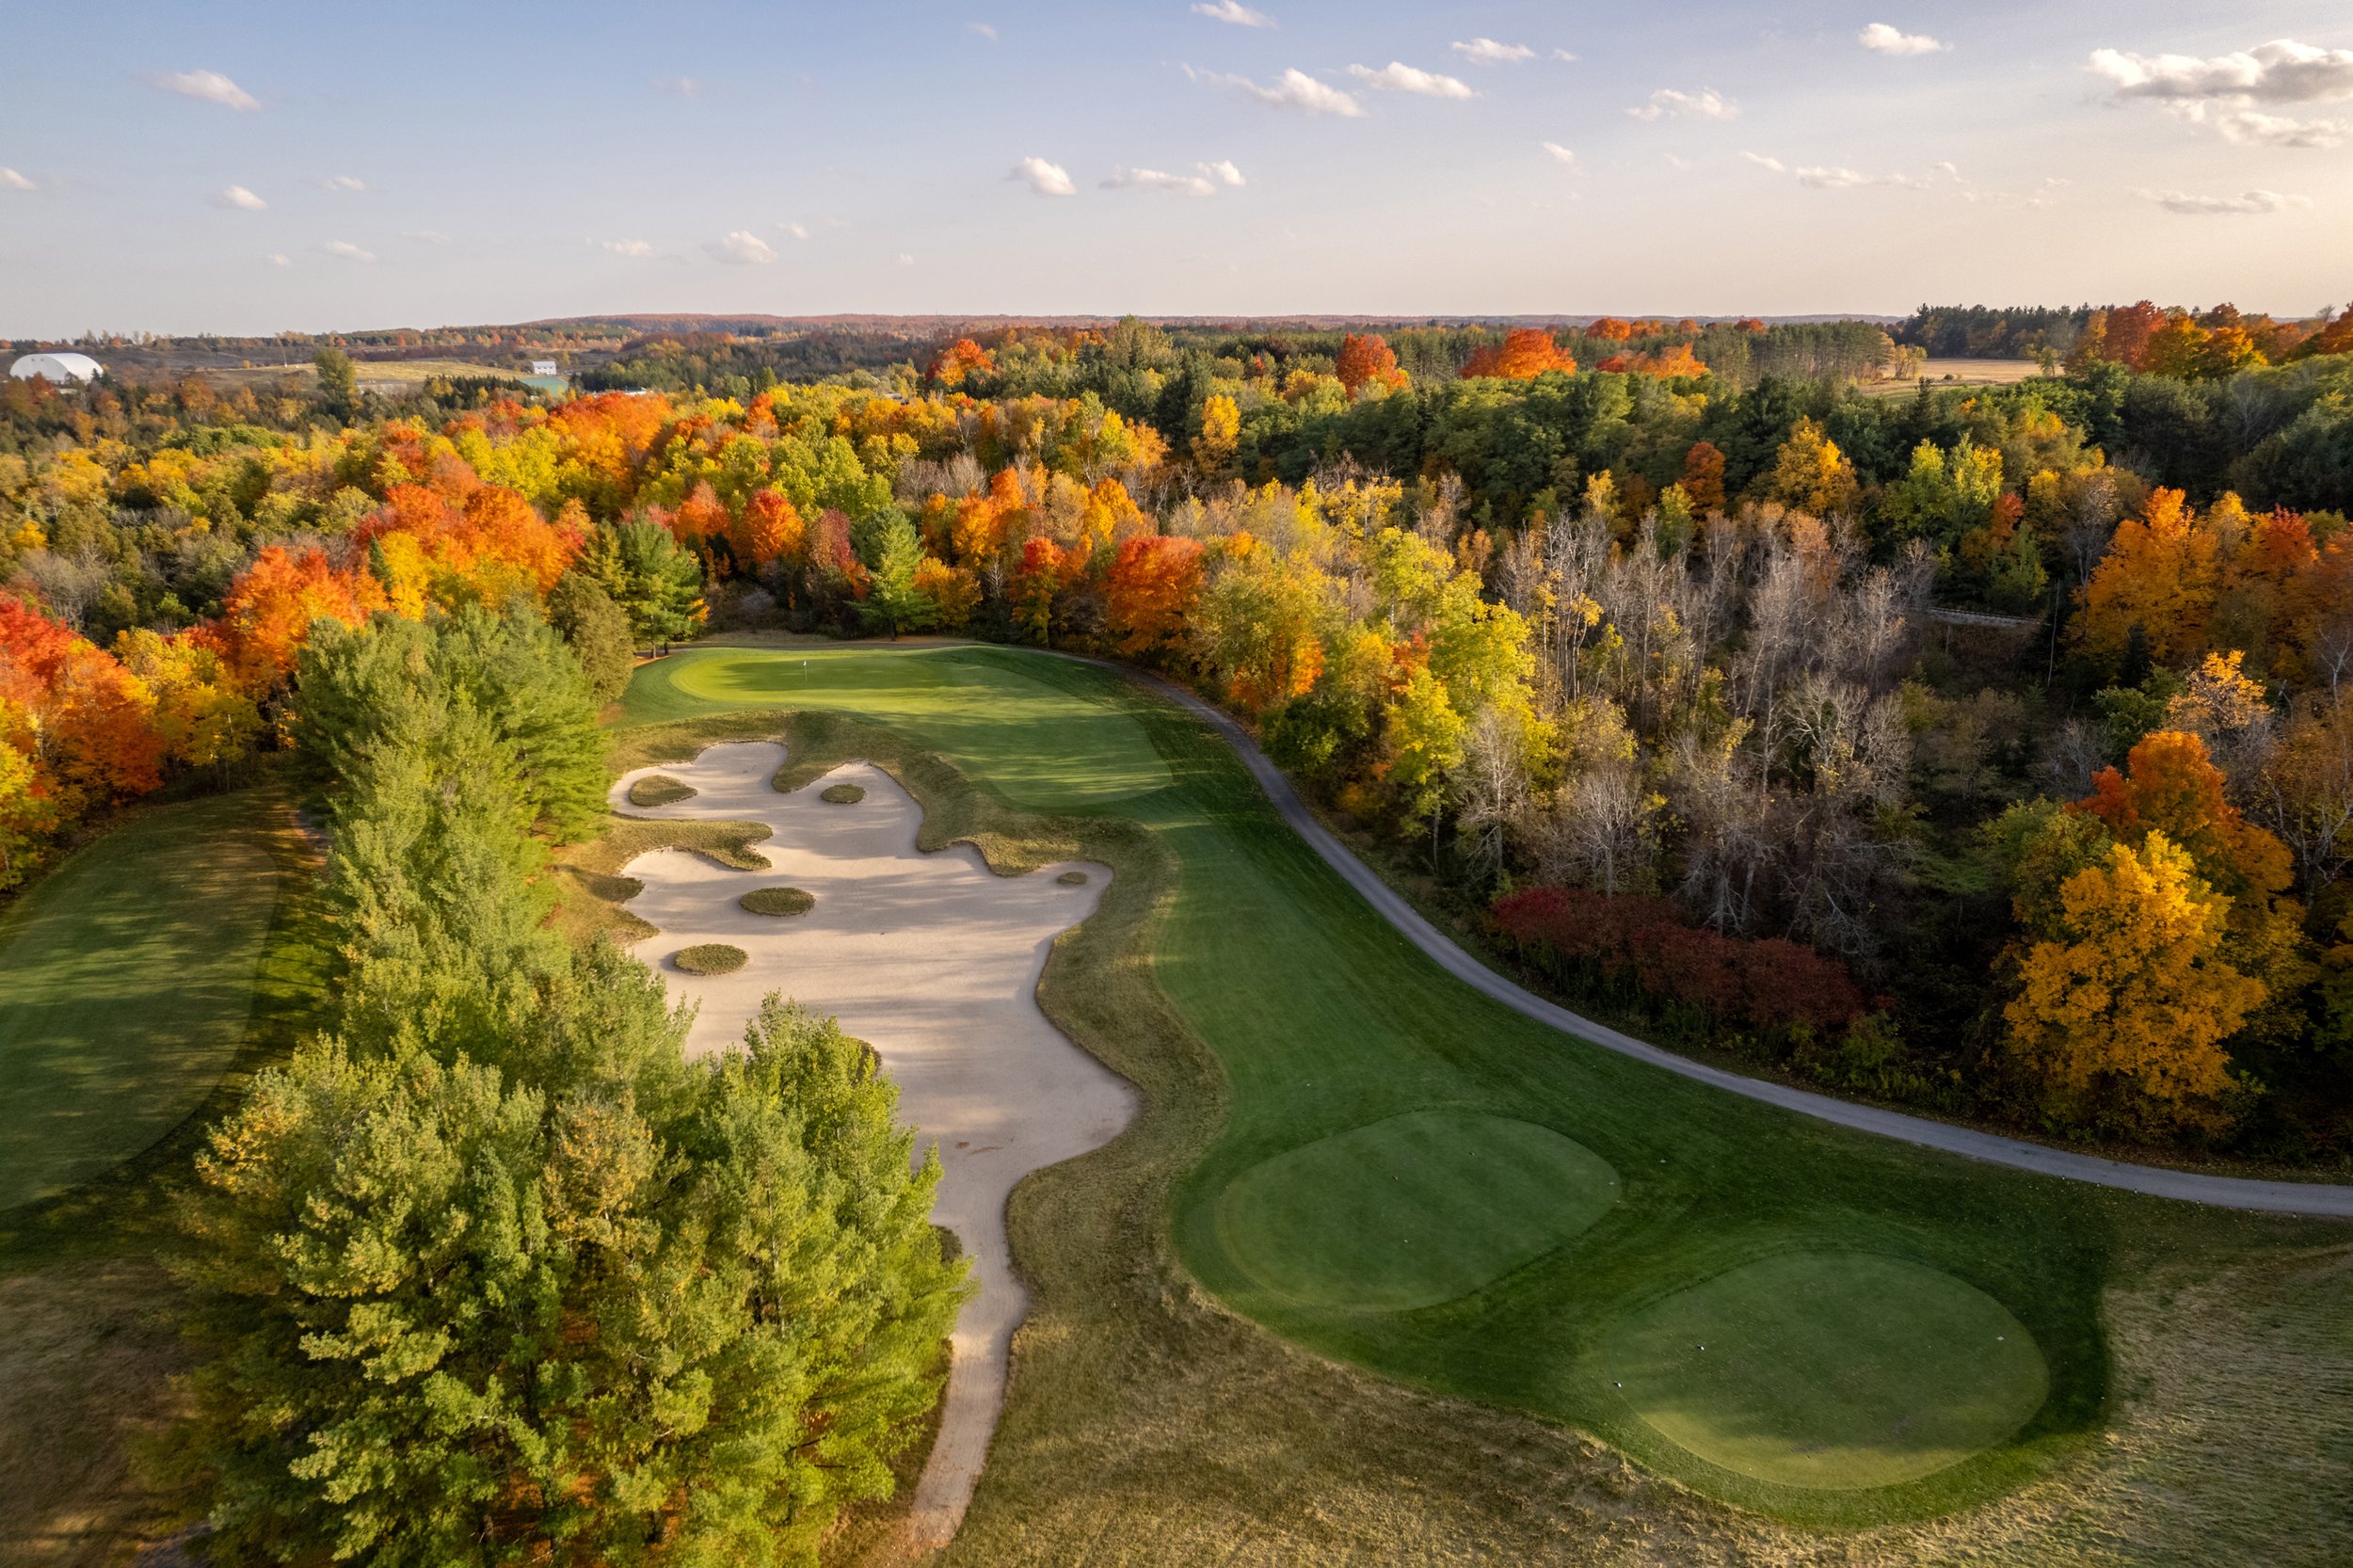
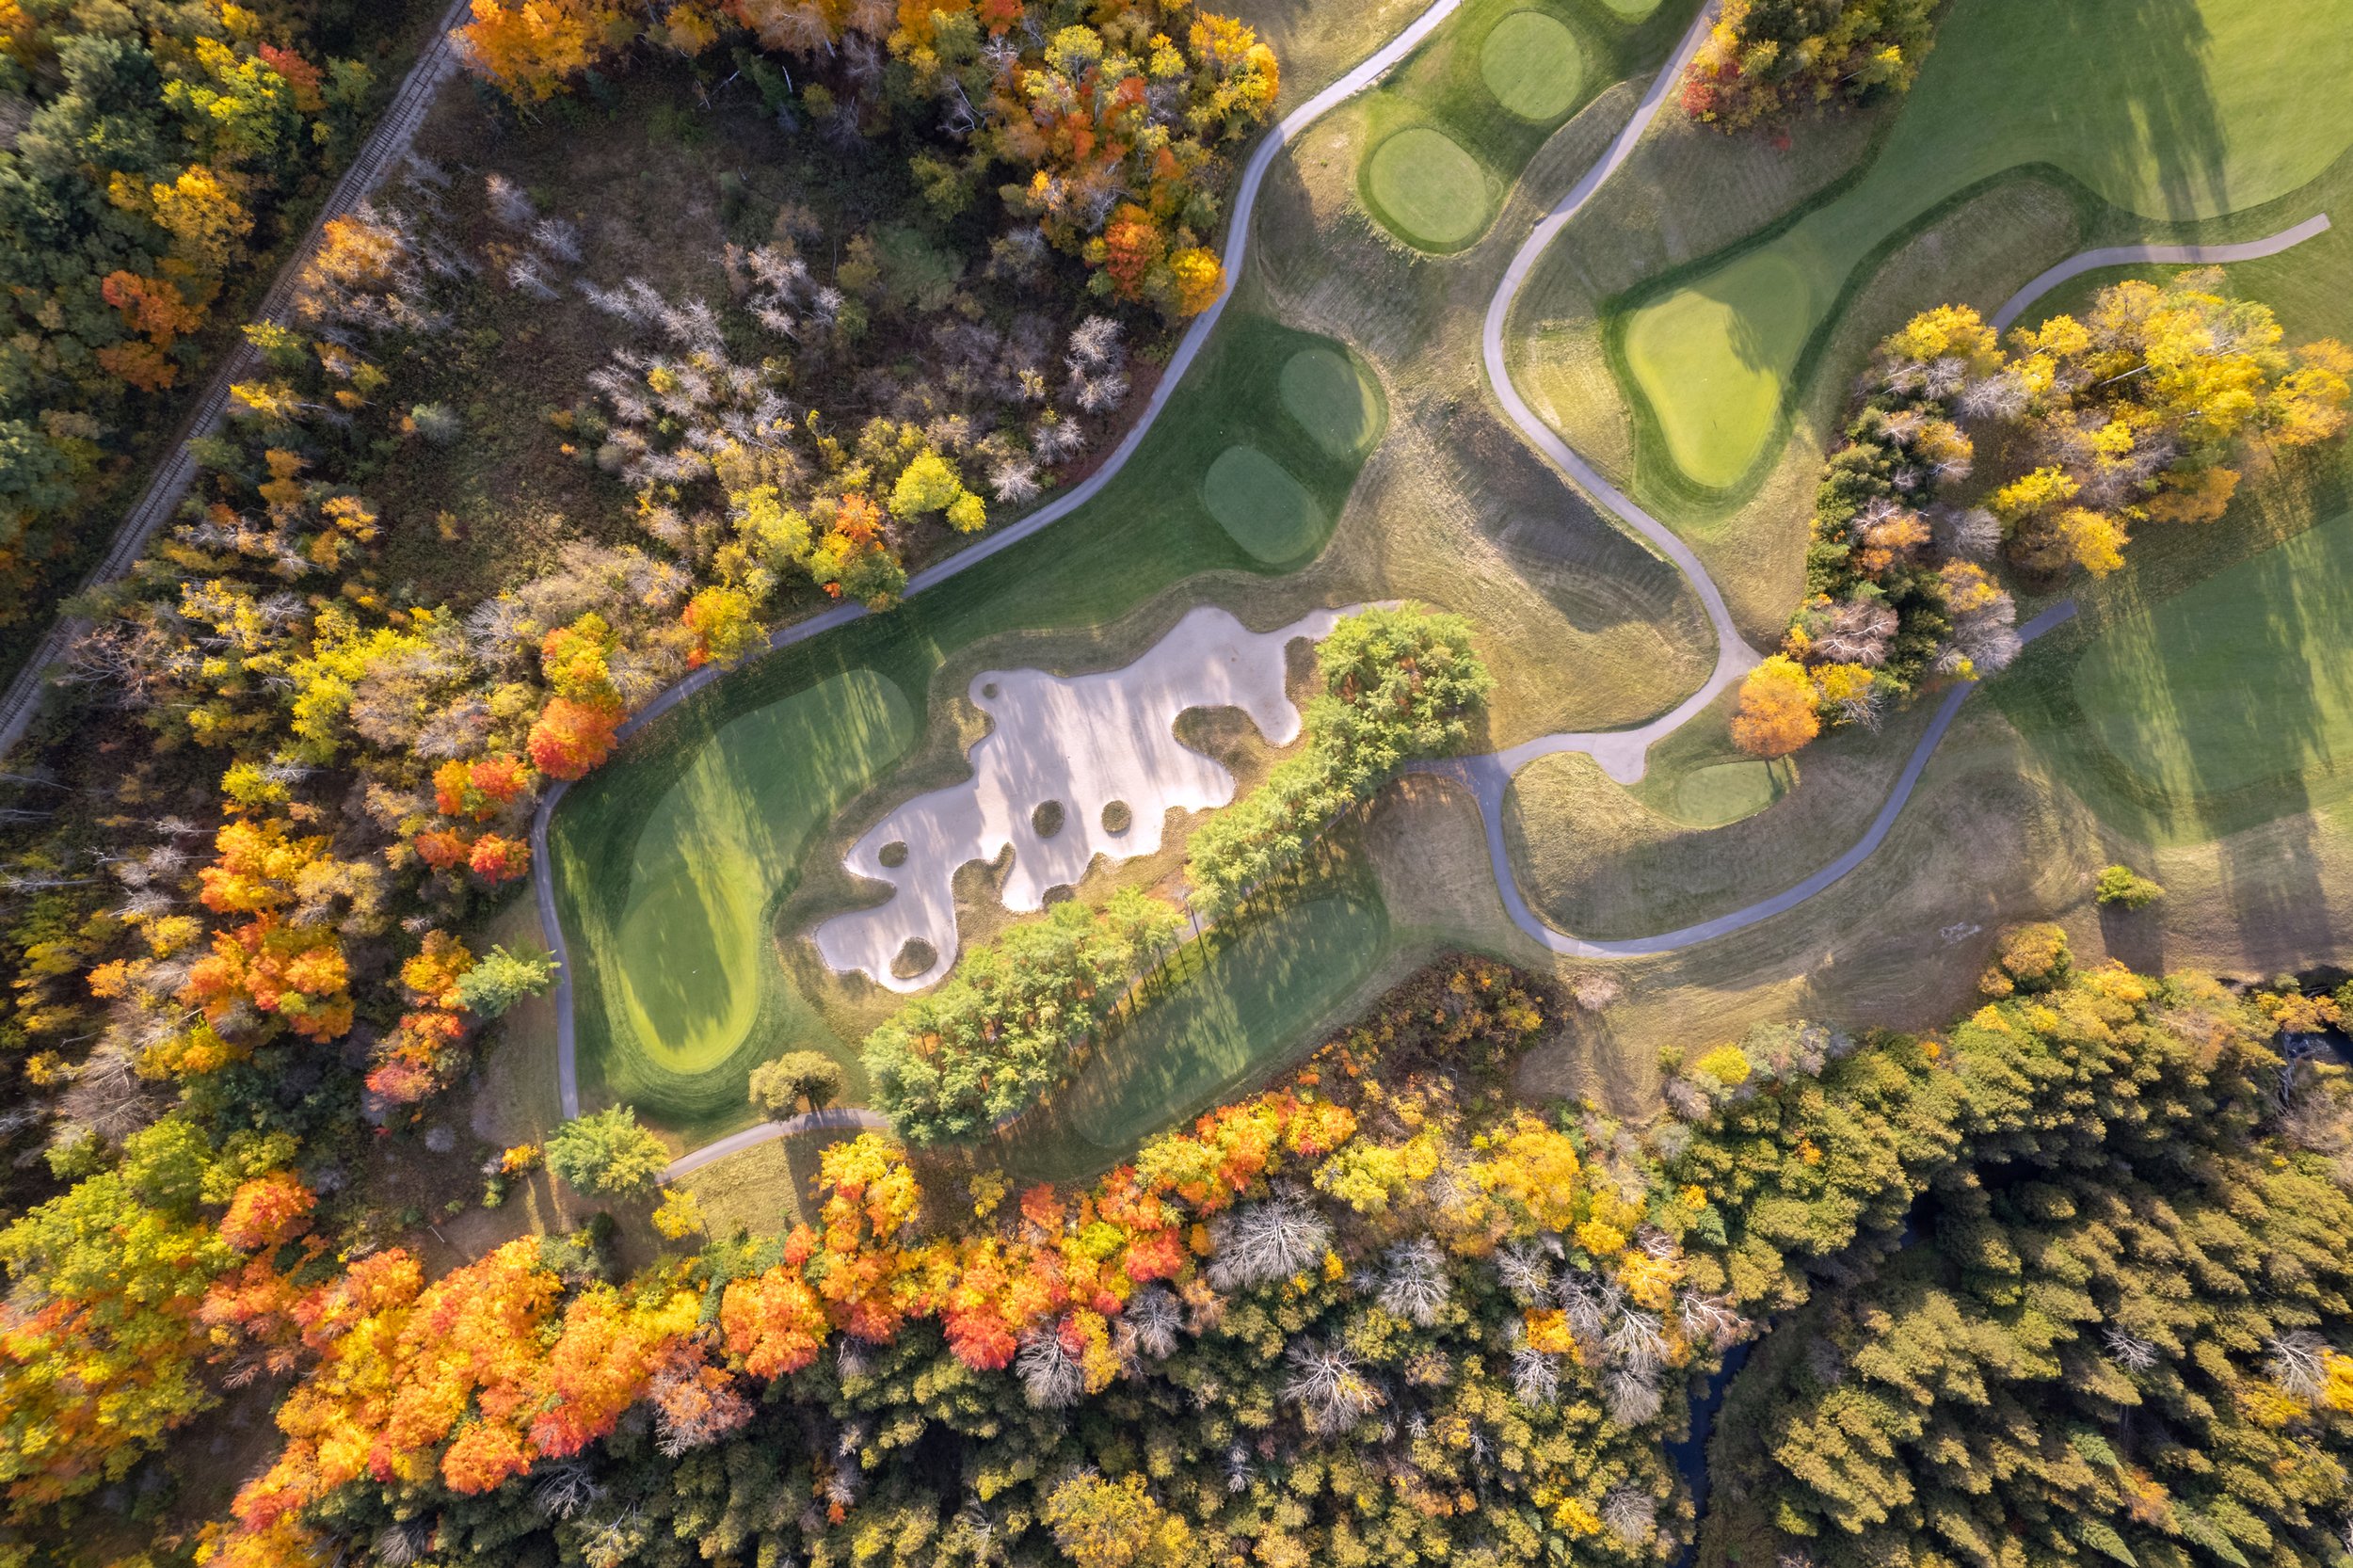
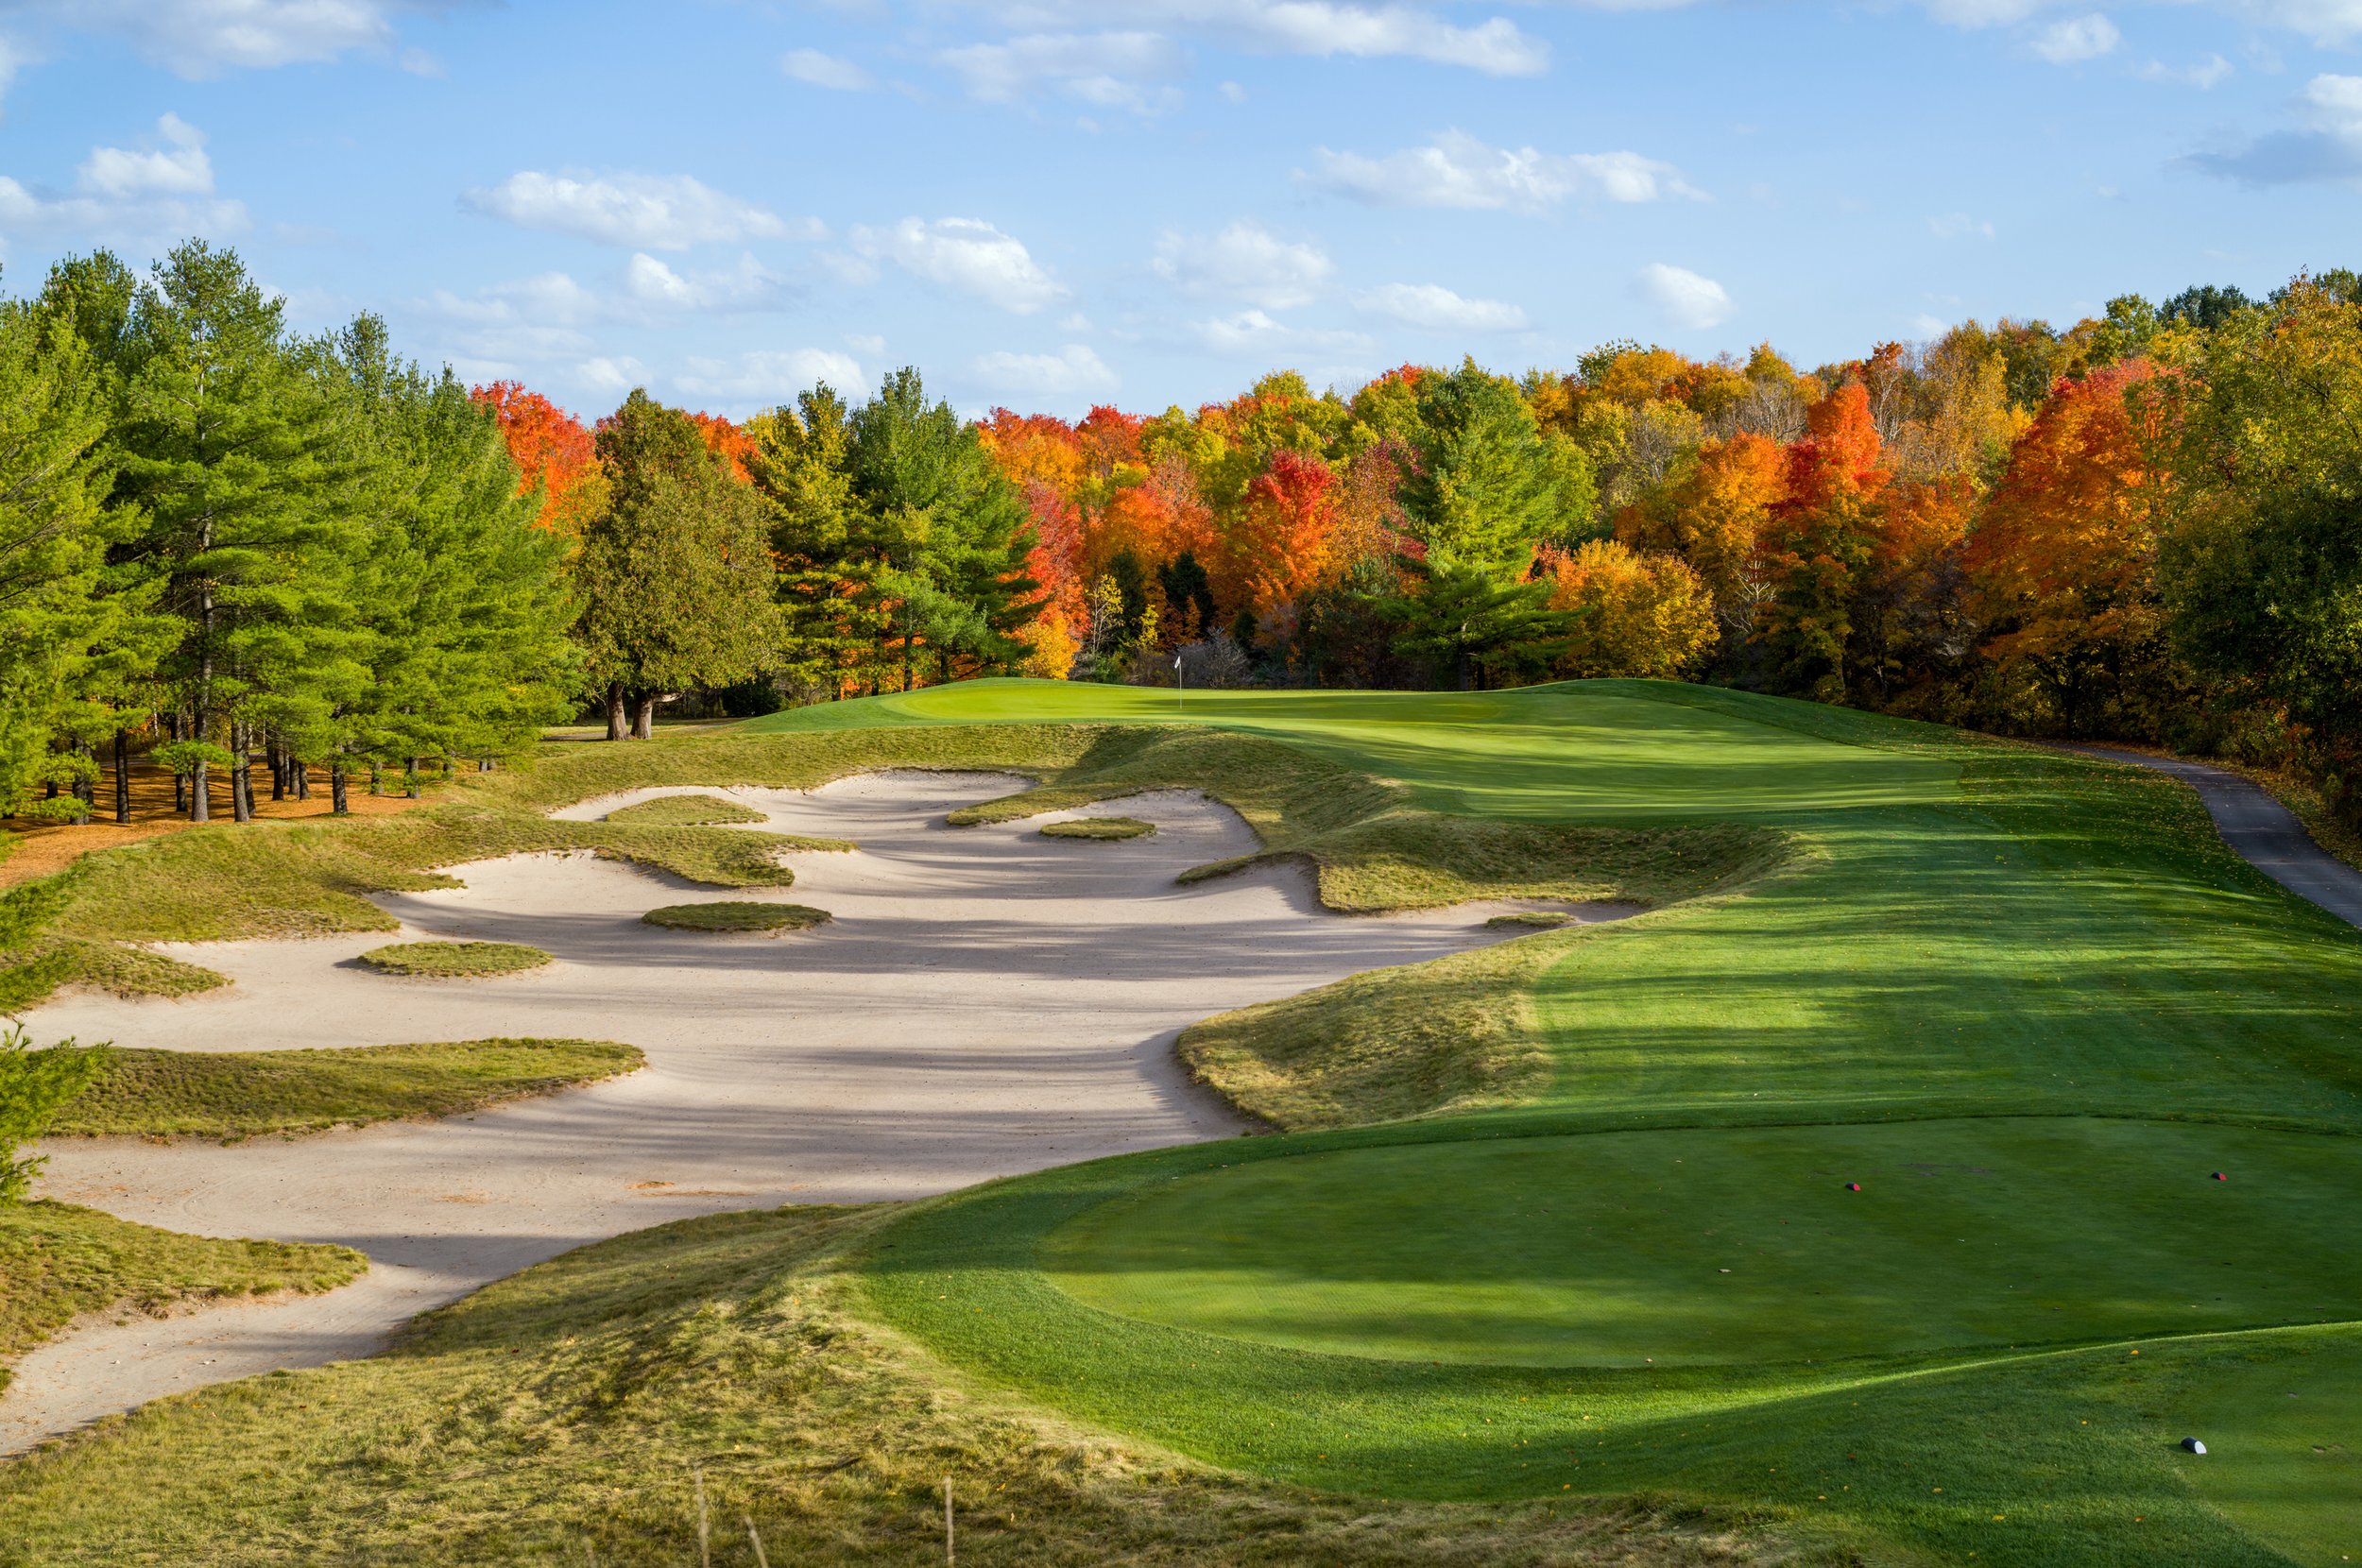
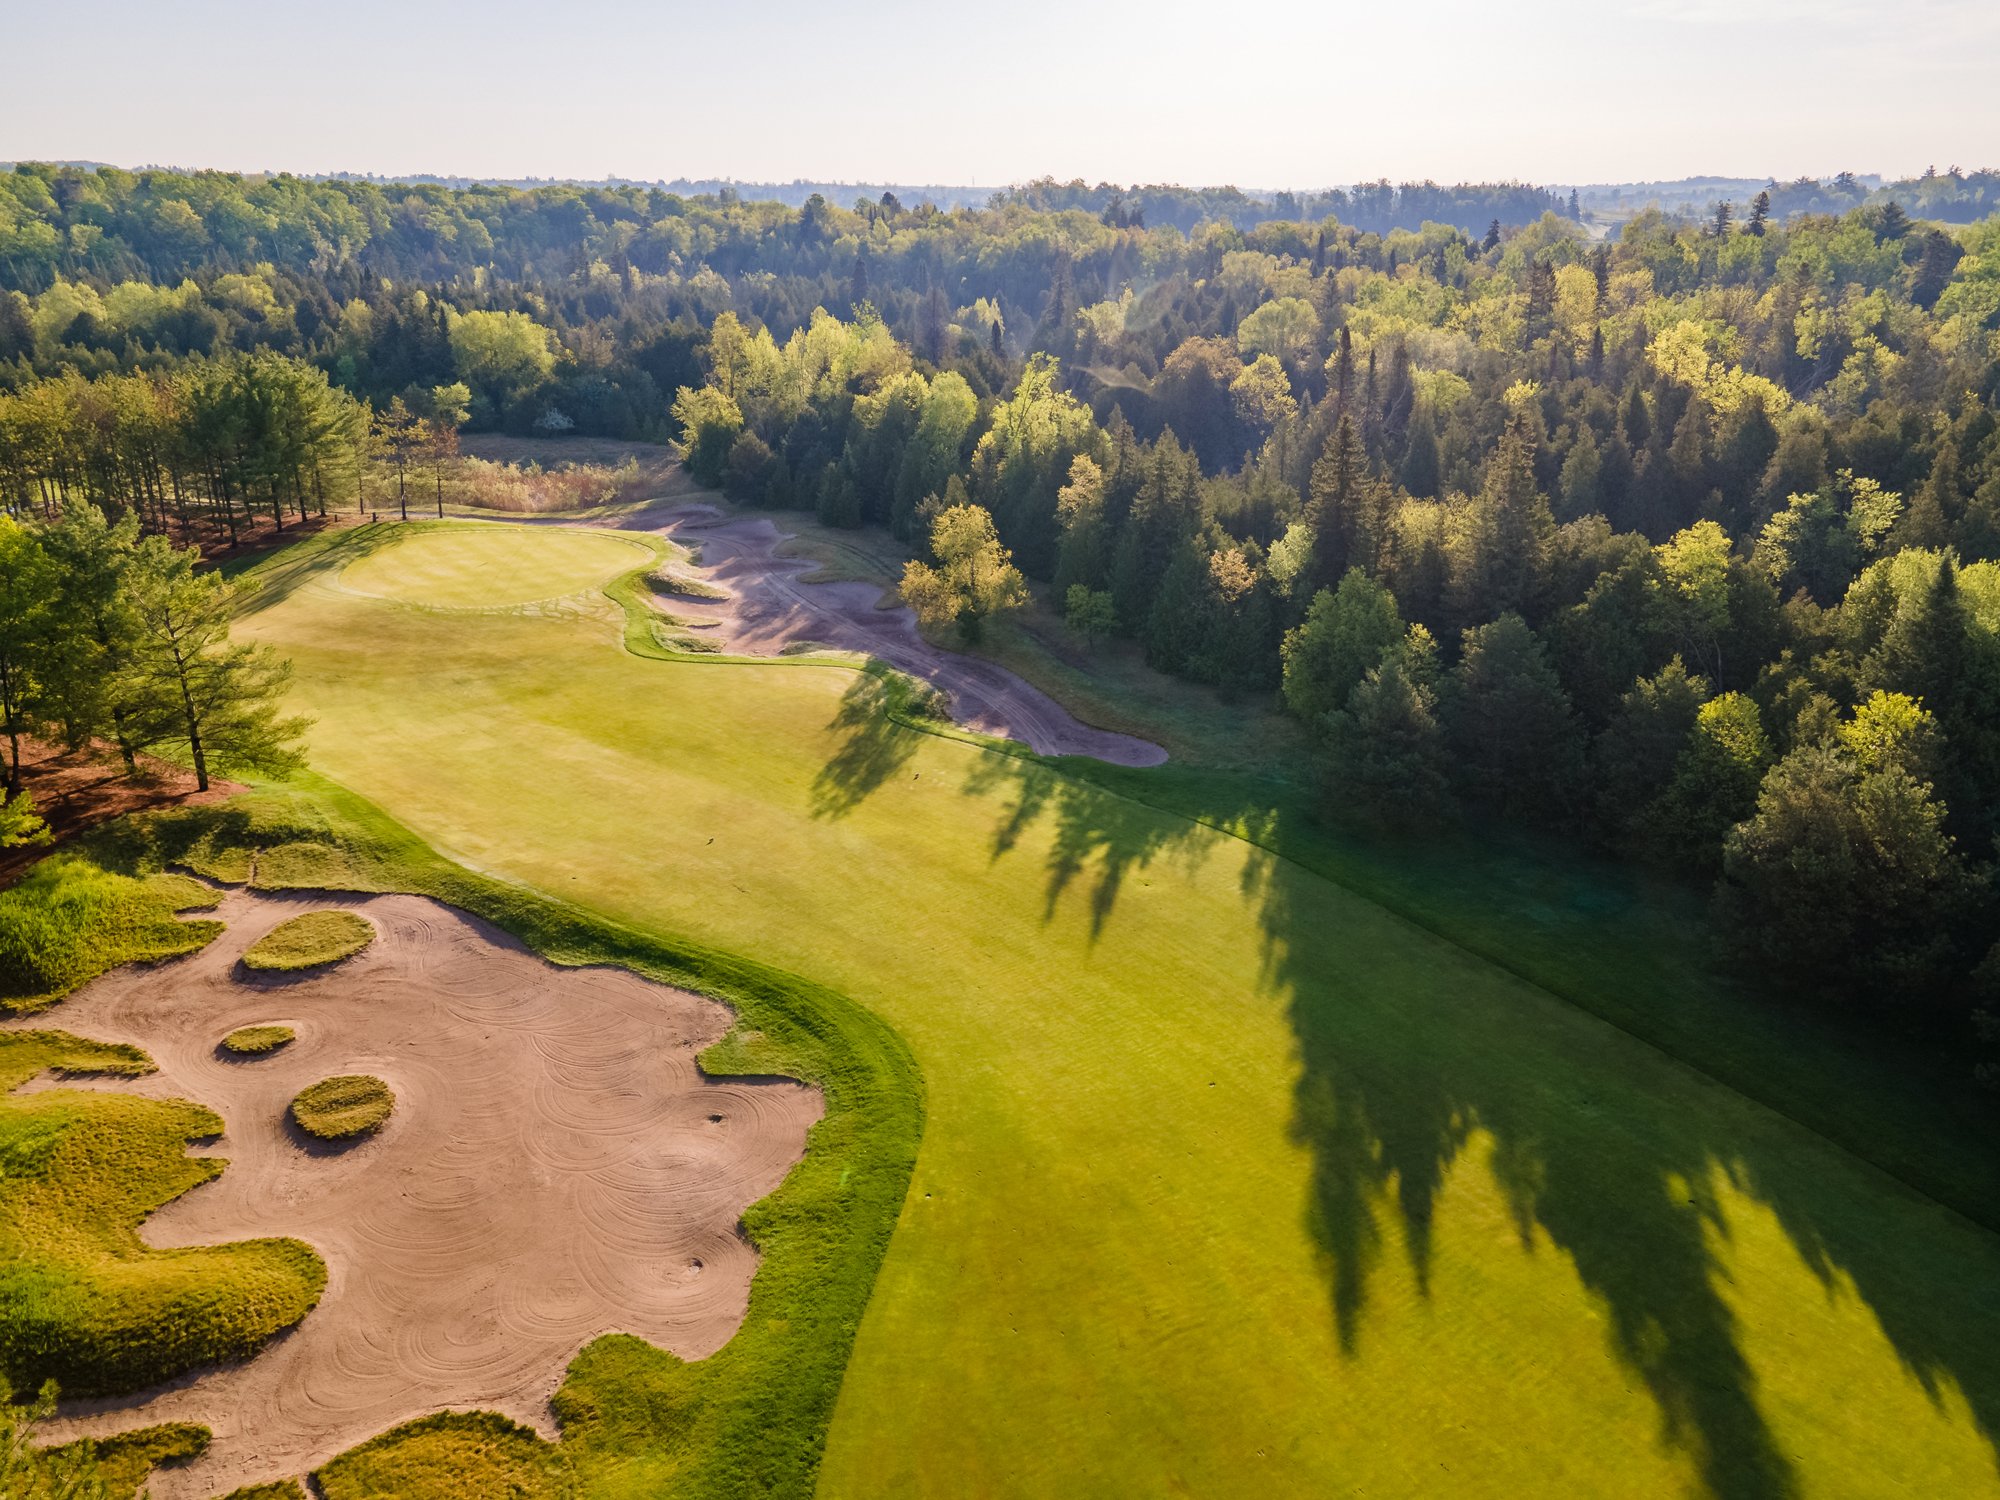
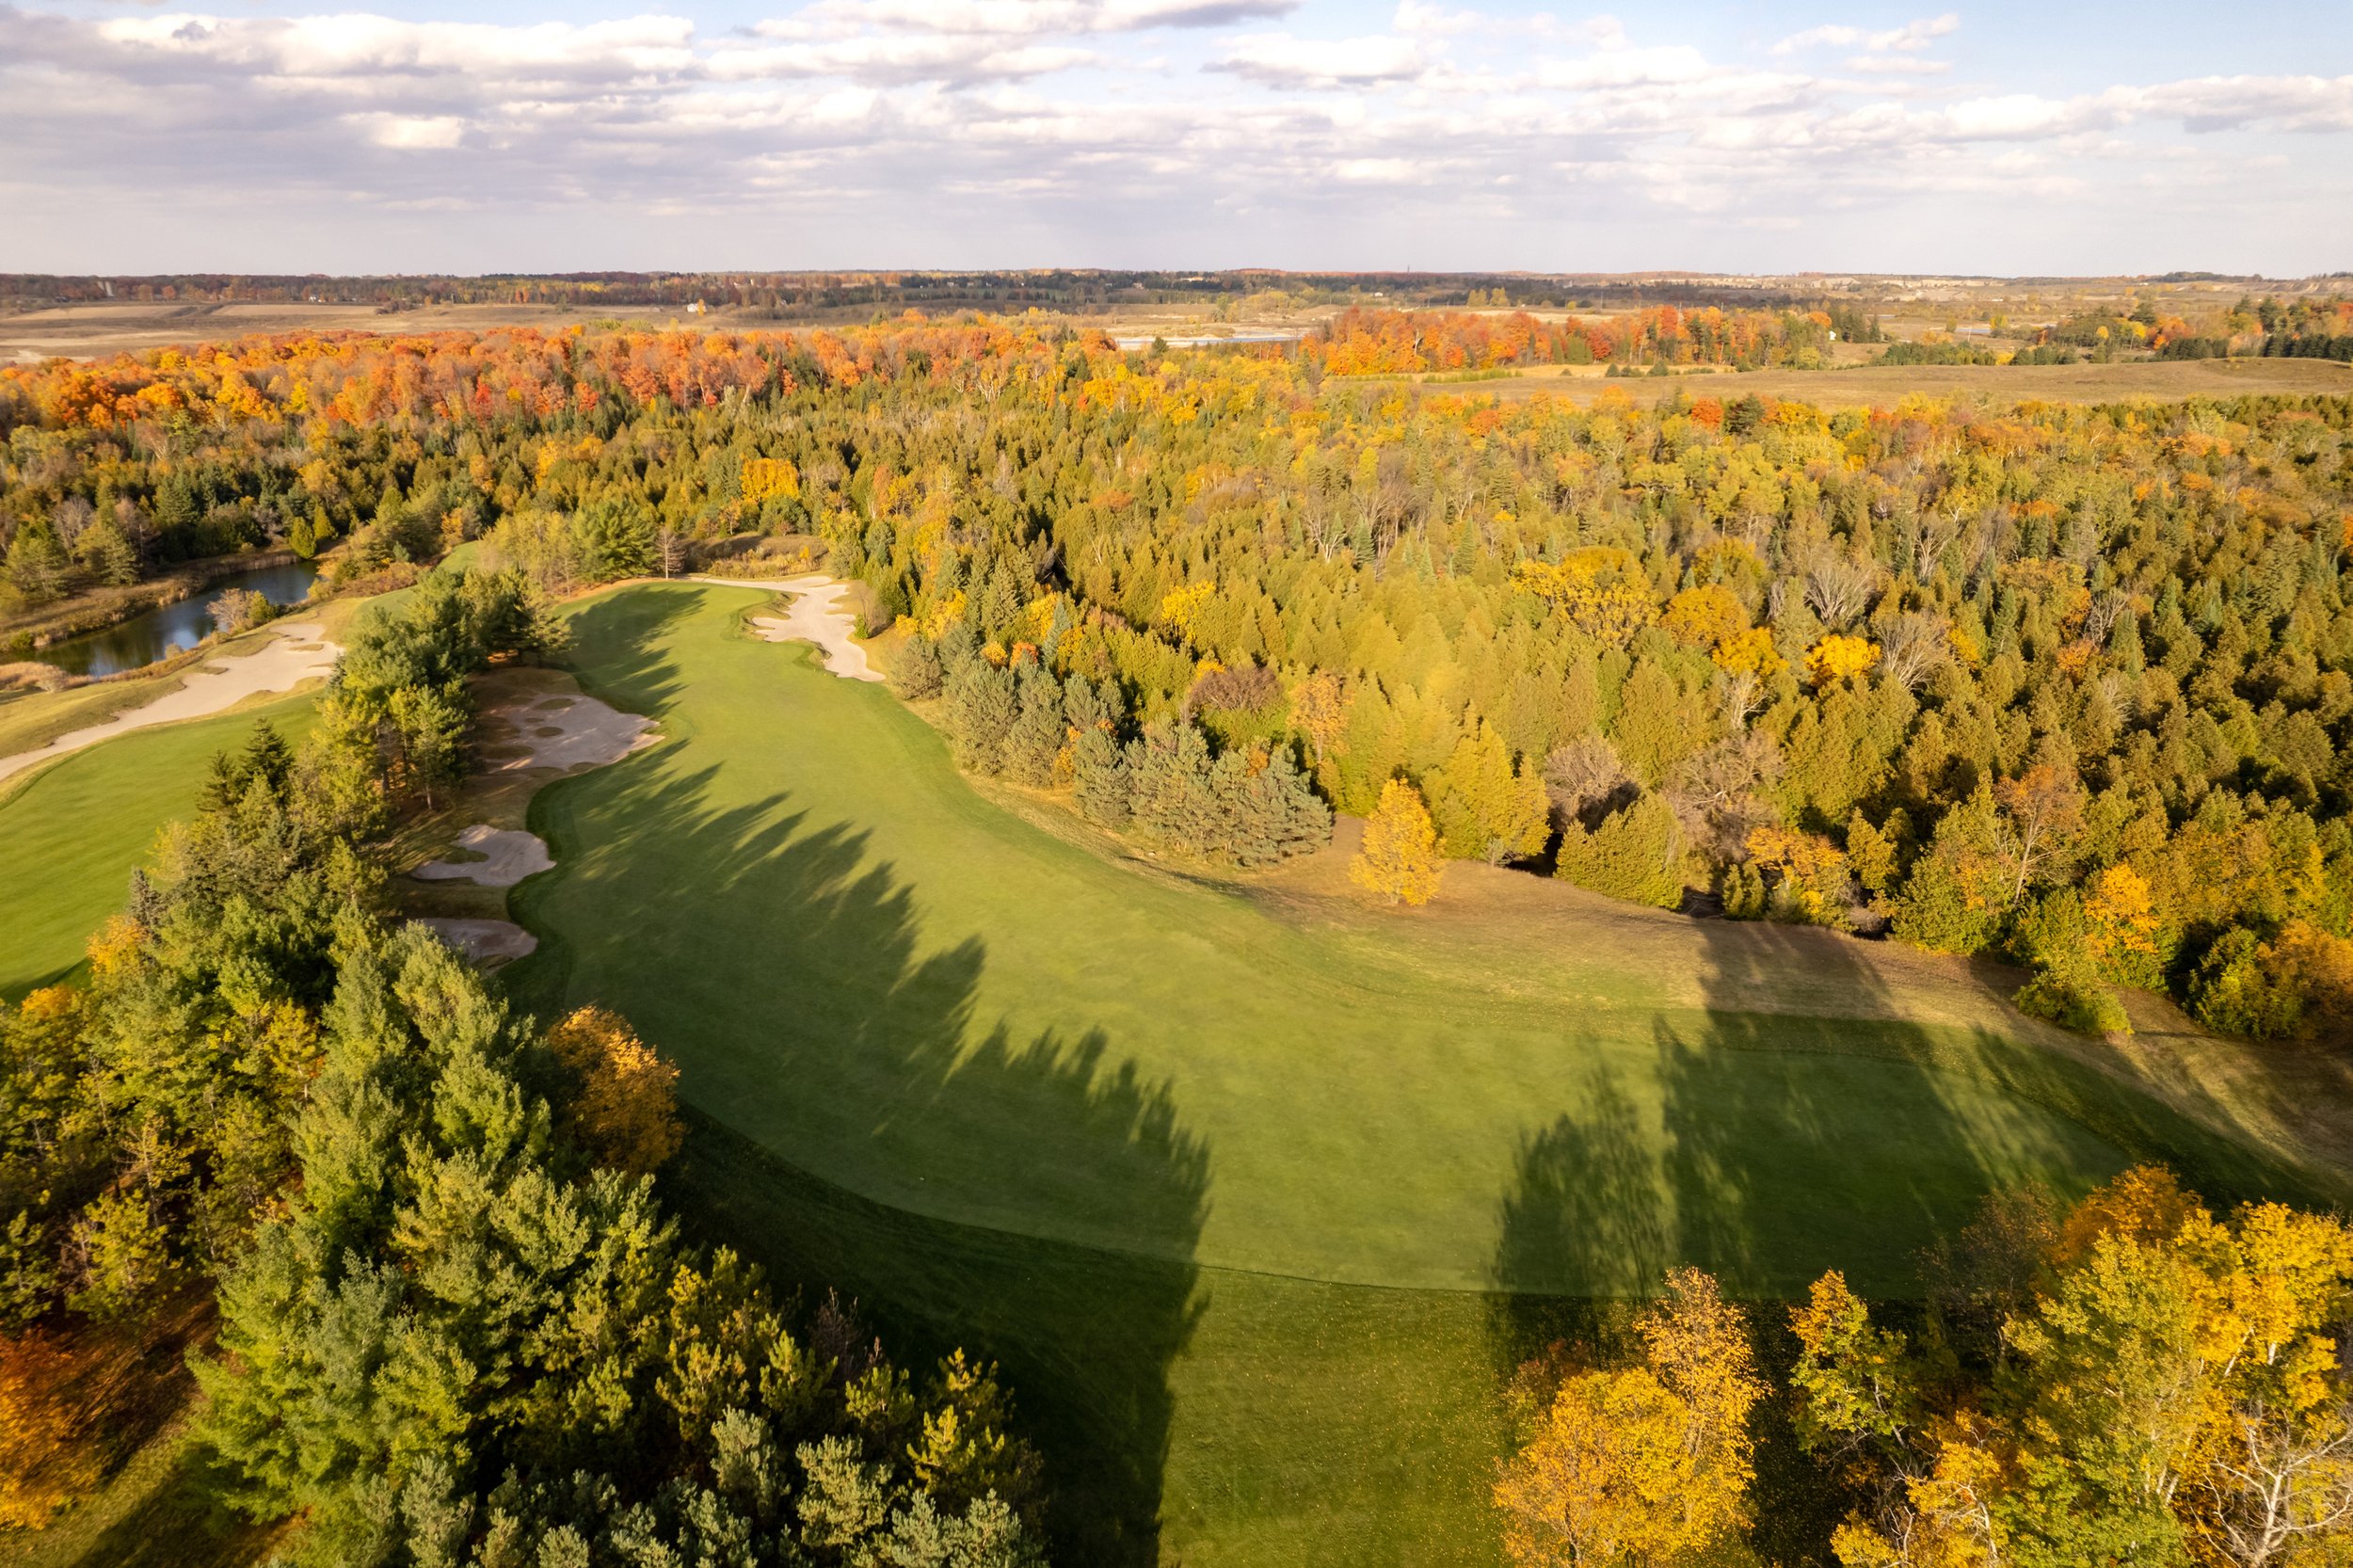
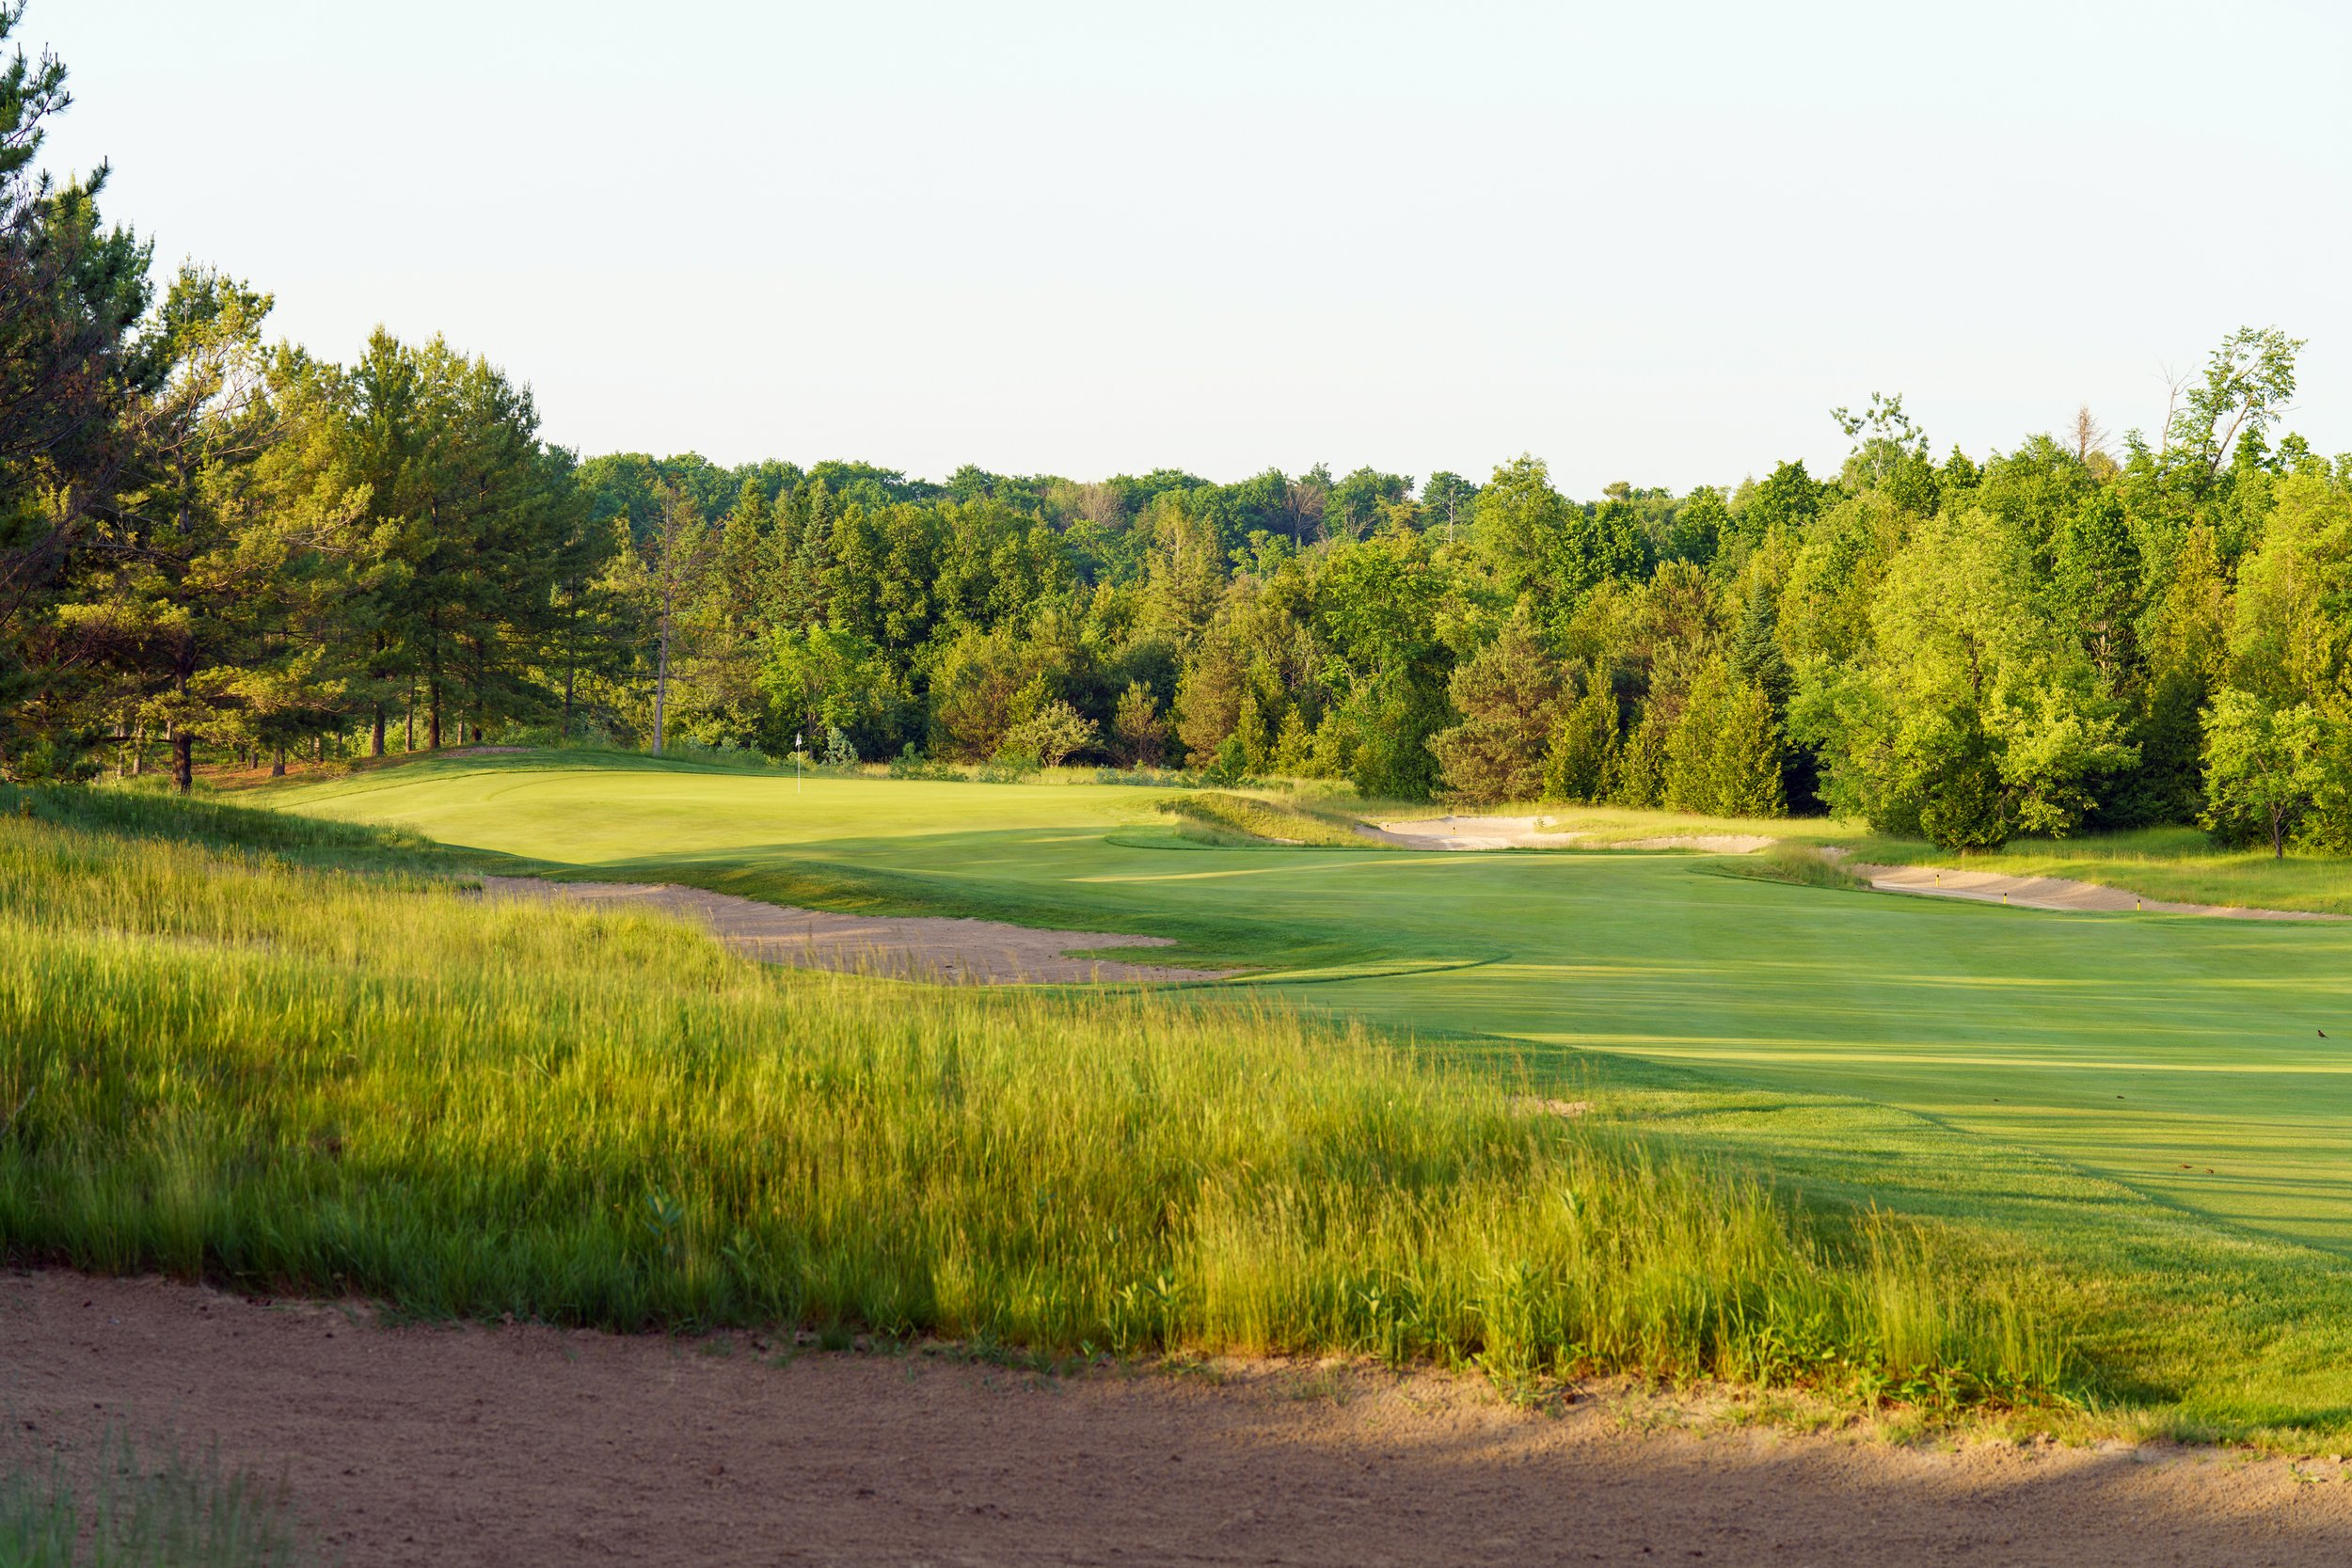
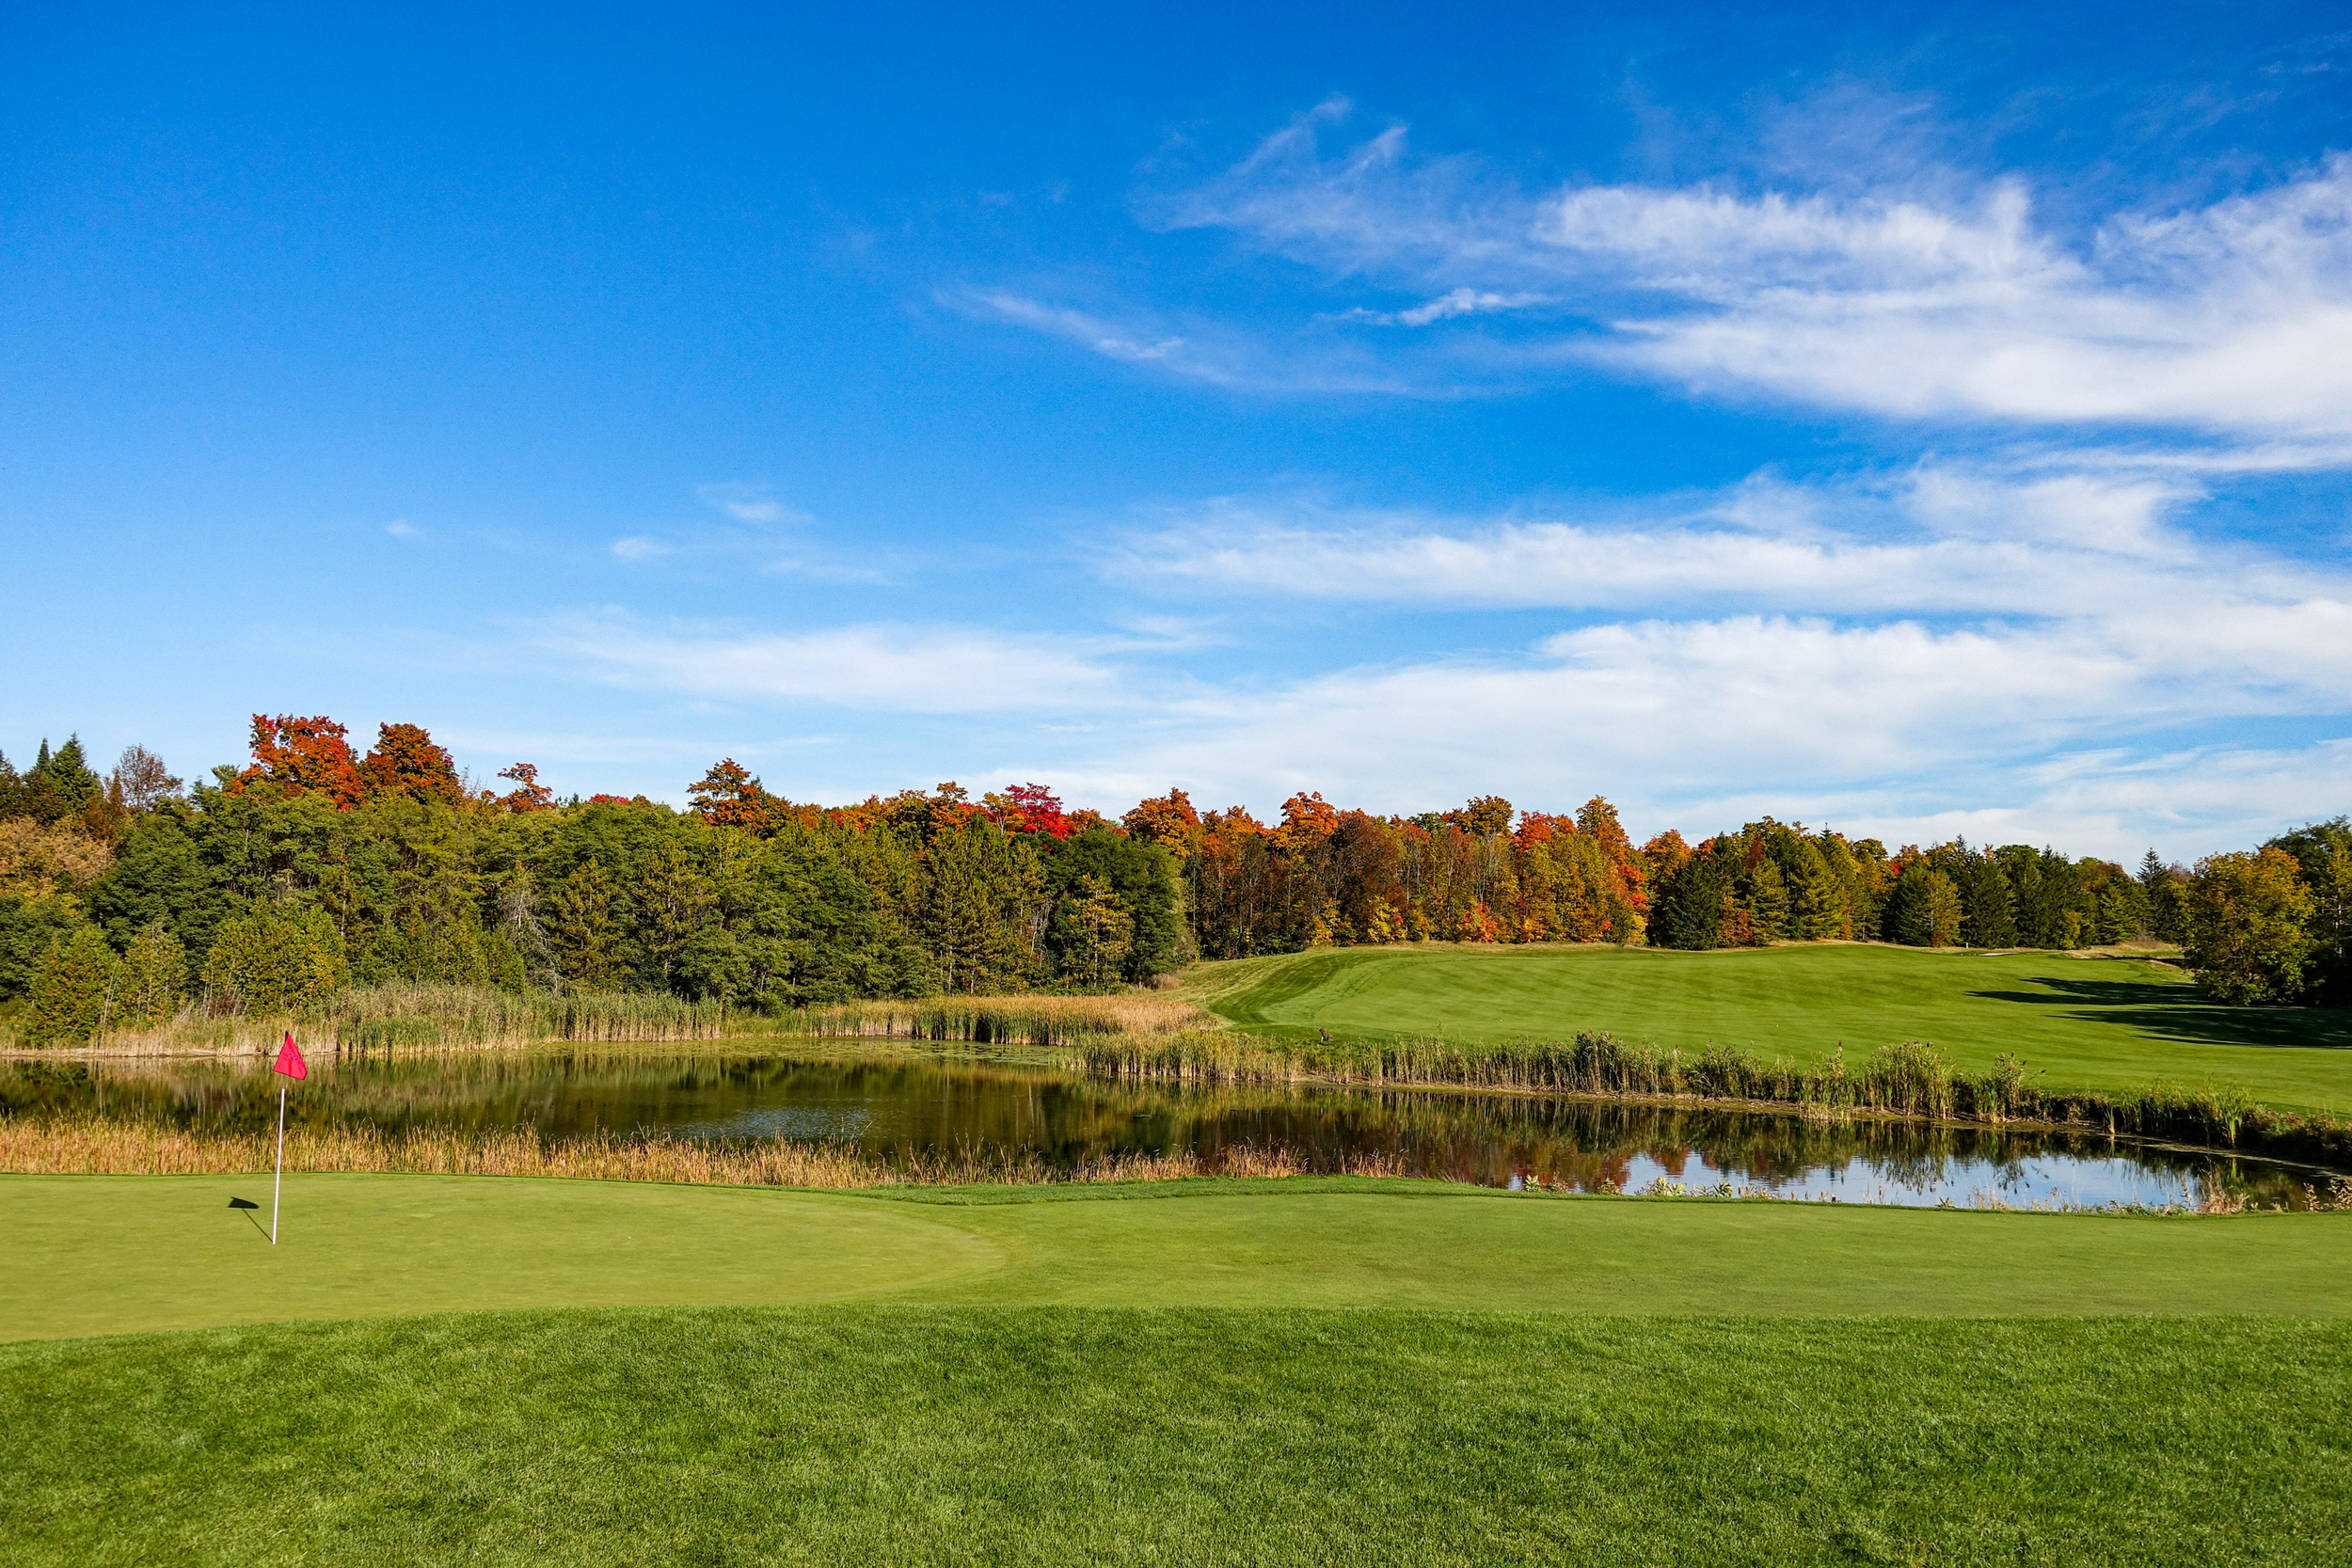
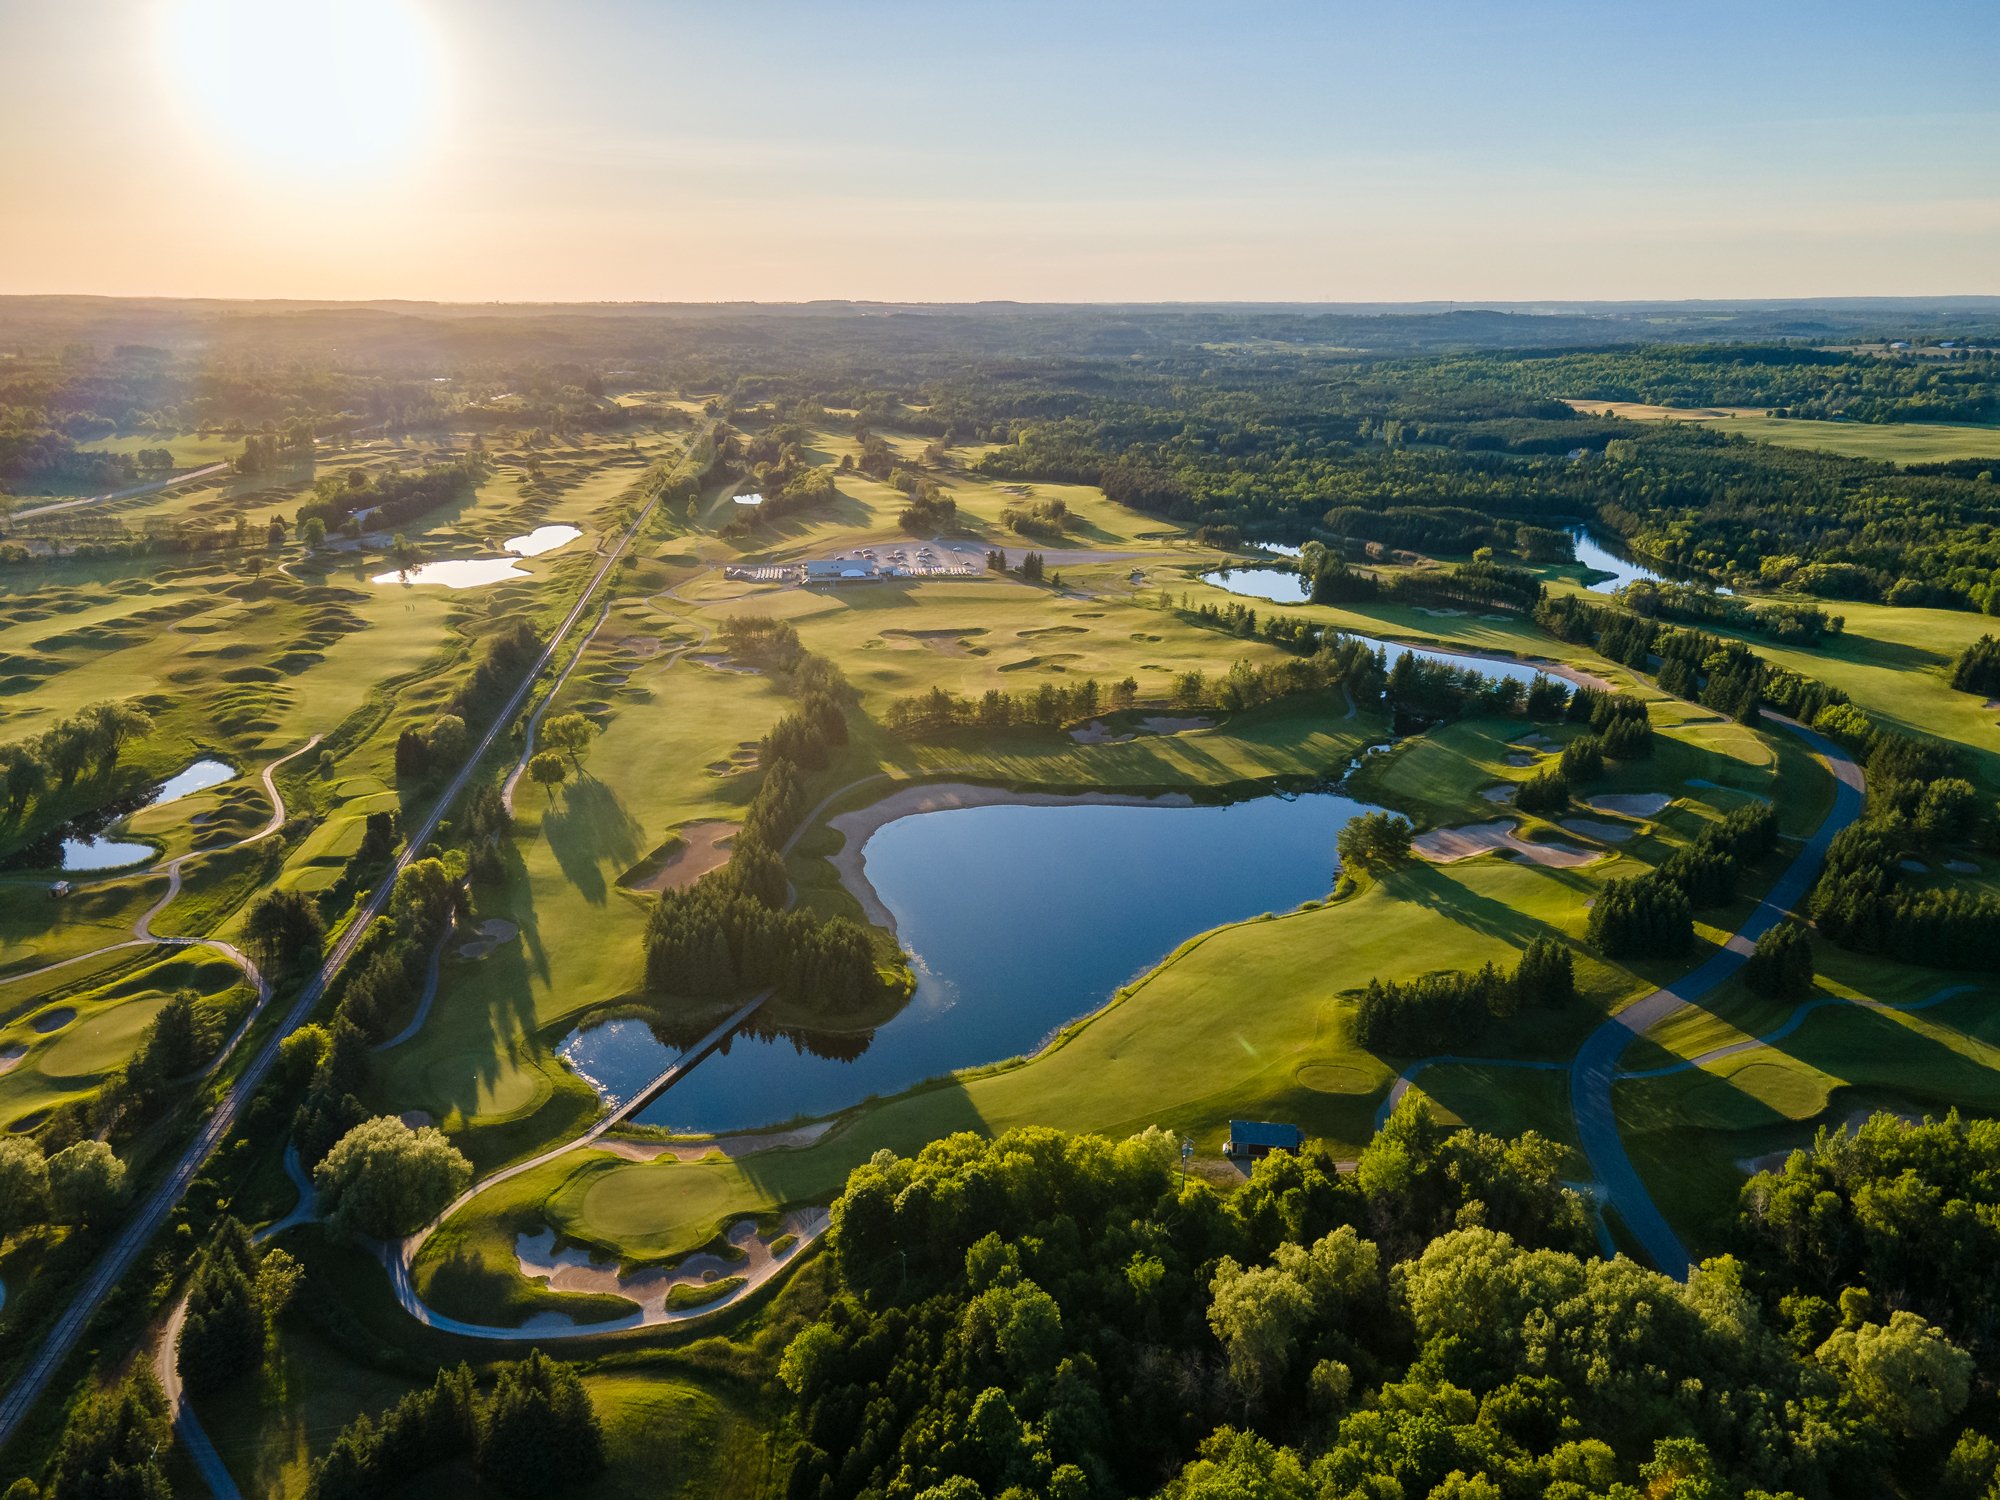
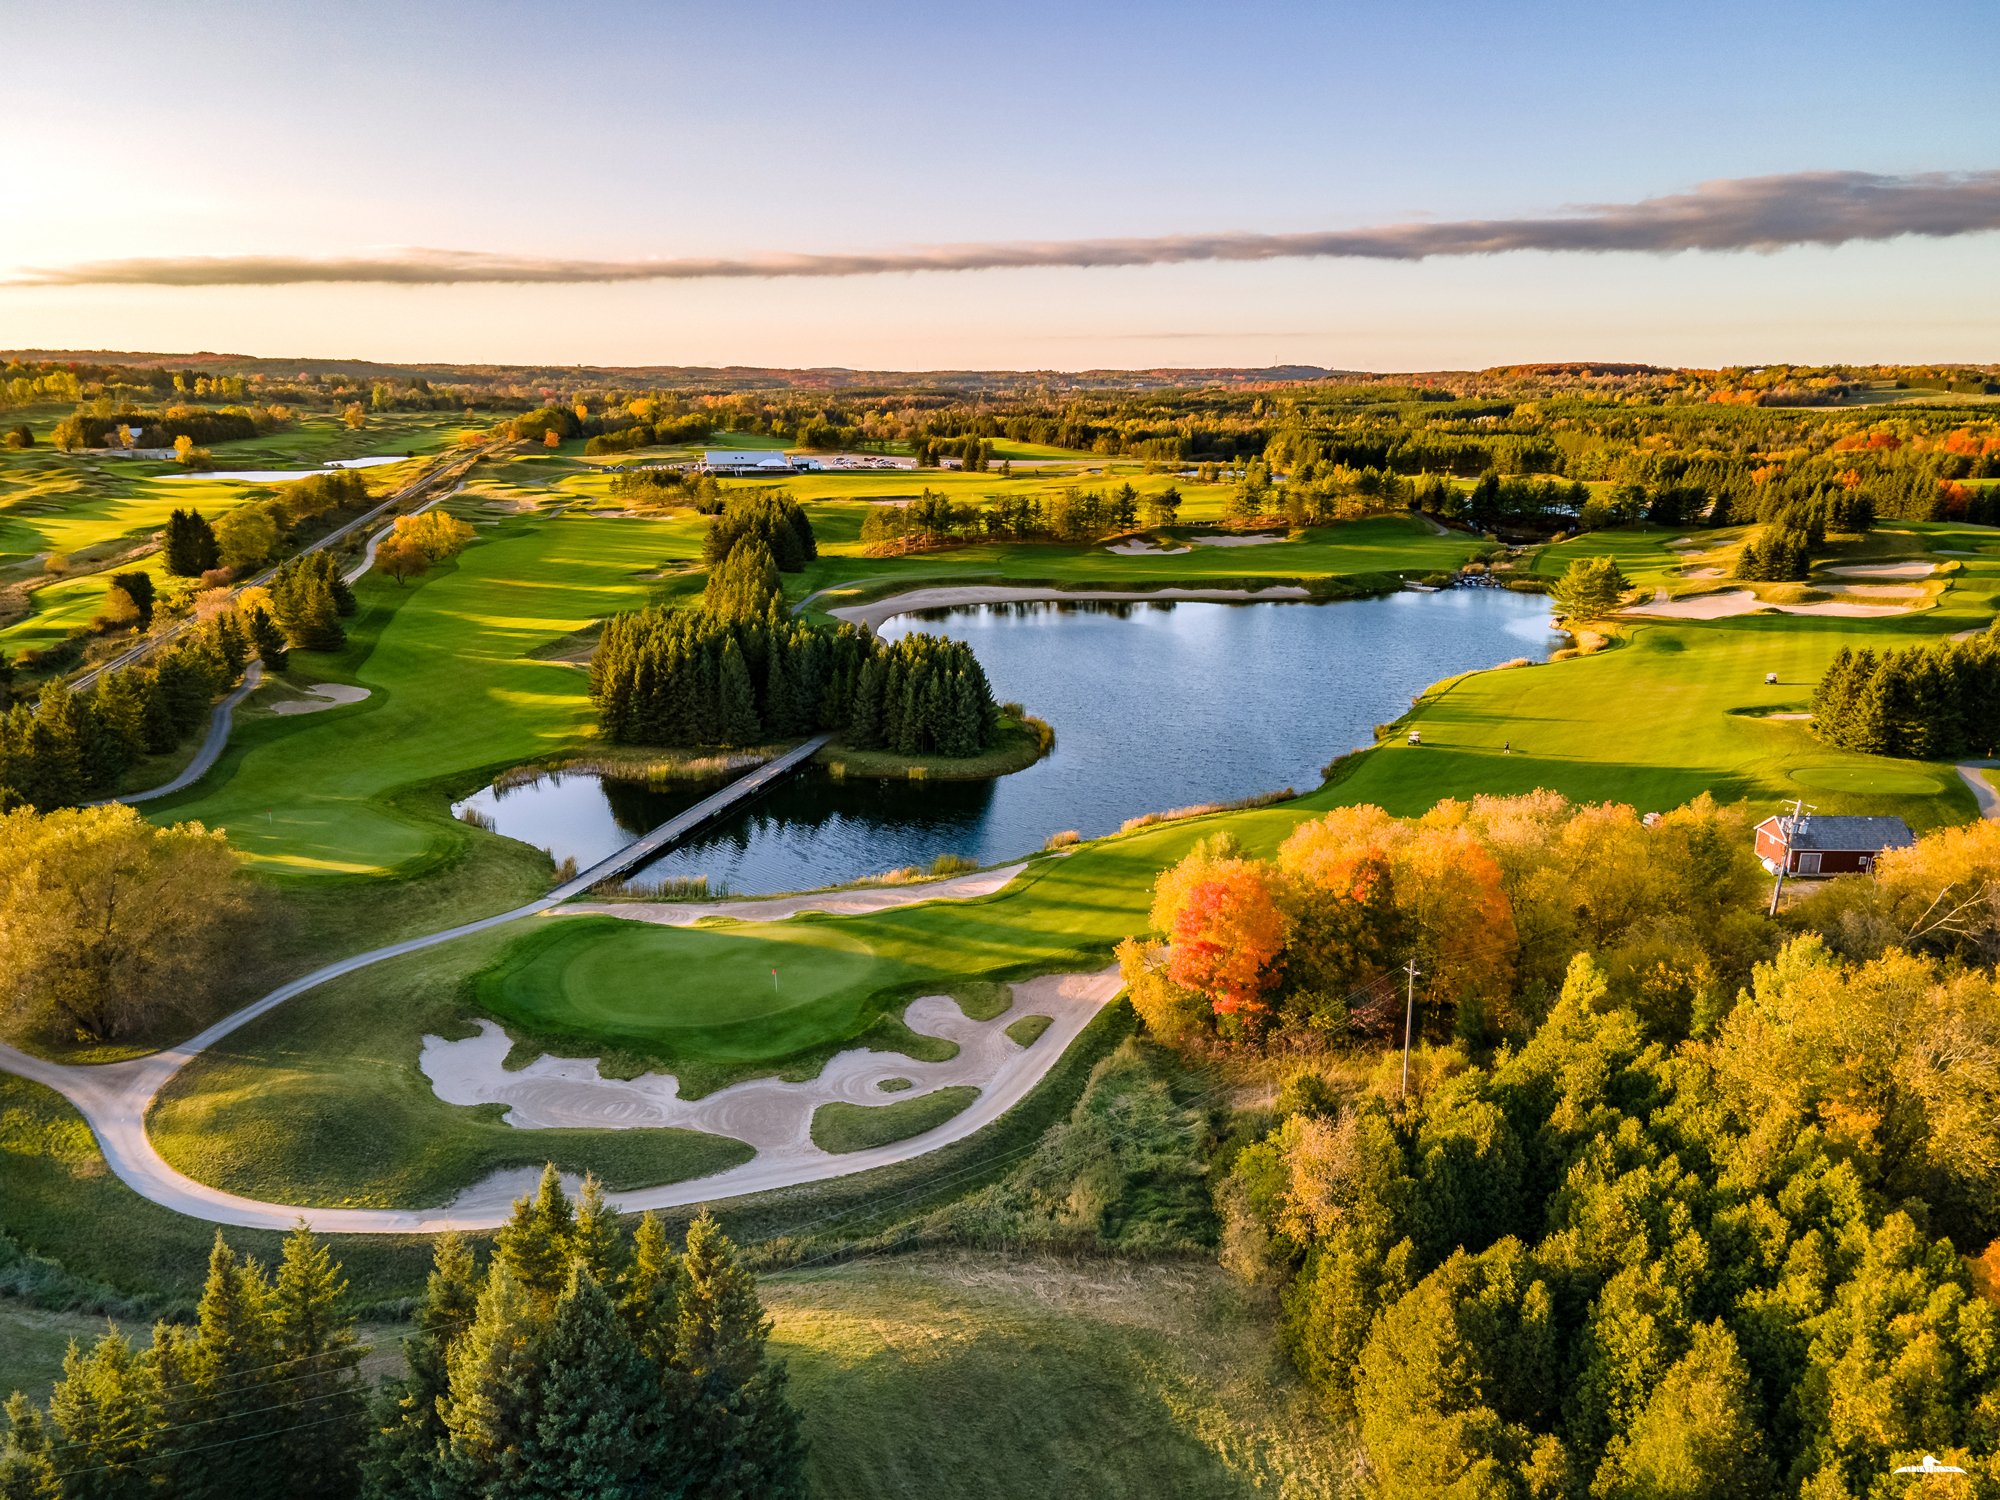
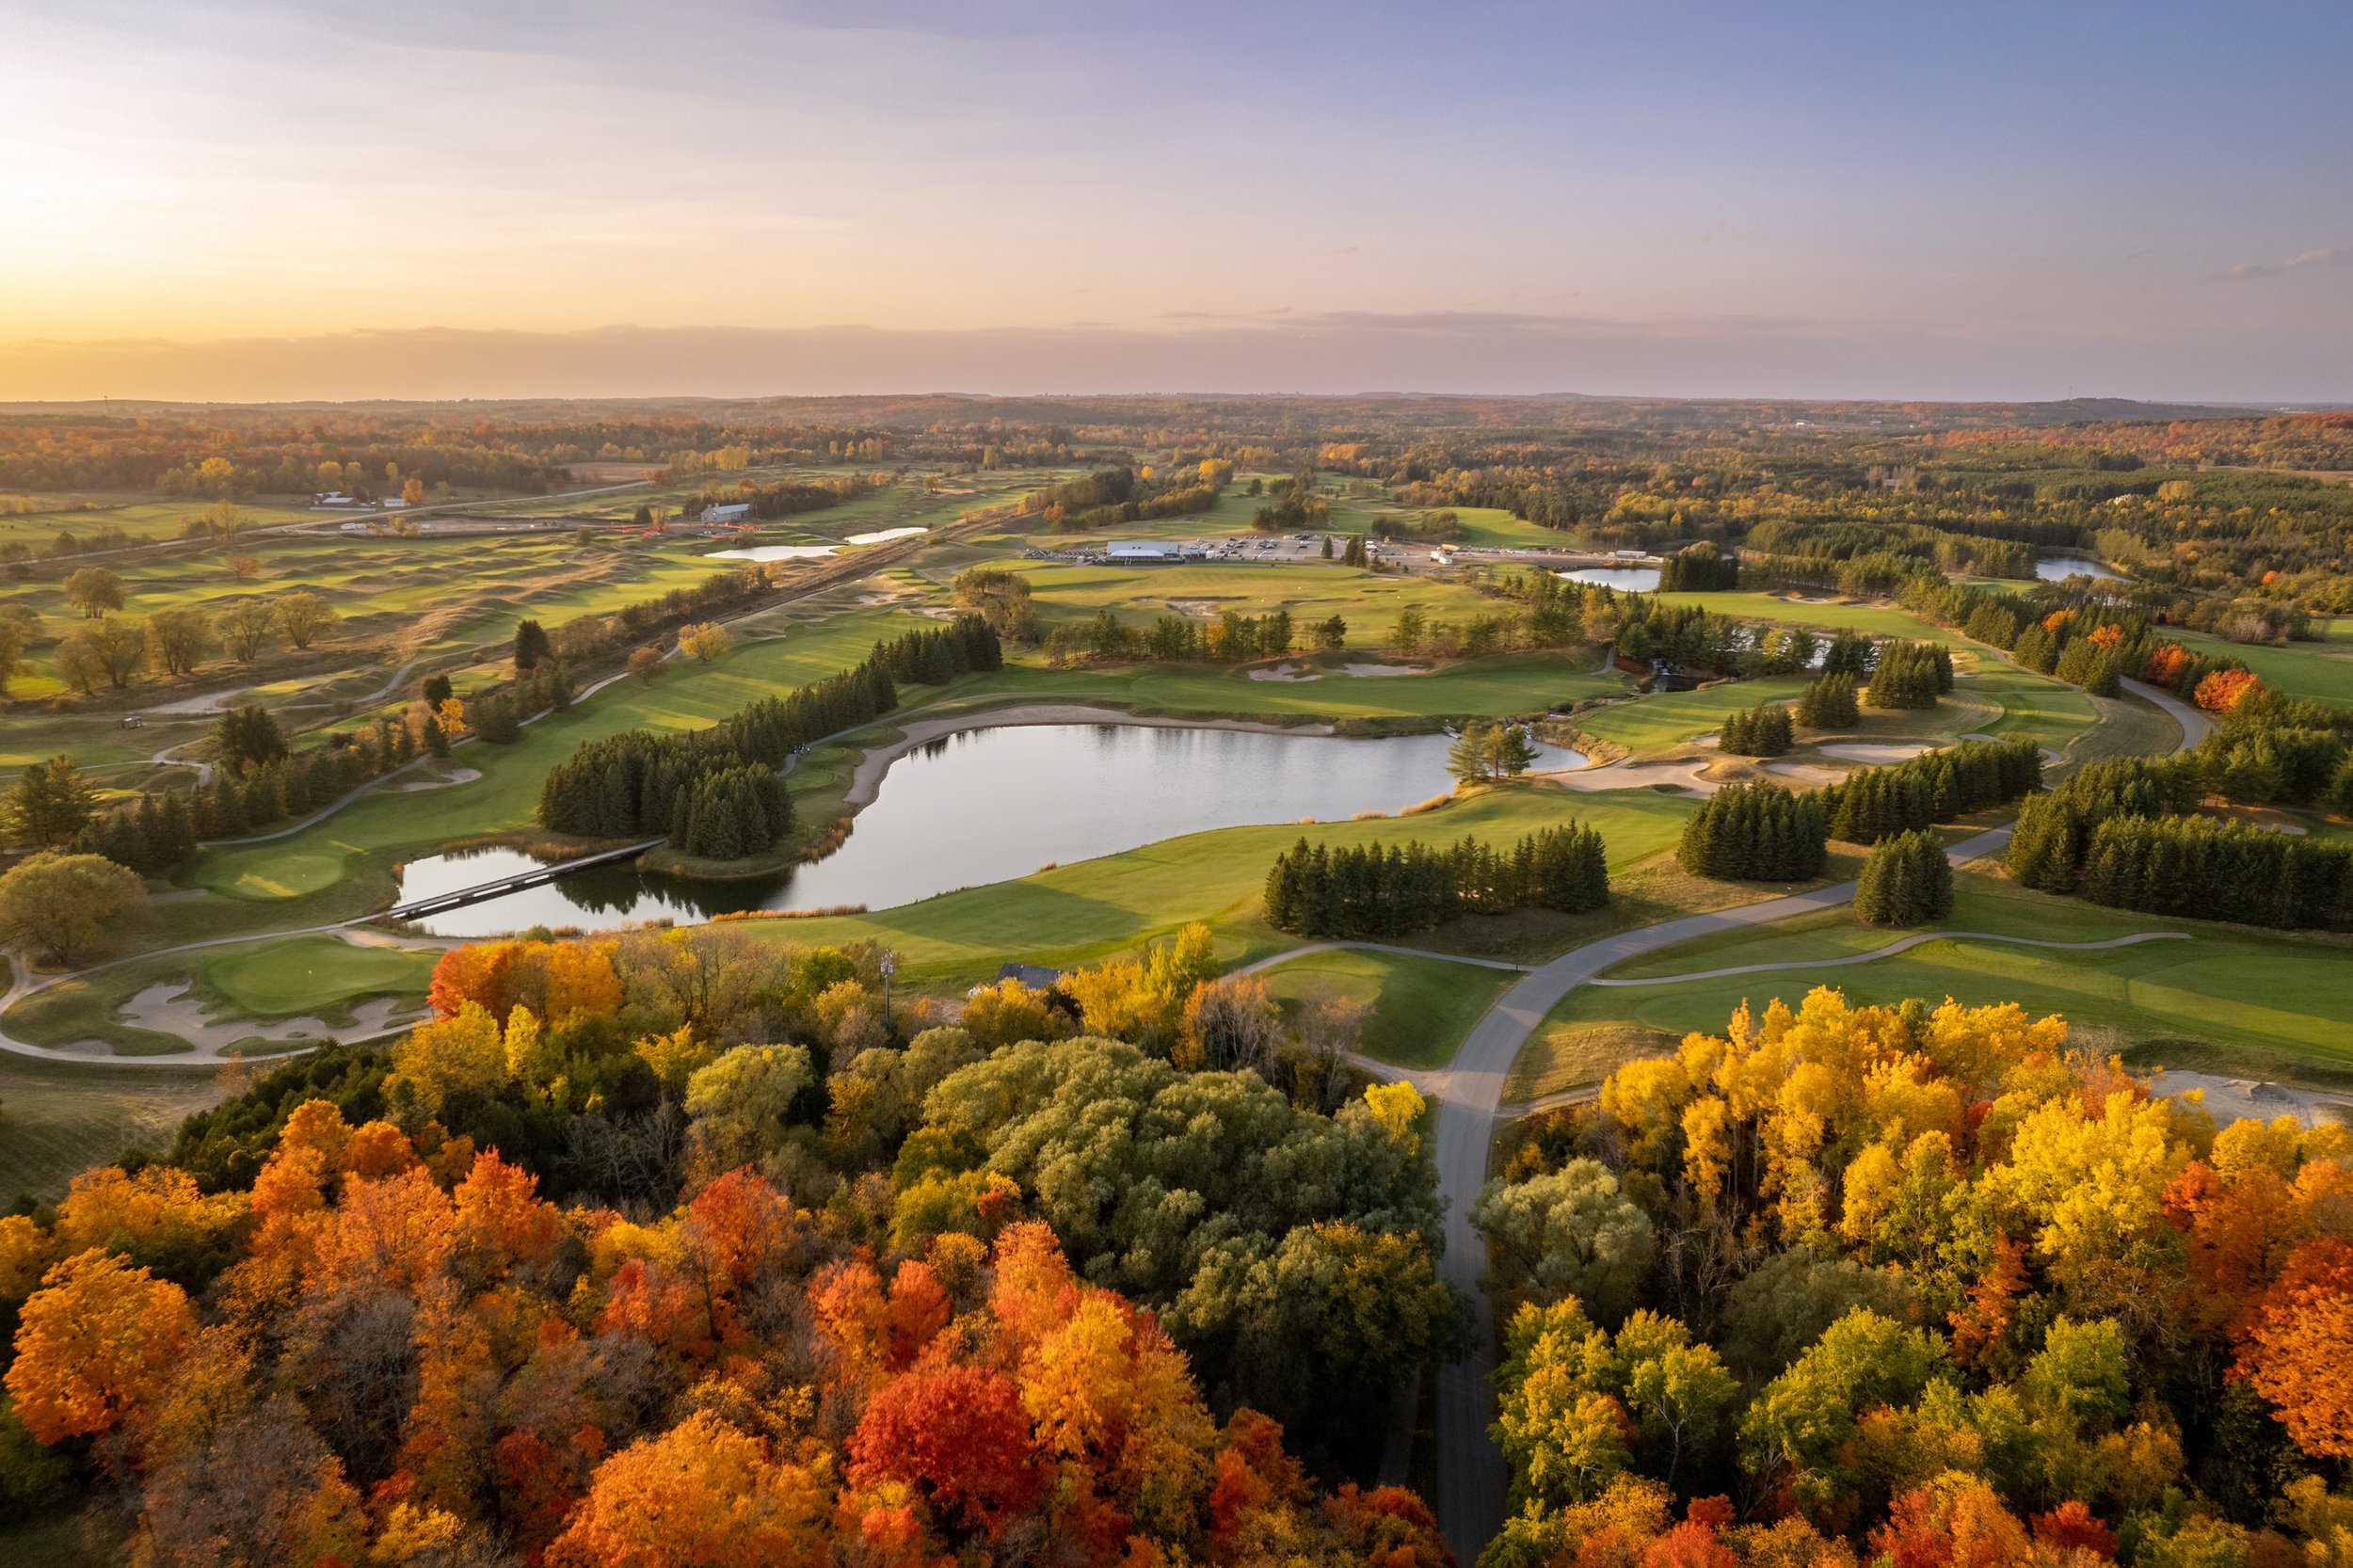
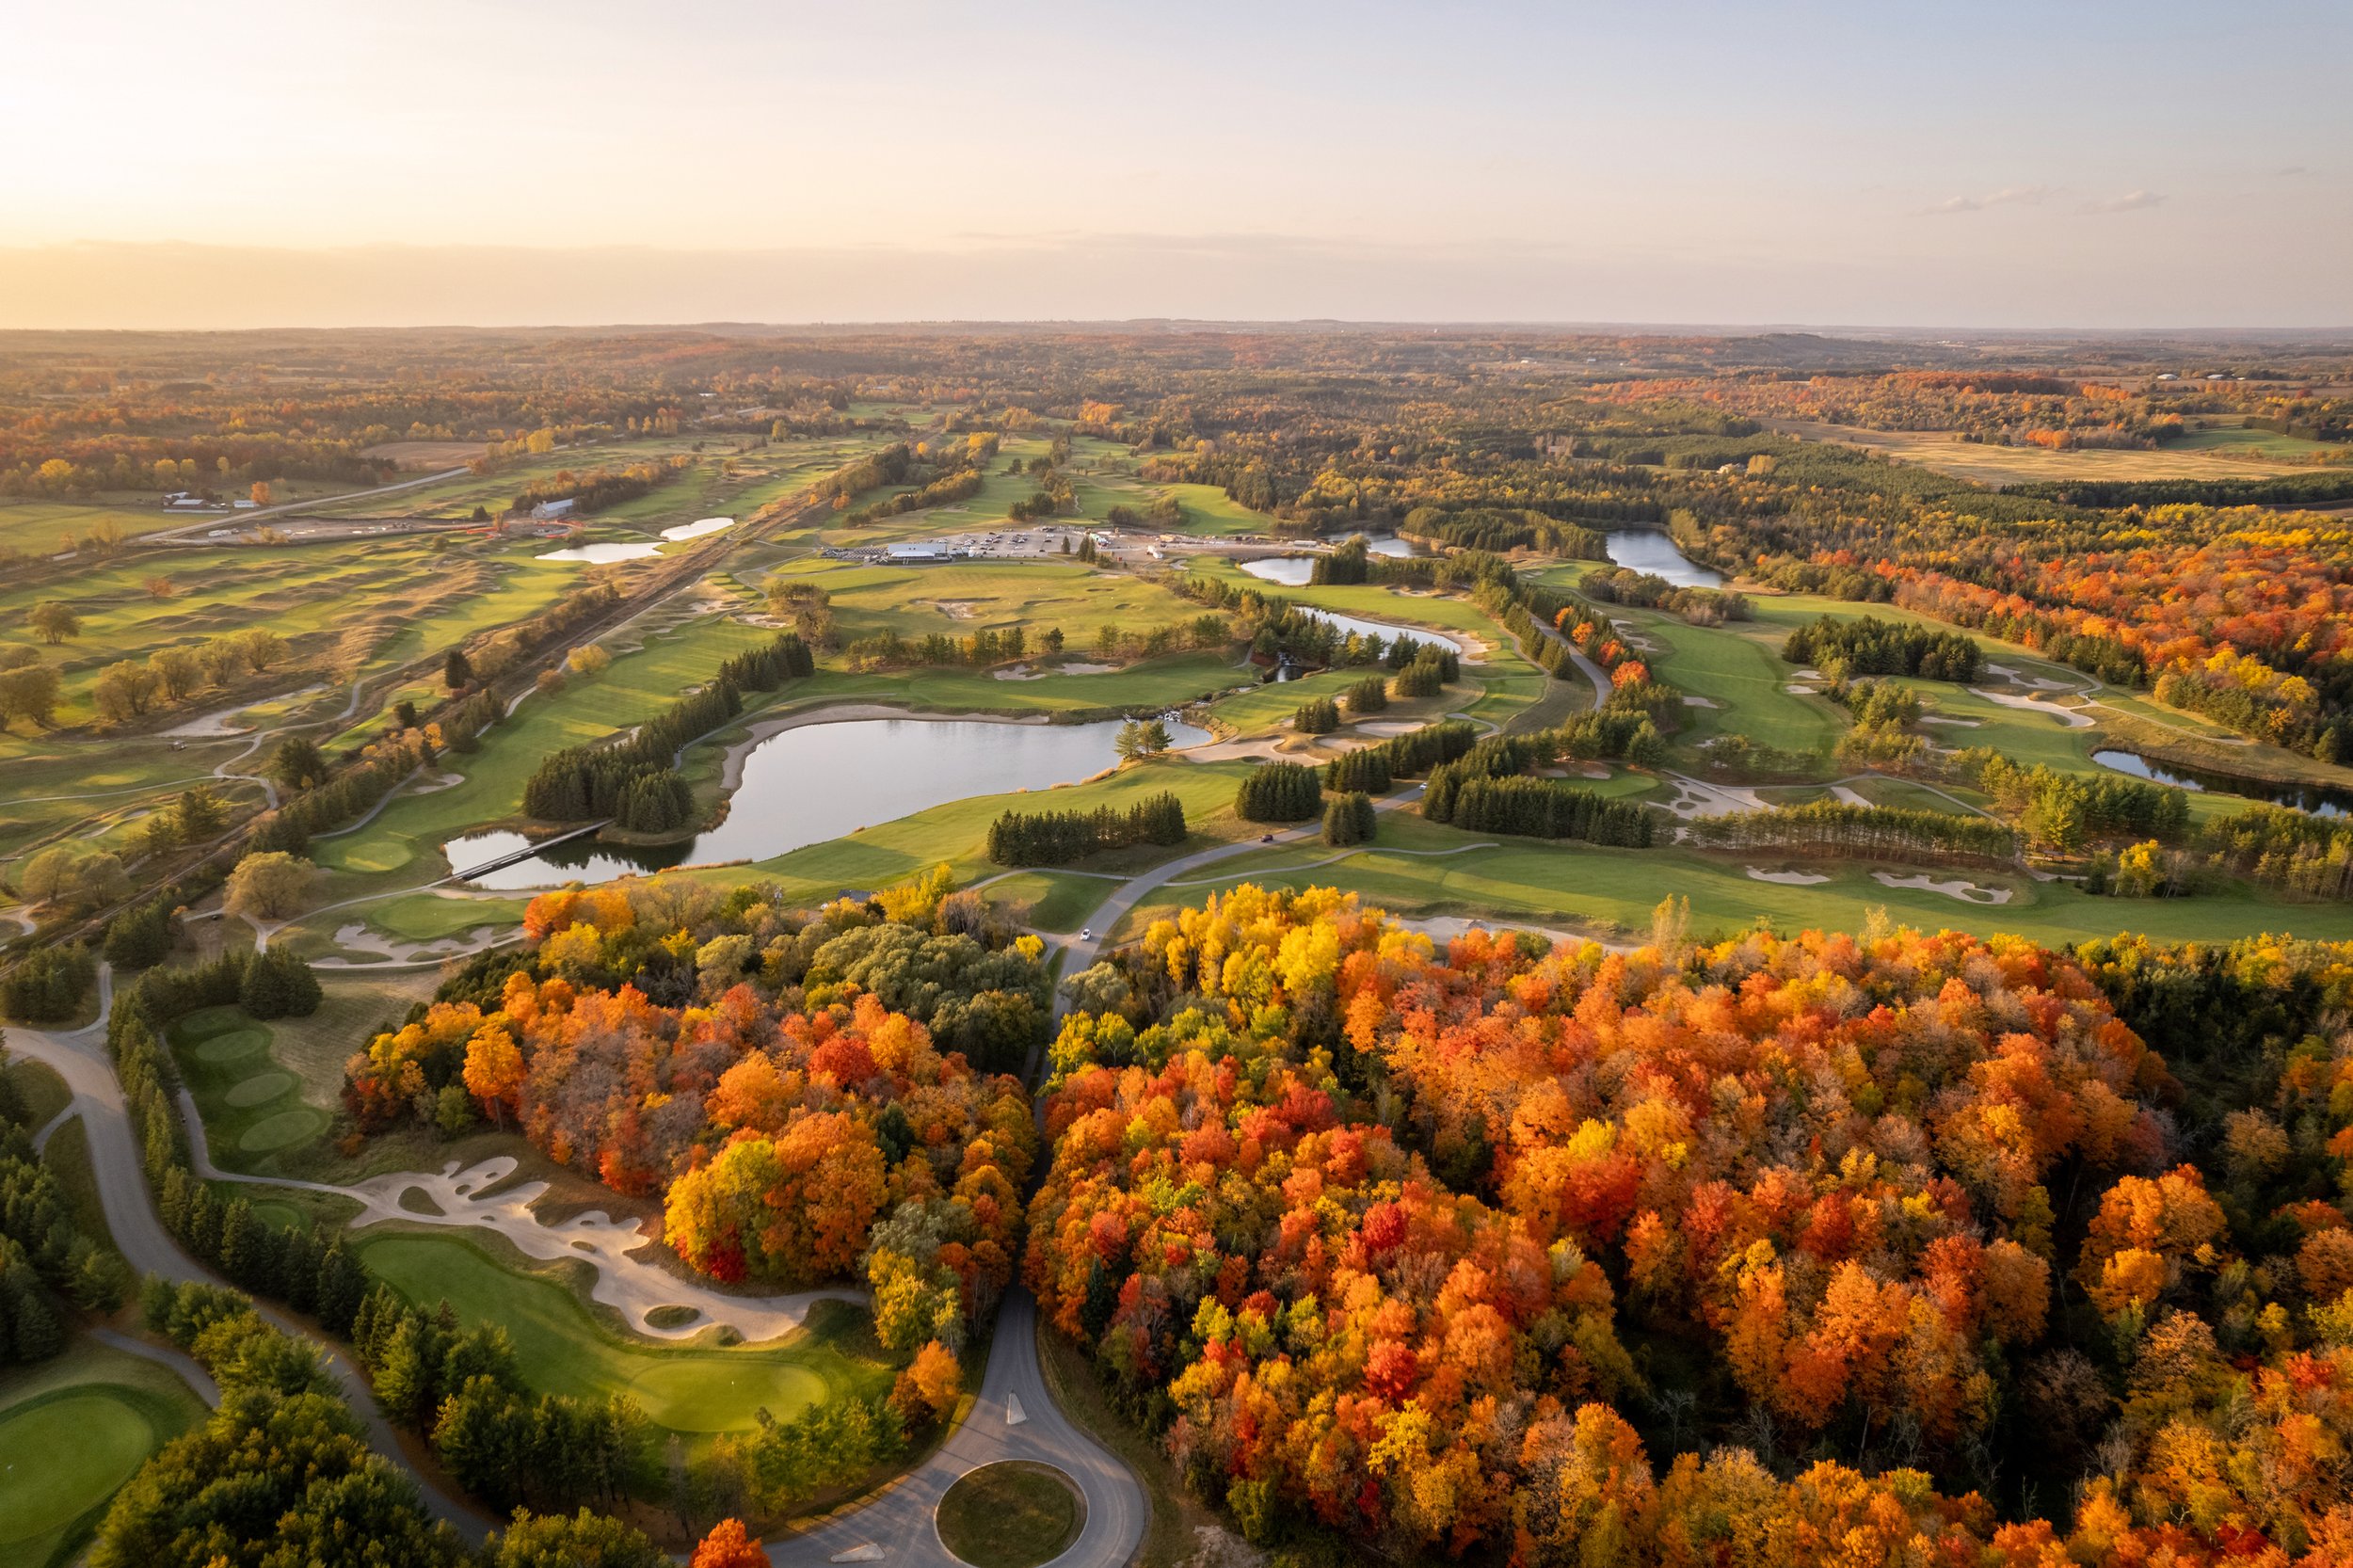
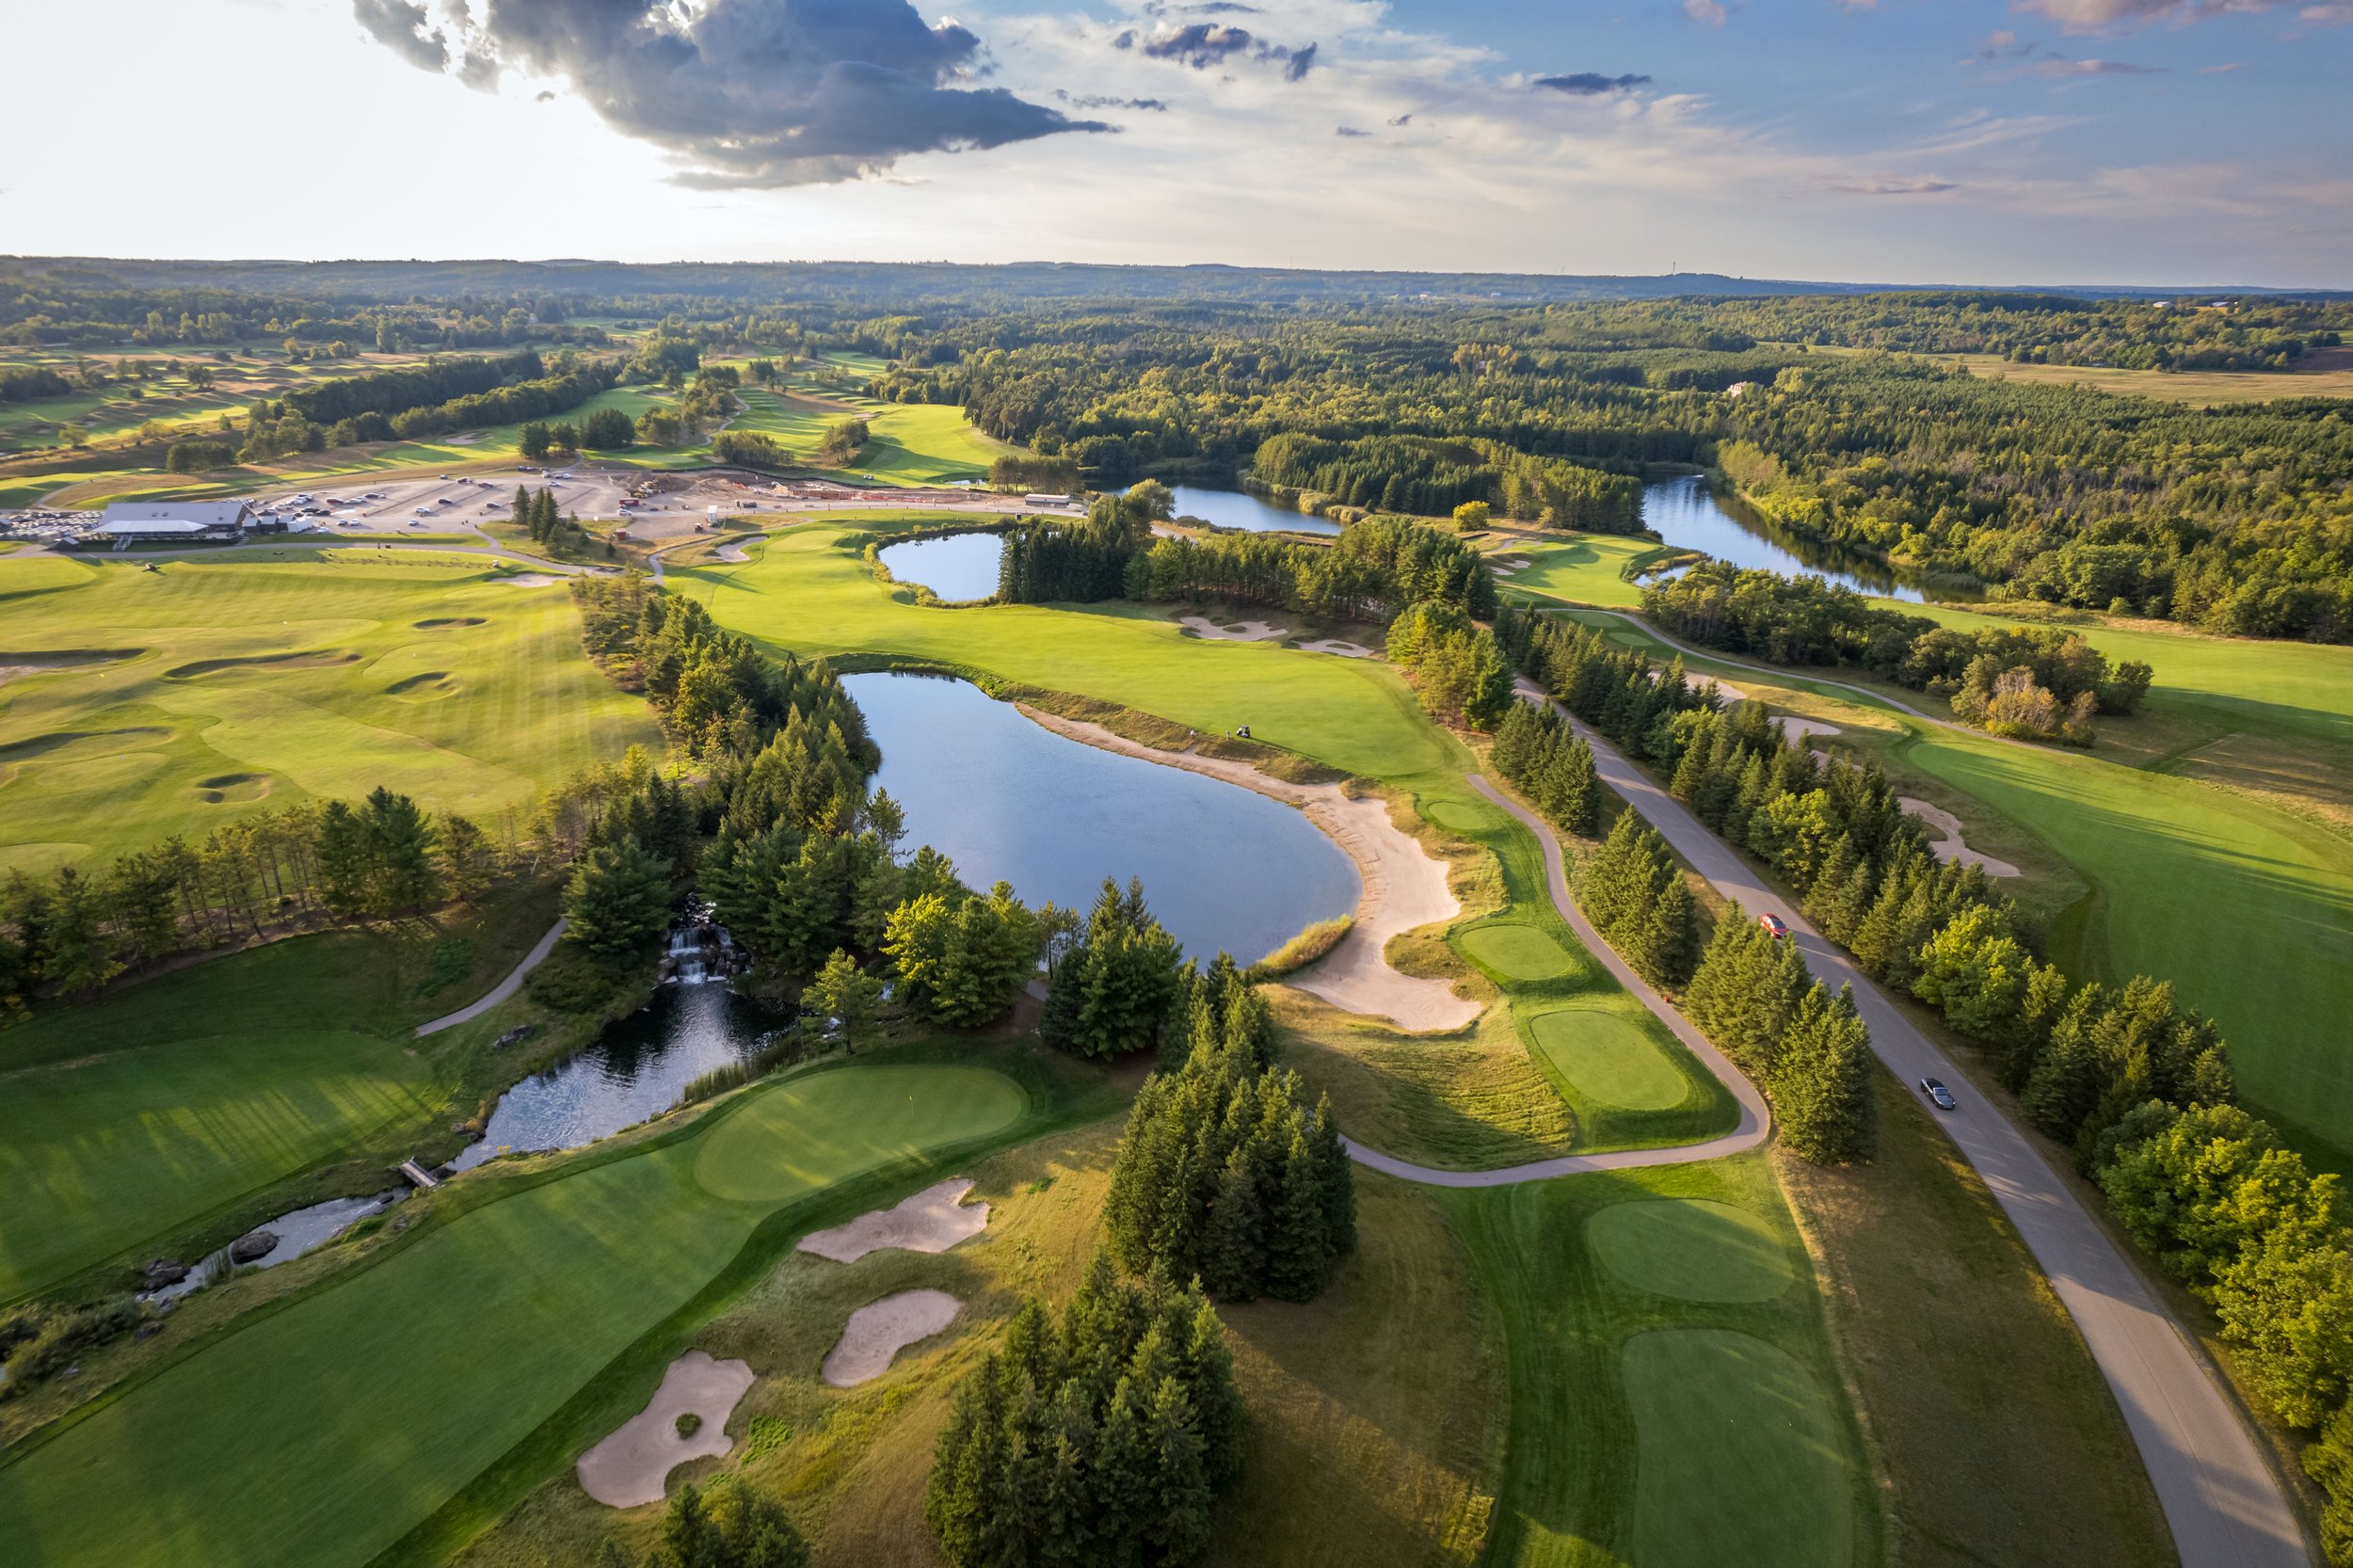
Featuring vast yet playable waste bunkers sprinkled throughout the course, the Hoot course takes players on a scenic journey and features a mix of demanding challenges and scoring-friendly opportunities from start to finish.
Inspired by Pine Valley and reminiscent of the wasteland courses of the Carolinas, the Hoot opened in 2001 takes players away on an 18-hole journey with wide fairways, expansive waste bunkers and approachable-yet-challenging green sites, offering an enjoyable experience for golfers of all abilities.
HOLE FLYOVERS
-
![]()
HOLE 1
PAR 5: 545 YARDS
-
![]()
HOLE 2
PAR 4: 400 YARDS
-
![]()
HOLE 3
PAR 4: 460 YARDS
-
![]()
HOLE 4
PAR 3: 206 YARDS
-
![]()
HOLE 5
PAR 4: 472 YARDS
-
![]()
HOLE 6
PAR 5: 496 YARDS
-
![]()
HOLE 7
PAR 4: 440 YARDS
-
![]()
HOLE 8
PAR 3: 185 YARDS
-
![]()
HOLE 9
PAR 4: 438 YARDS
-
![]()
HOLE 10
PAR 3: 216 YARDS
-
![]()
HOLE 11
PAR 5: 530 YARDS
-
![]()
HOLE 12
PAR 4: 394 YARDS
-
![]()
HOLE 13
PAR 5: 530 YARDS
-
![]()
HOLE 14
HOLE 4: 442 YARDS
-
![]()
HOLE 15
PAR 3: 138 YARDS
-
![]()
HOLE 16
PAR 4: 452 YARDS
-
![]()
HOLE 17
PAR 4: 352 YARDS
-
![]()
HOLE 18
PAR 4: 438 YARDS


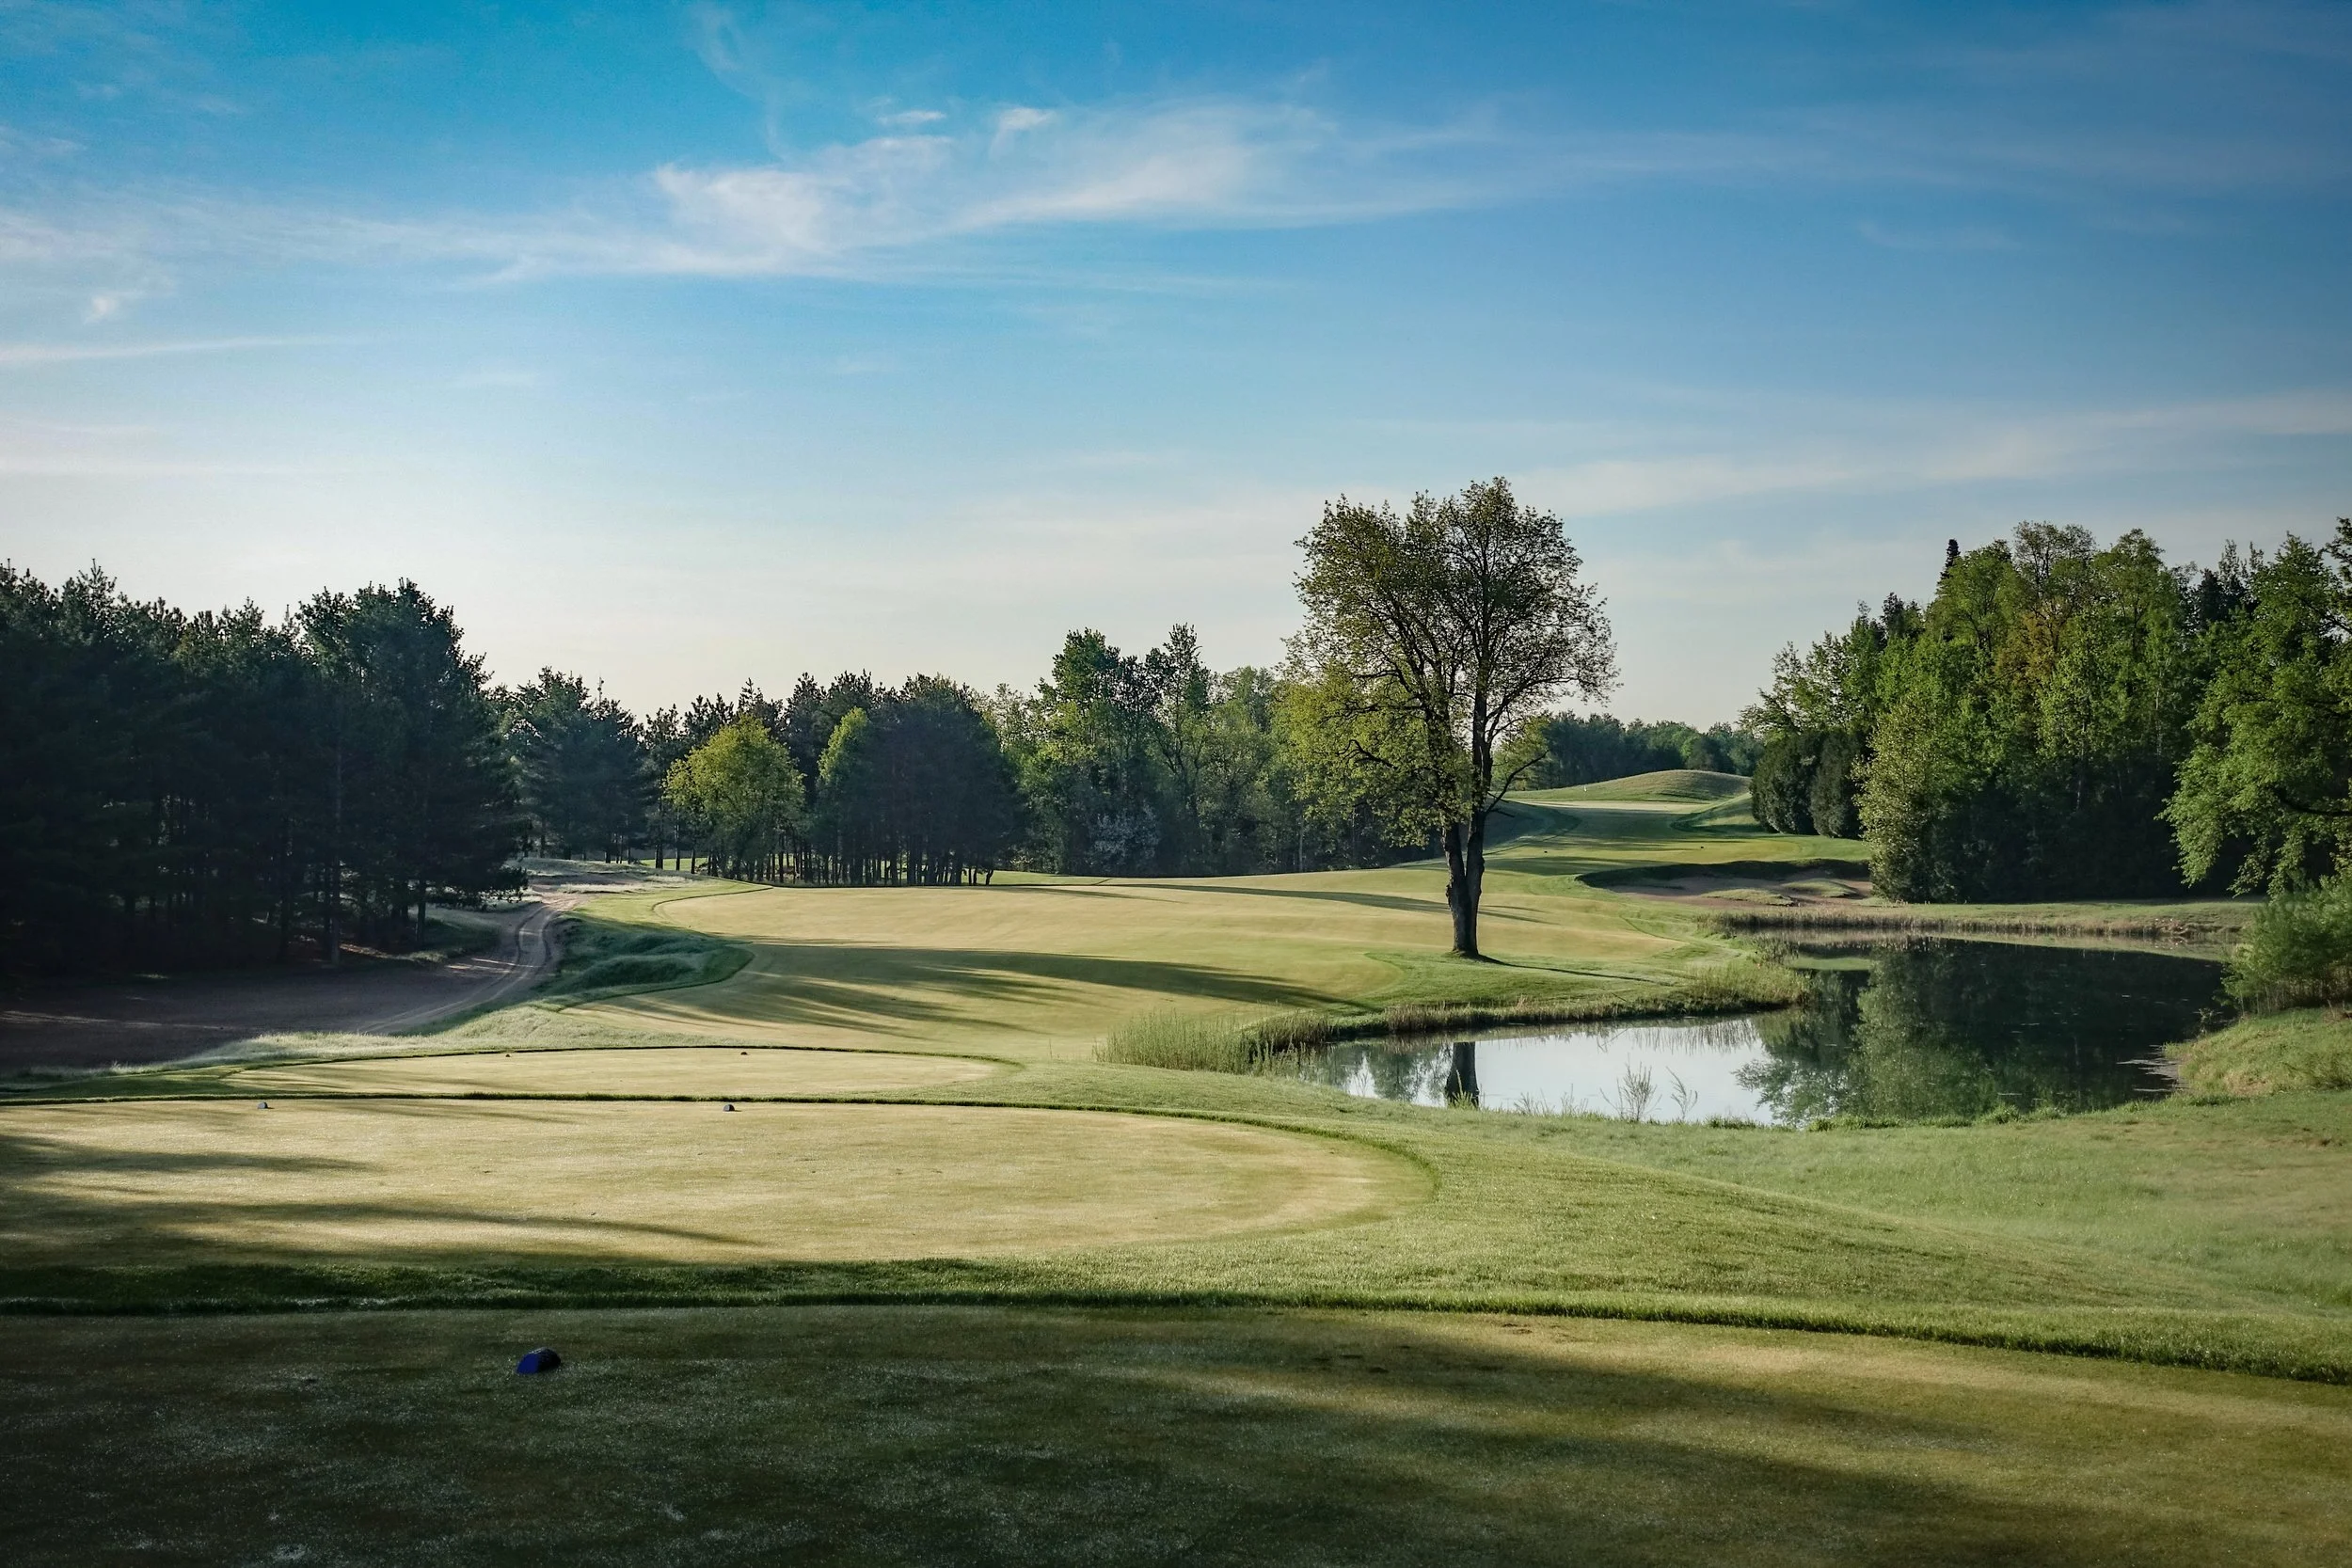


1st Hole - Photo by Chris Fry
2nd Hole

2nd Hole

2nd Hole - Photo by Chris Fry
3rd Hole - Photo by Chris Fry
3rd Hole - Photo by Chris Fry

3rd Hole
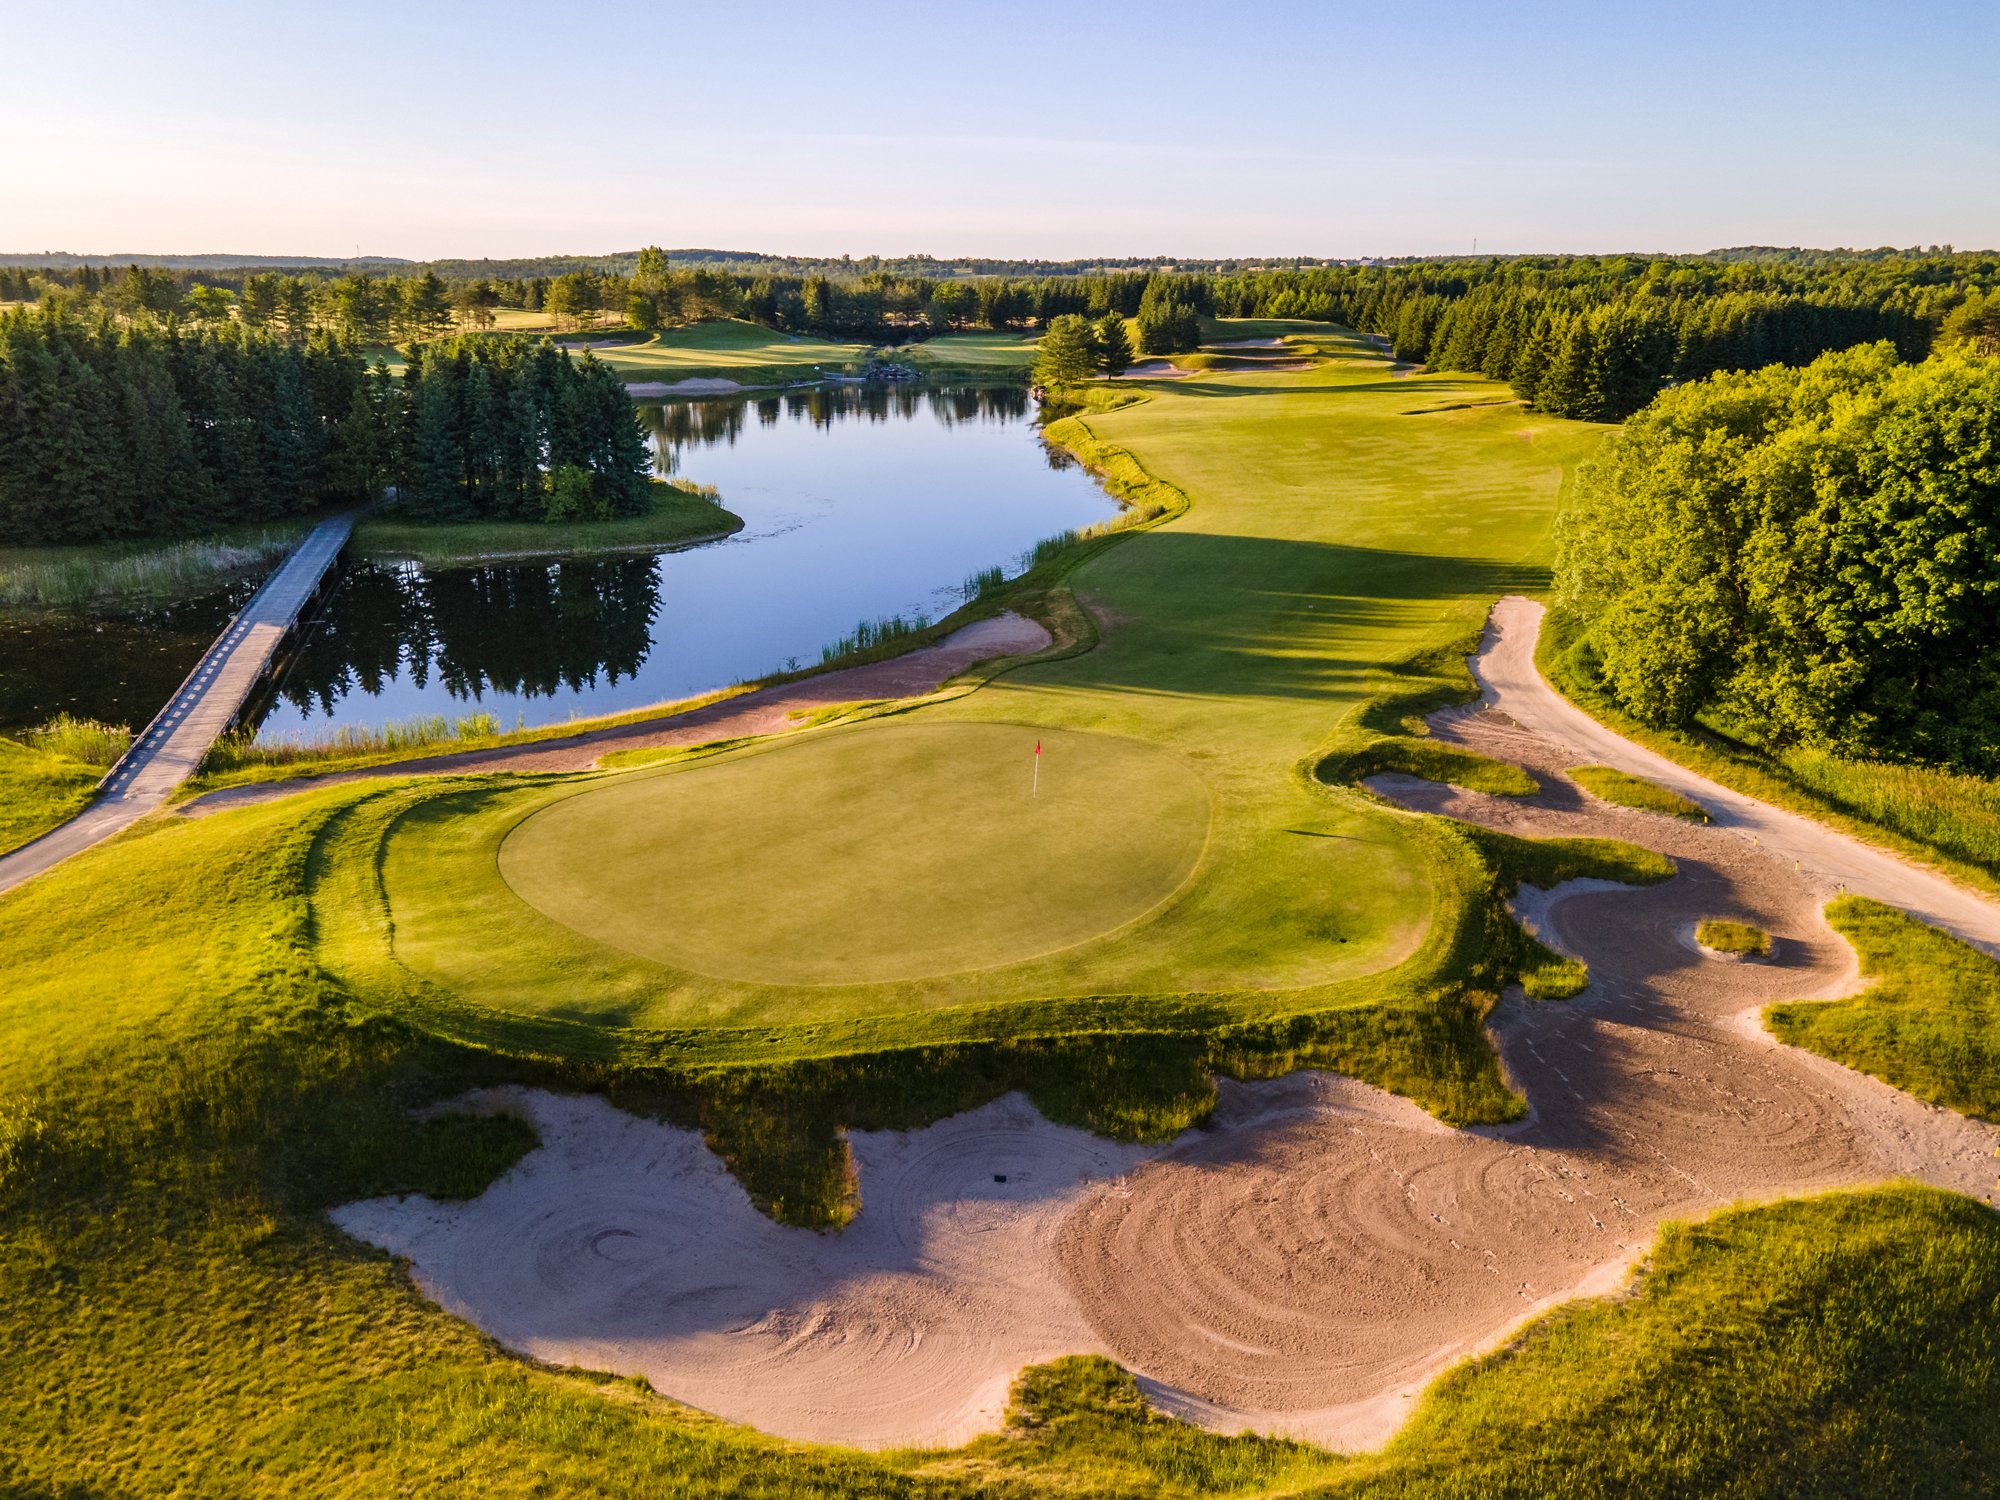
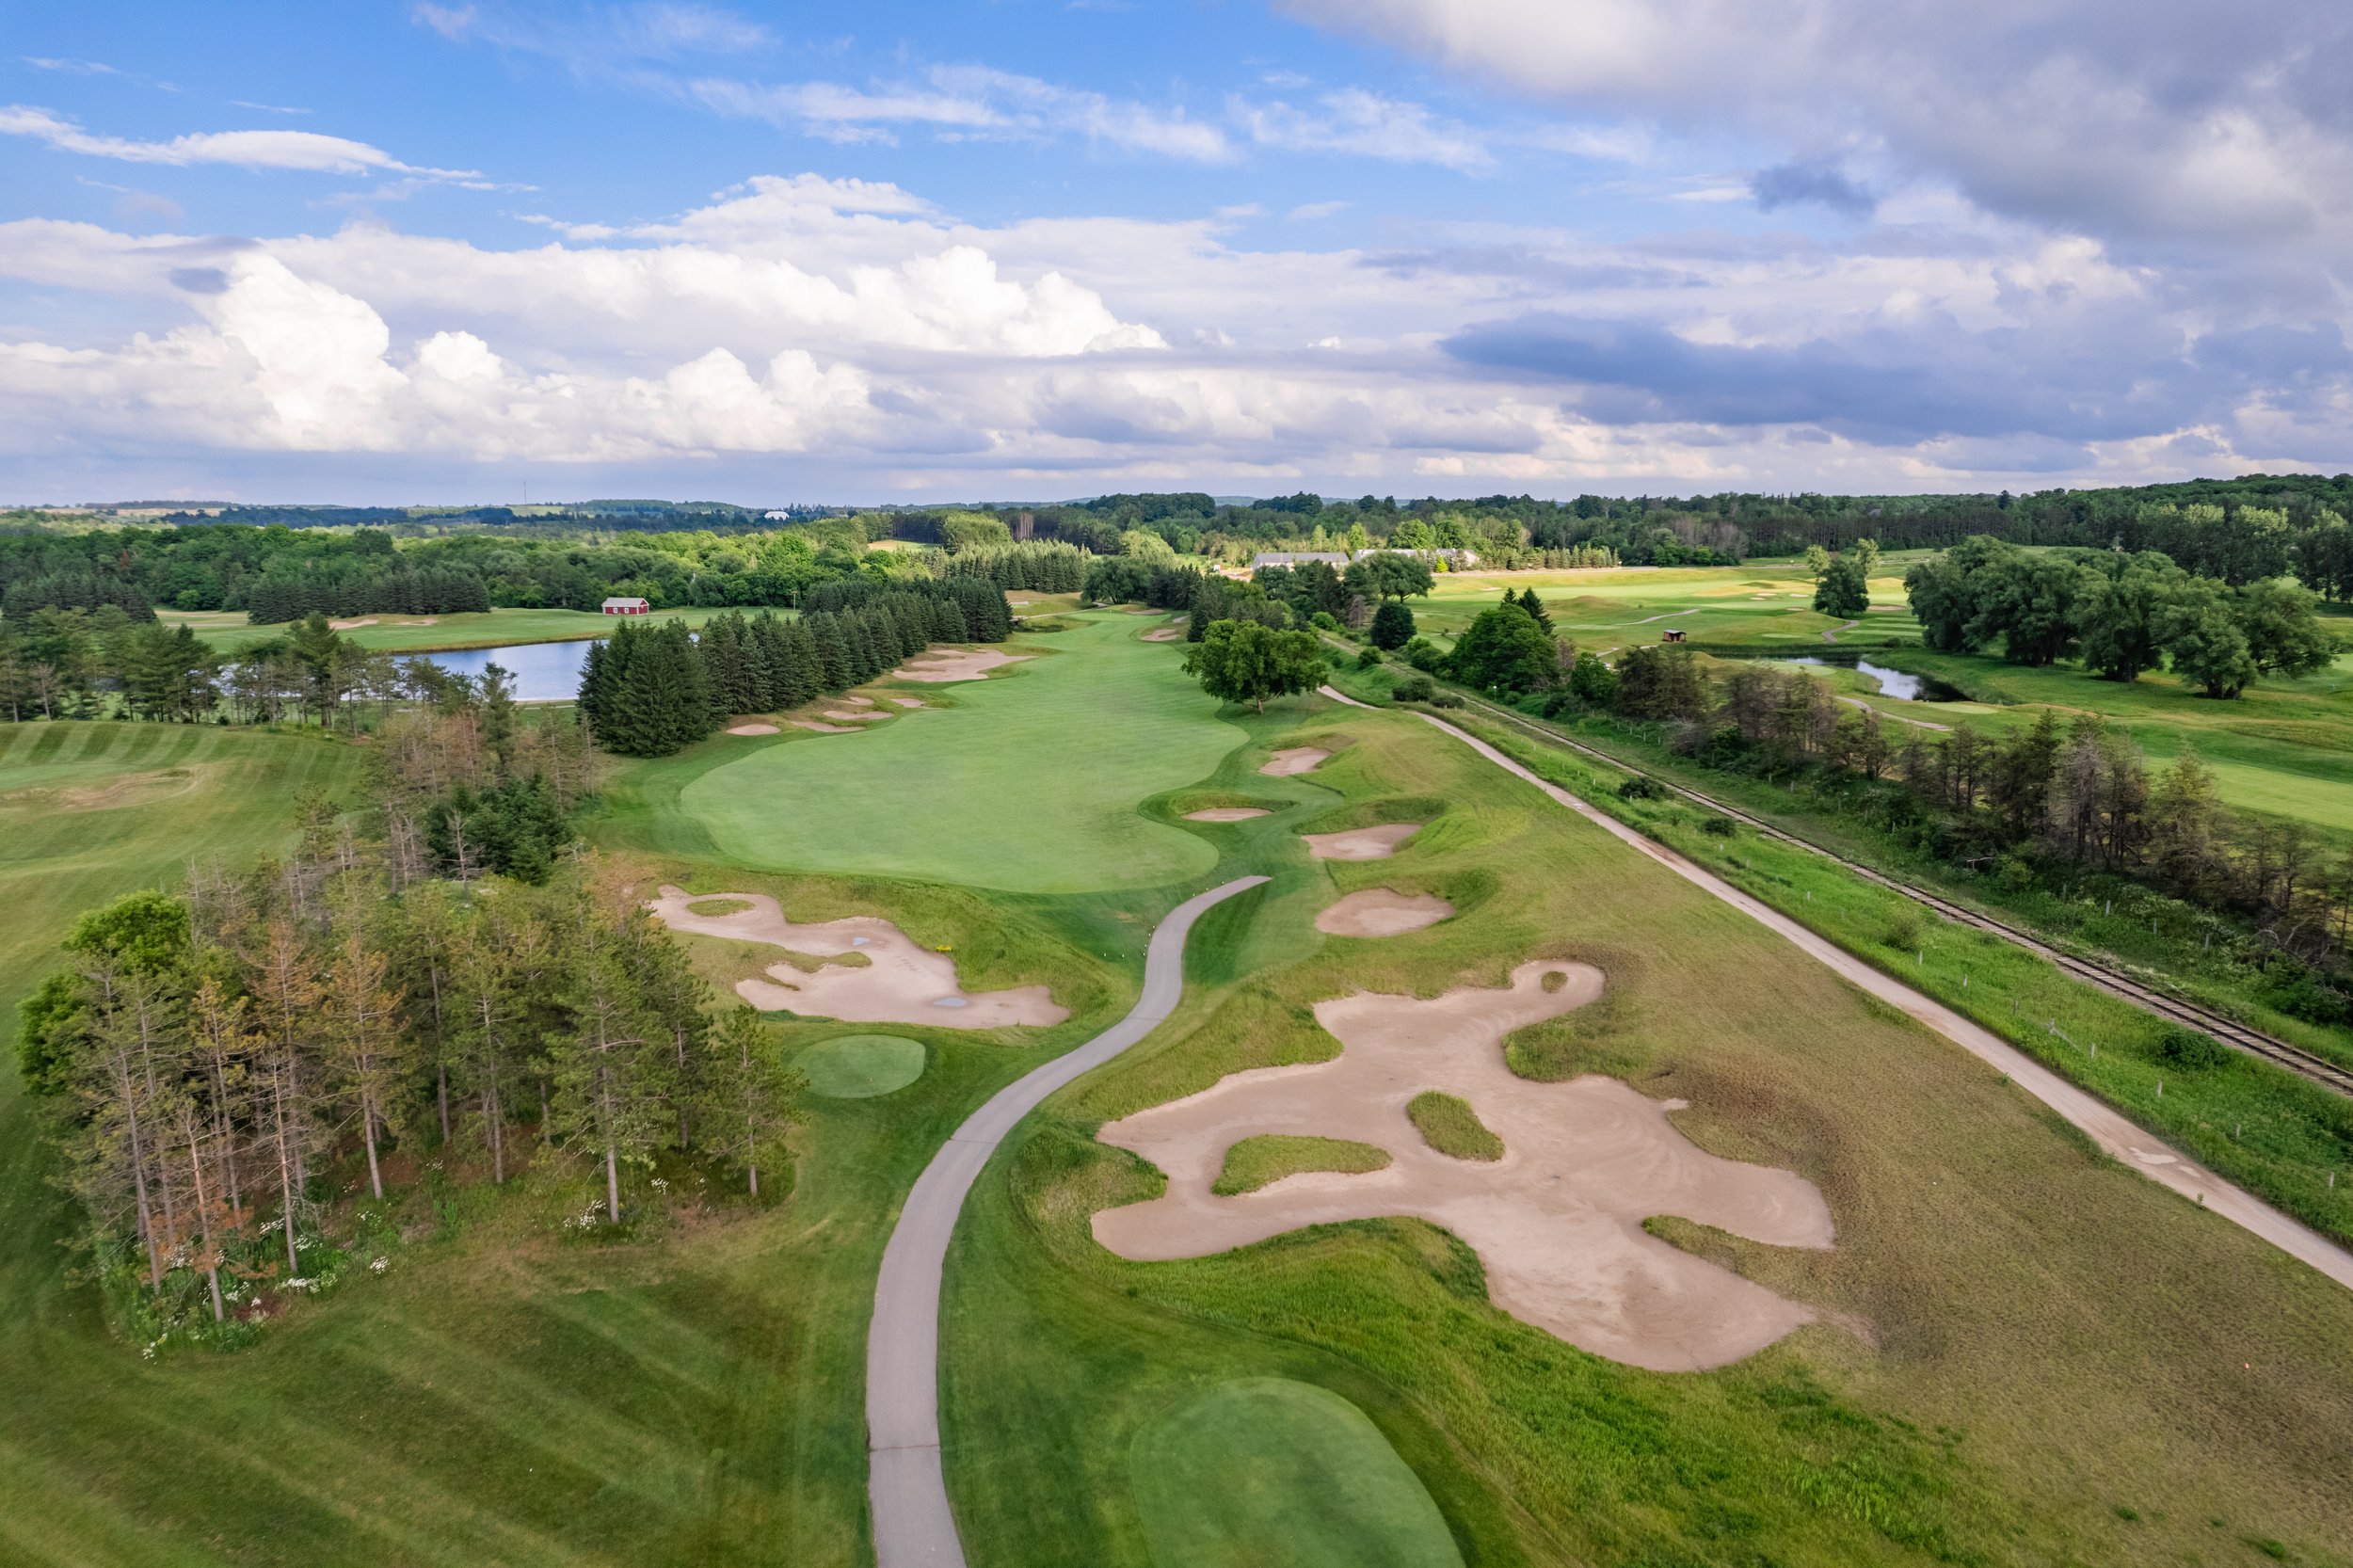
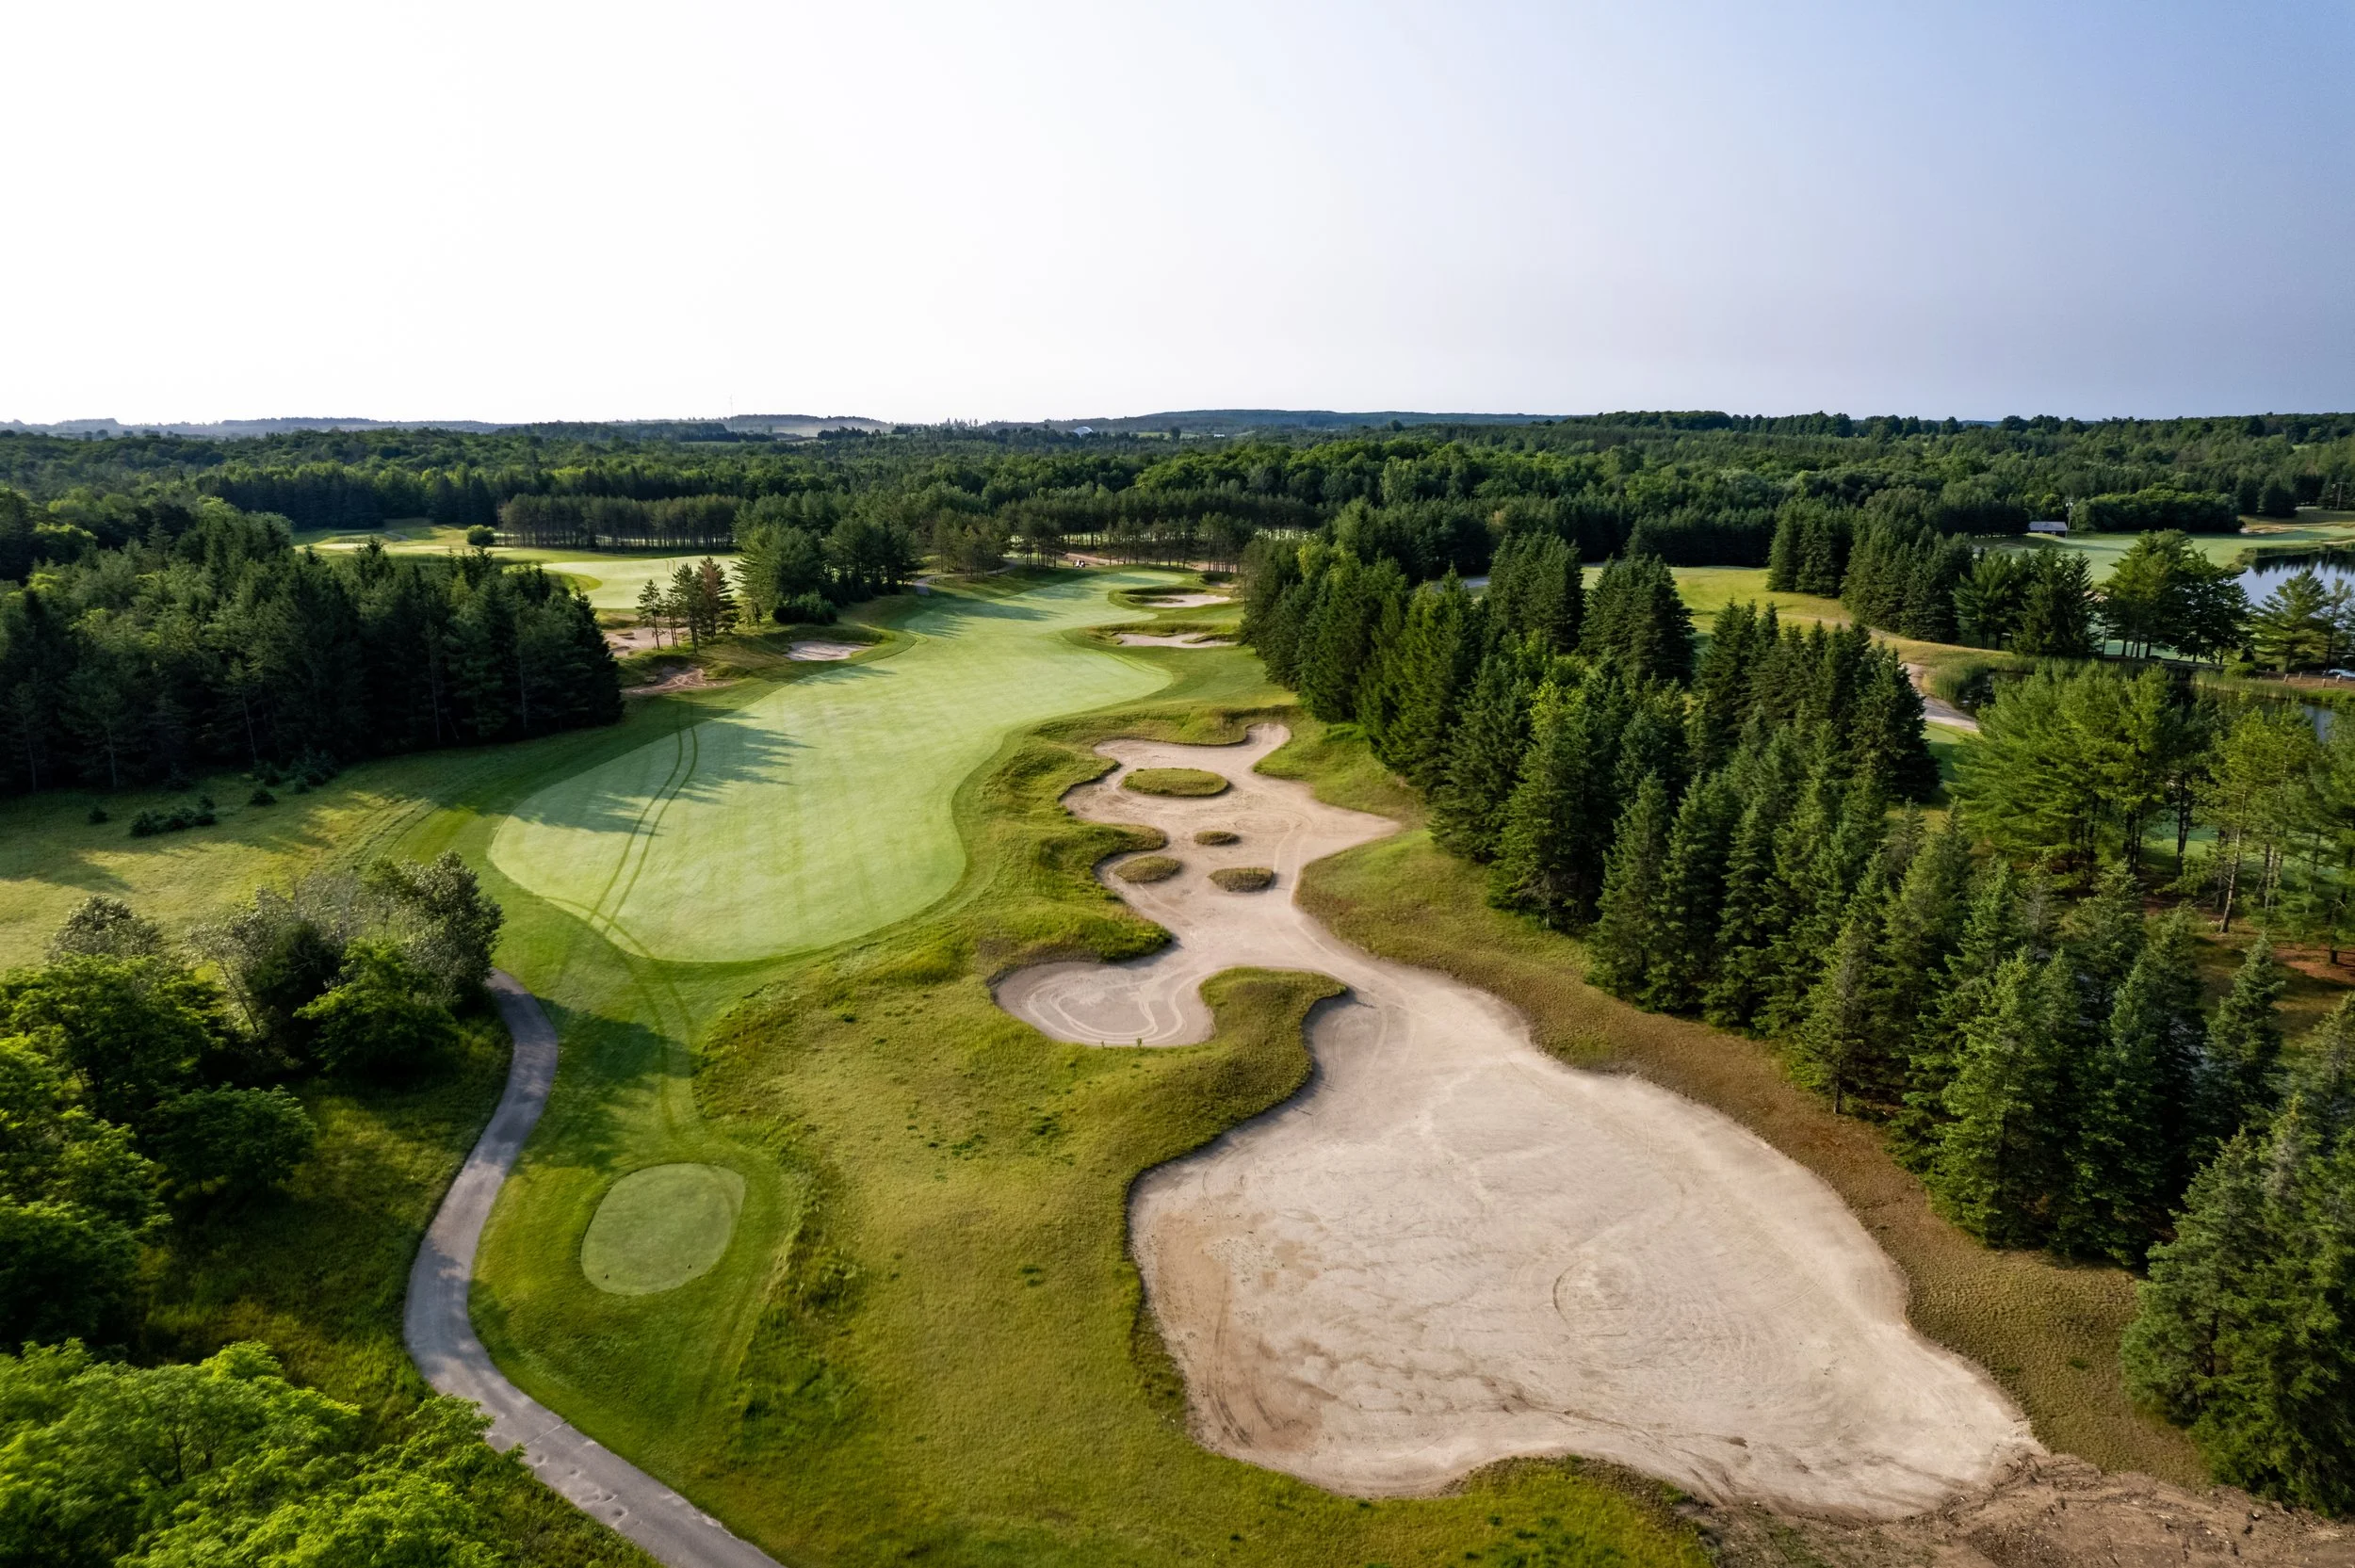
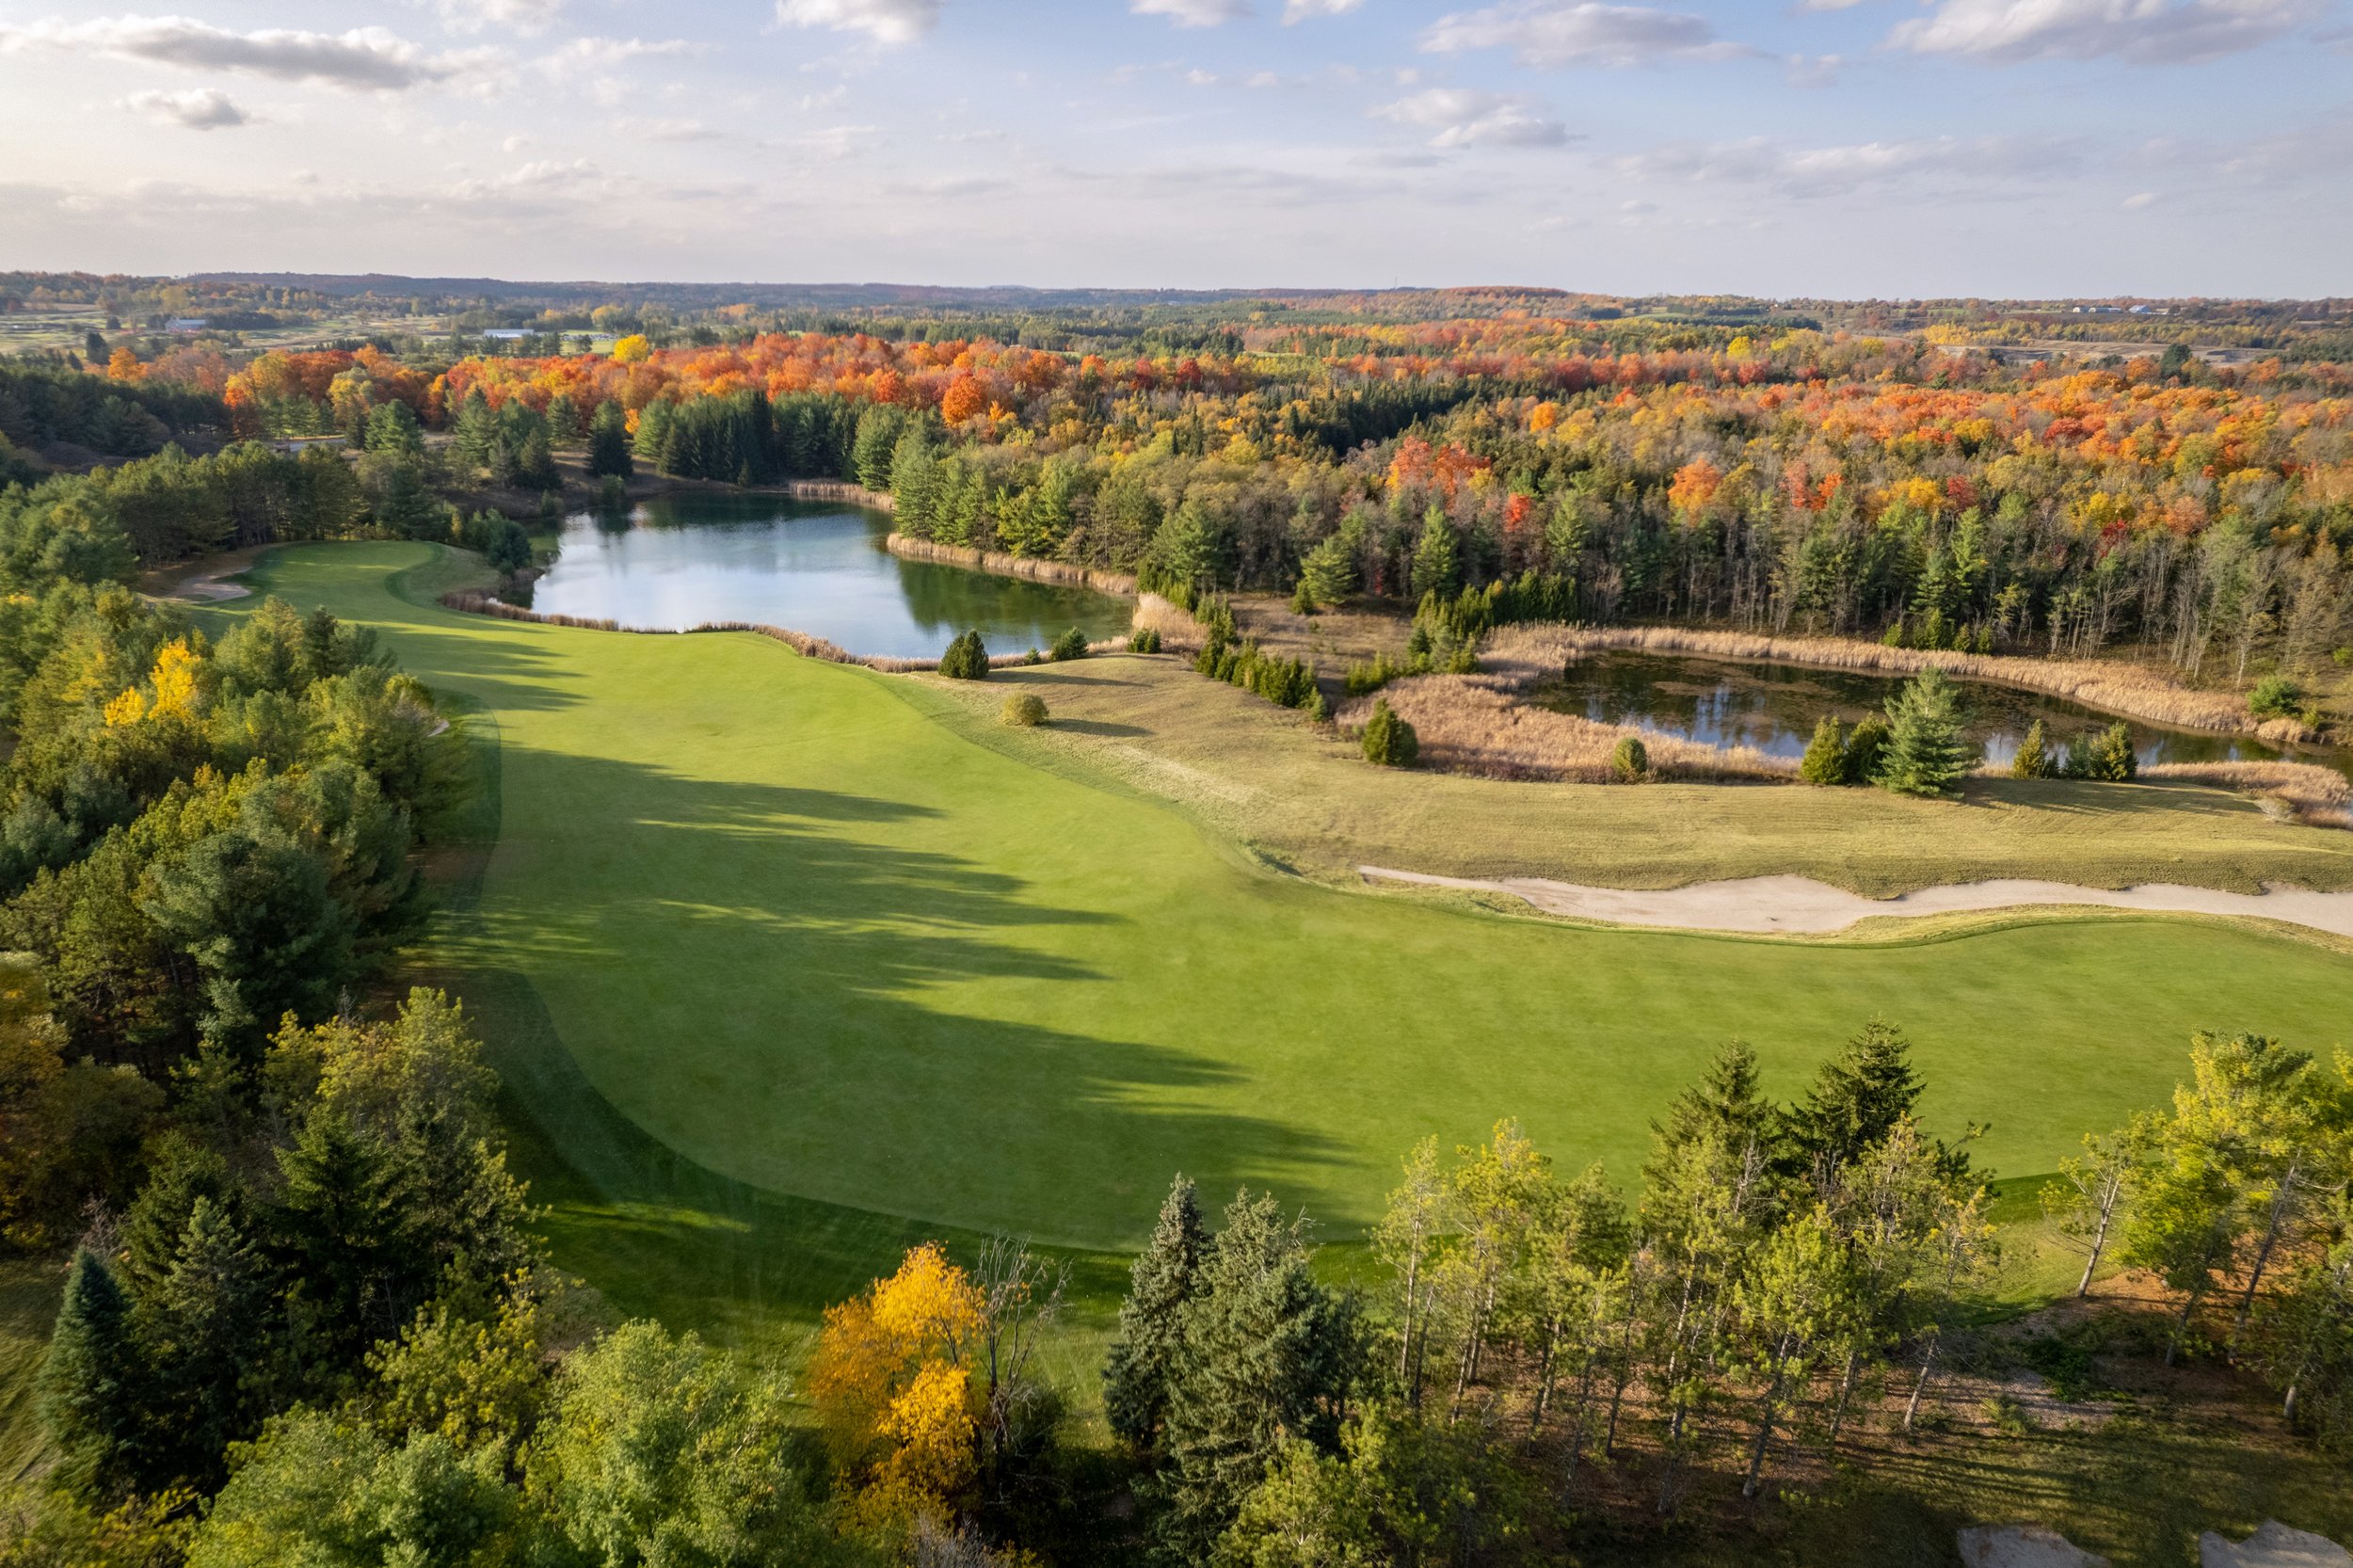
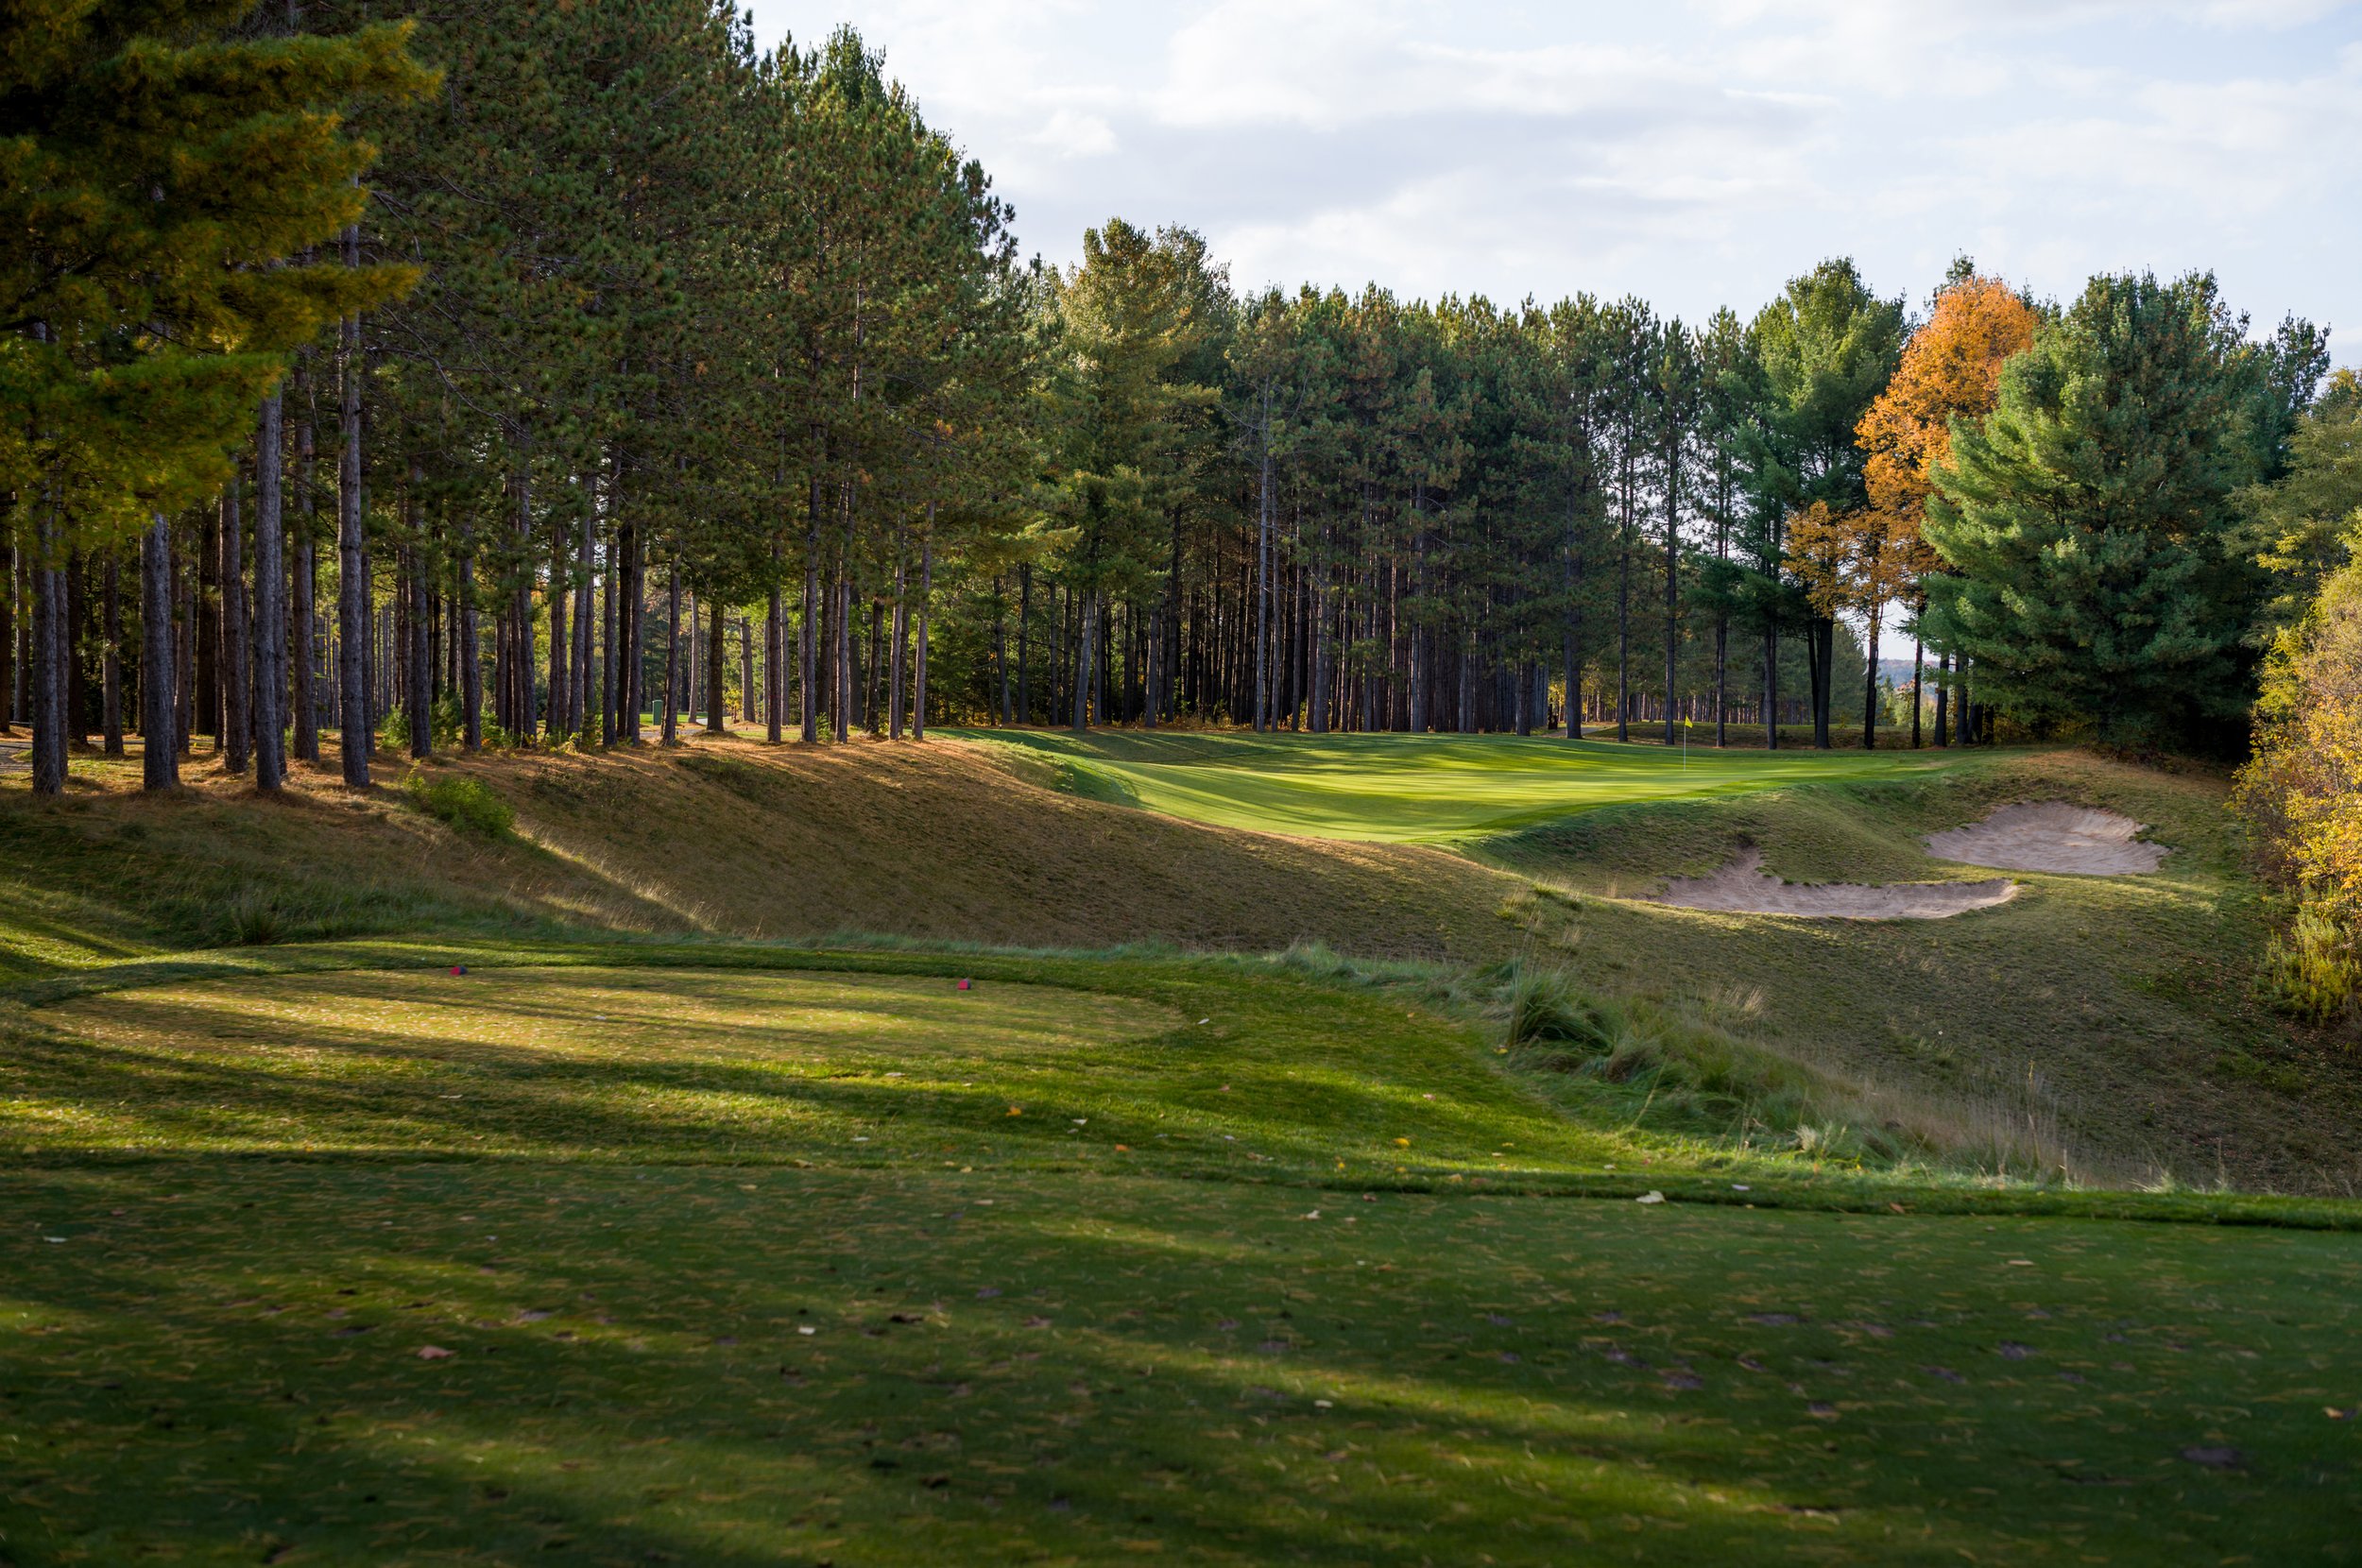
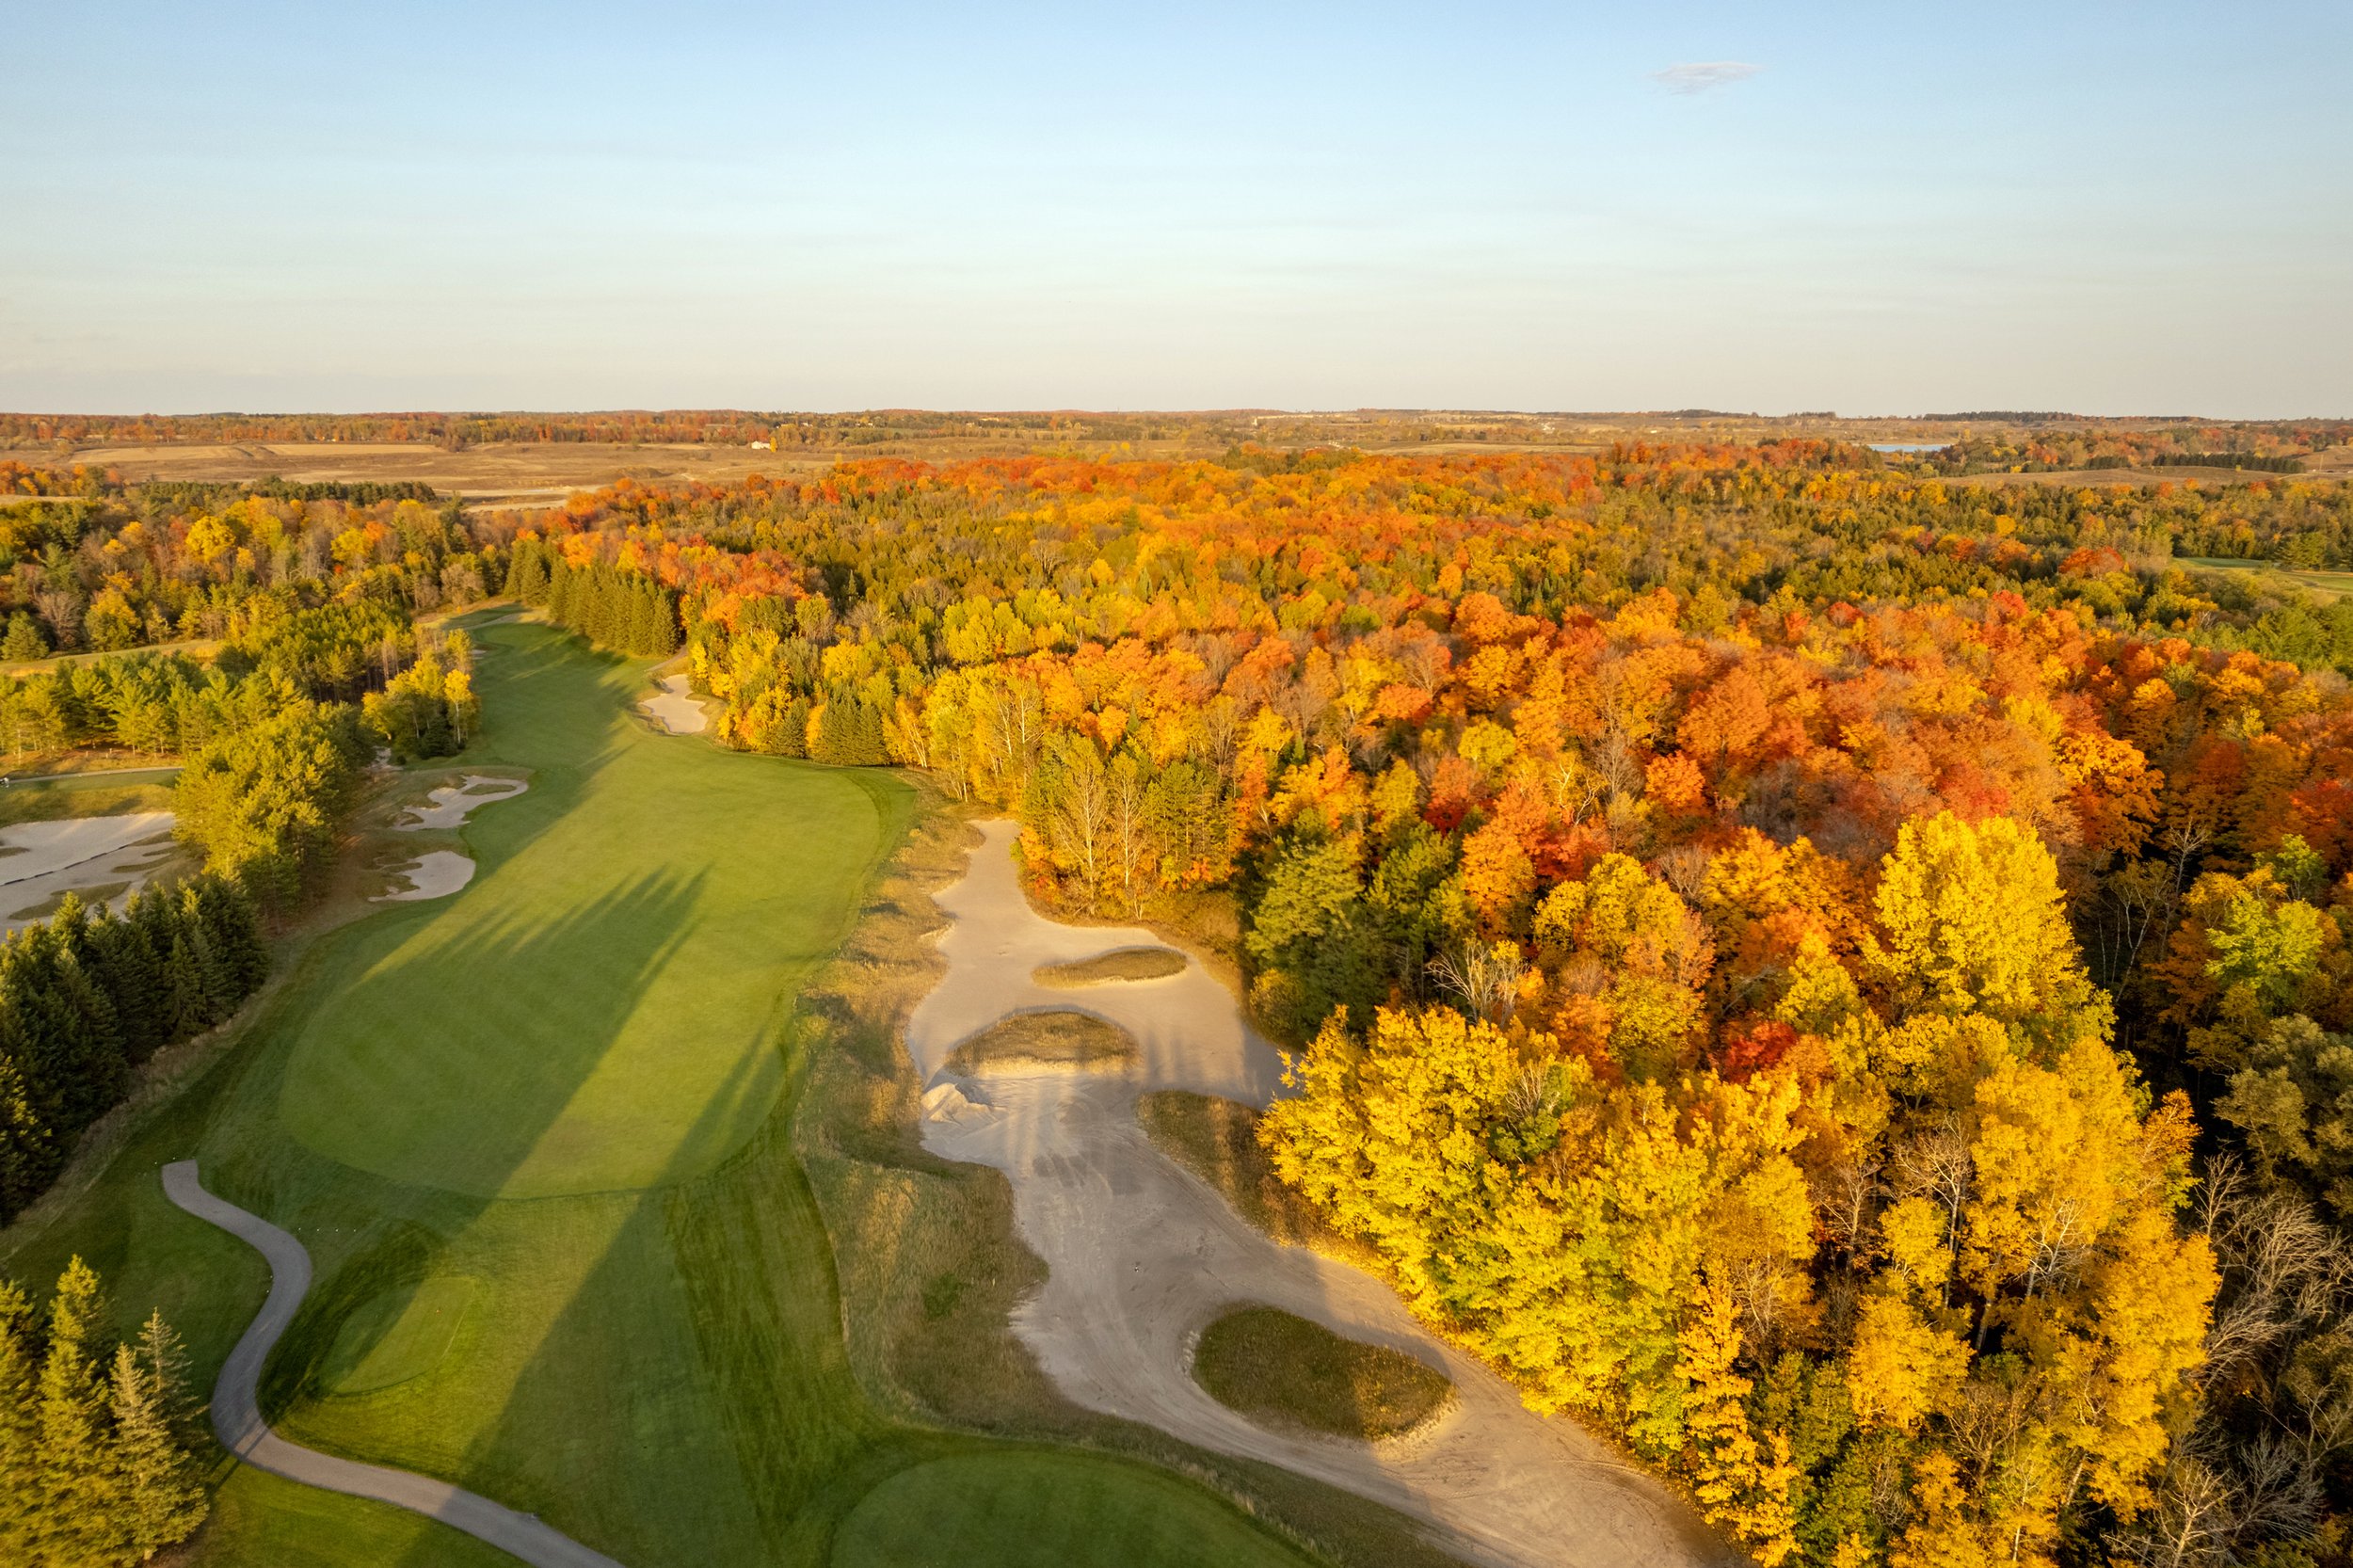
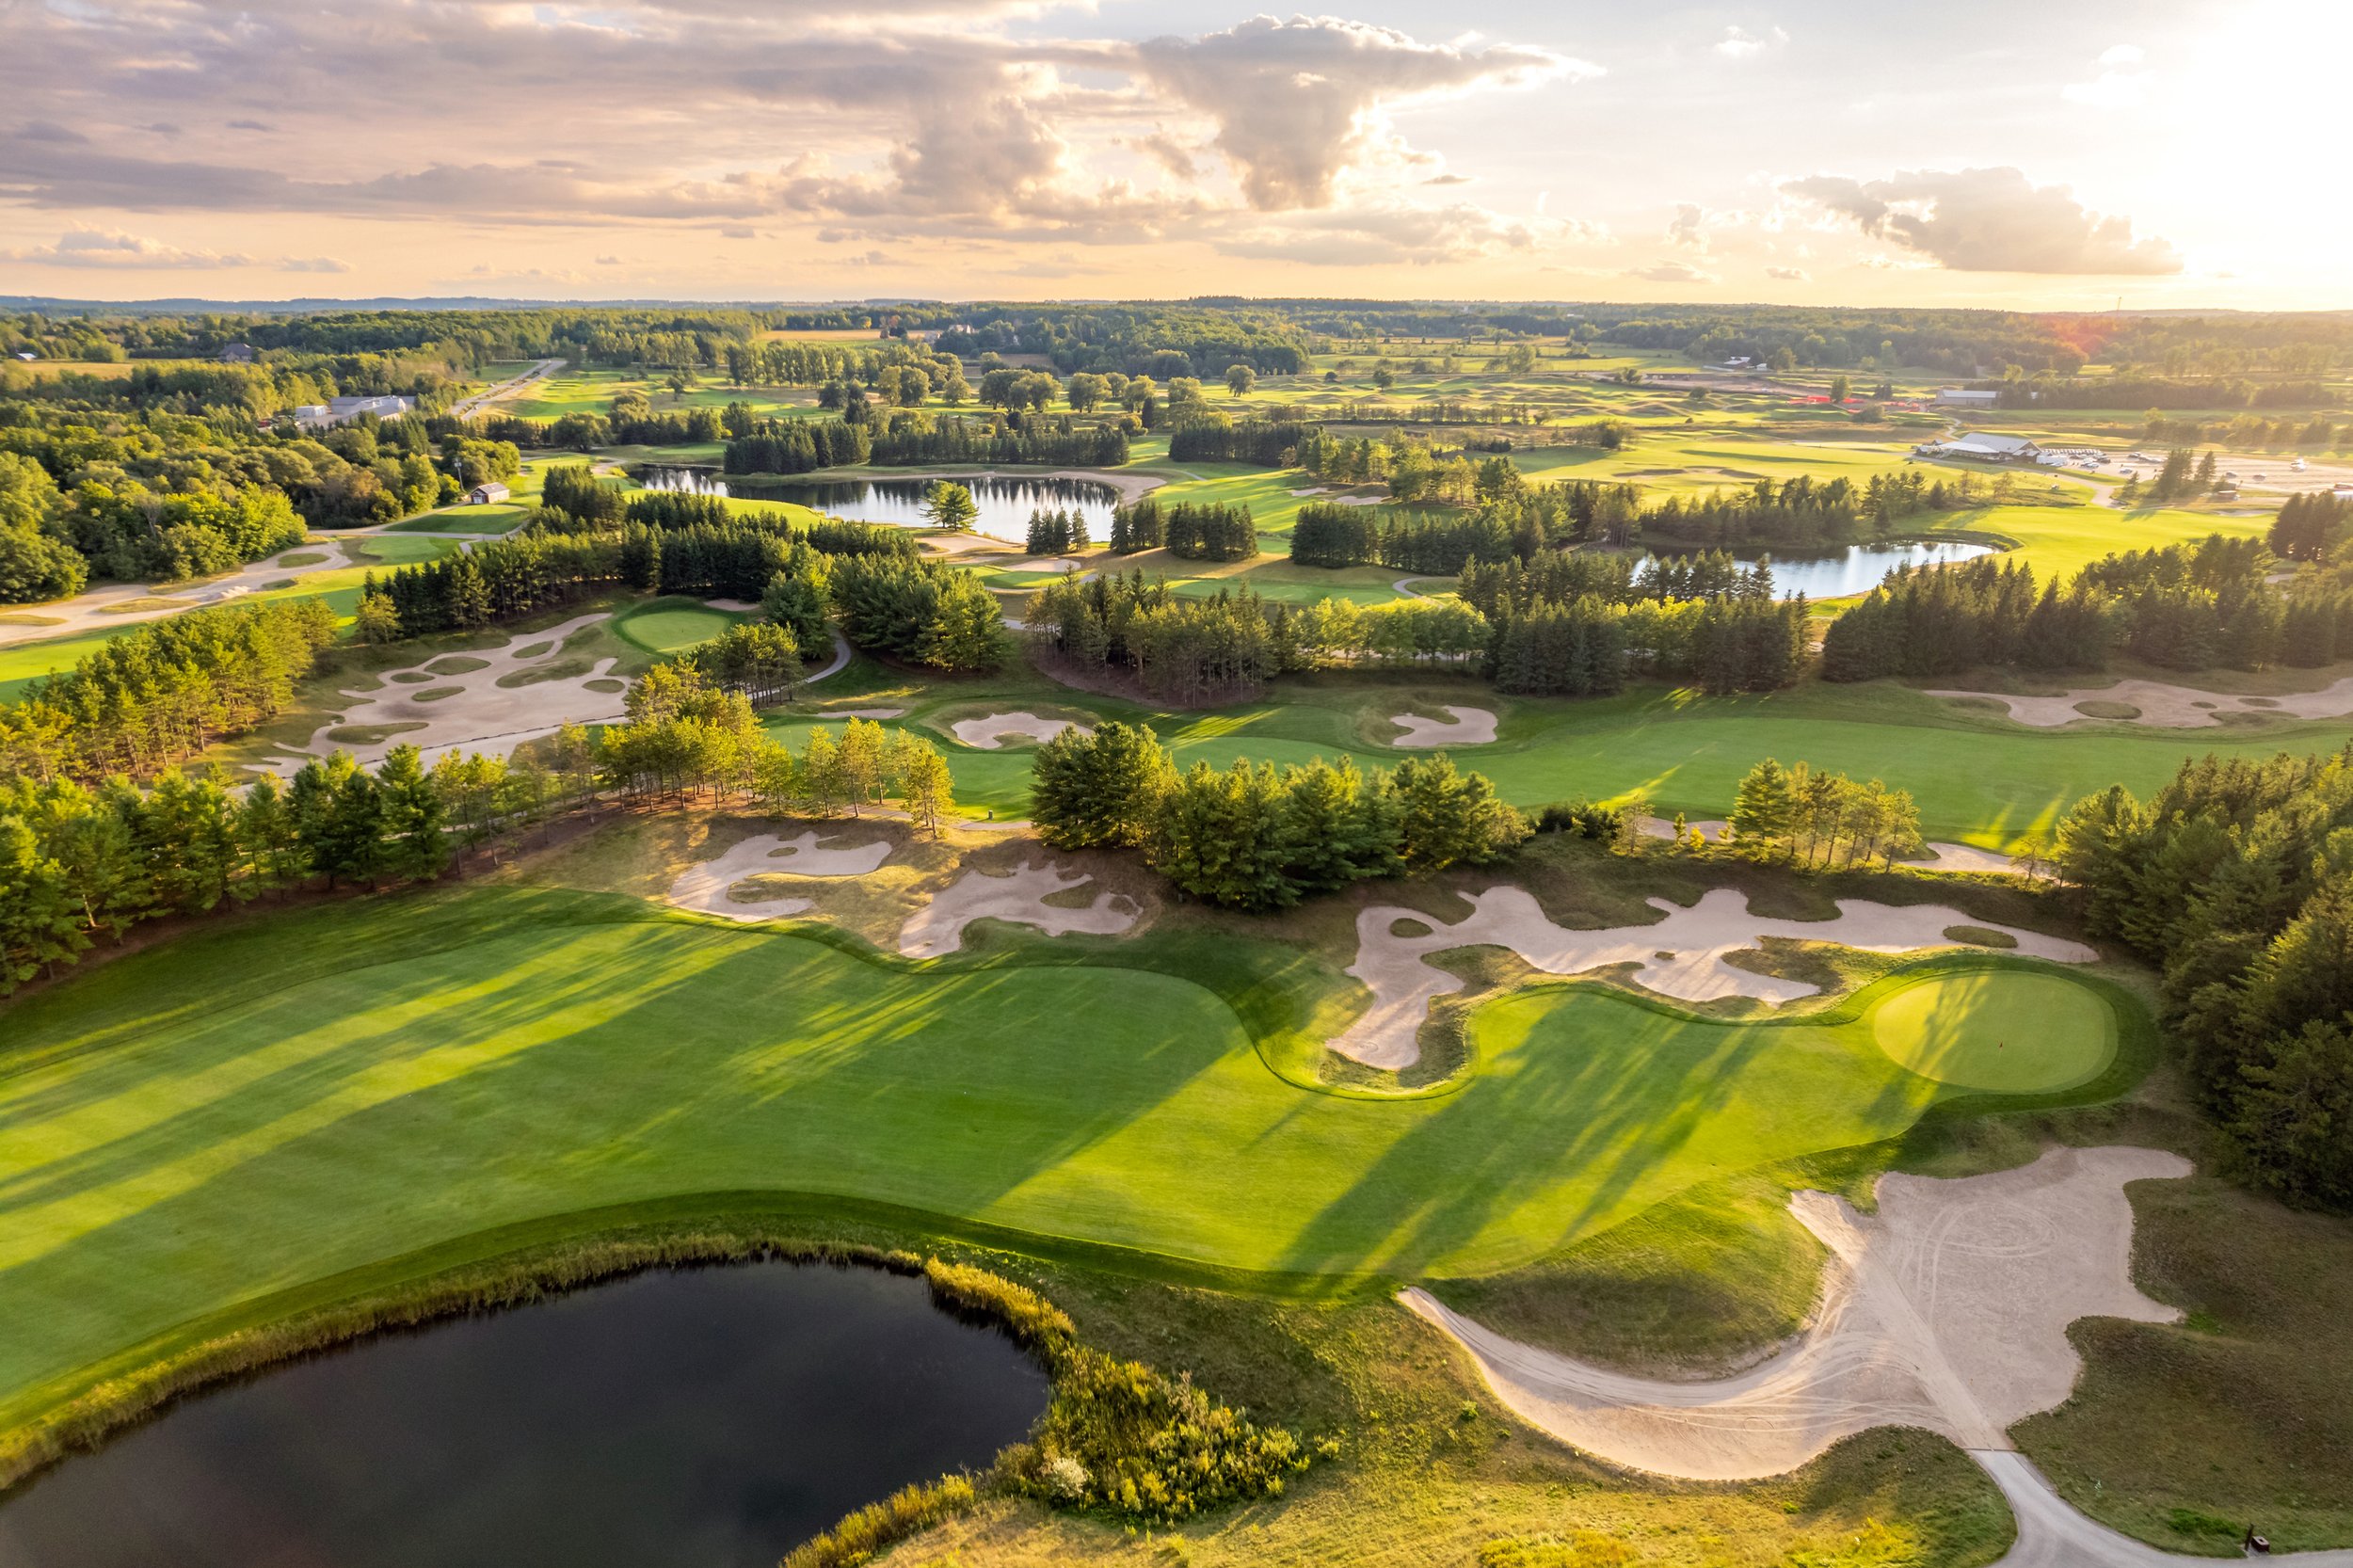
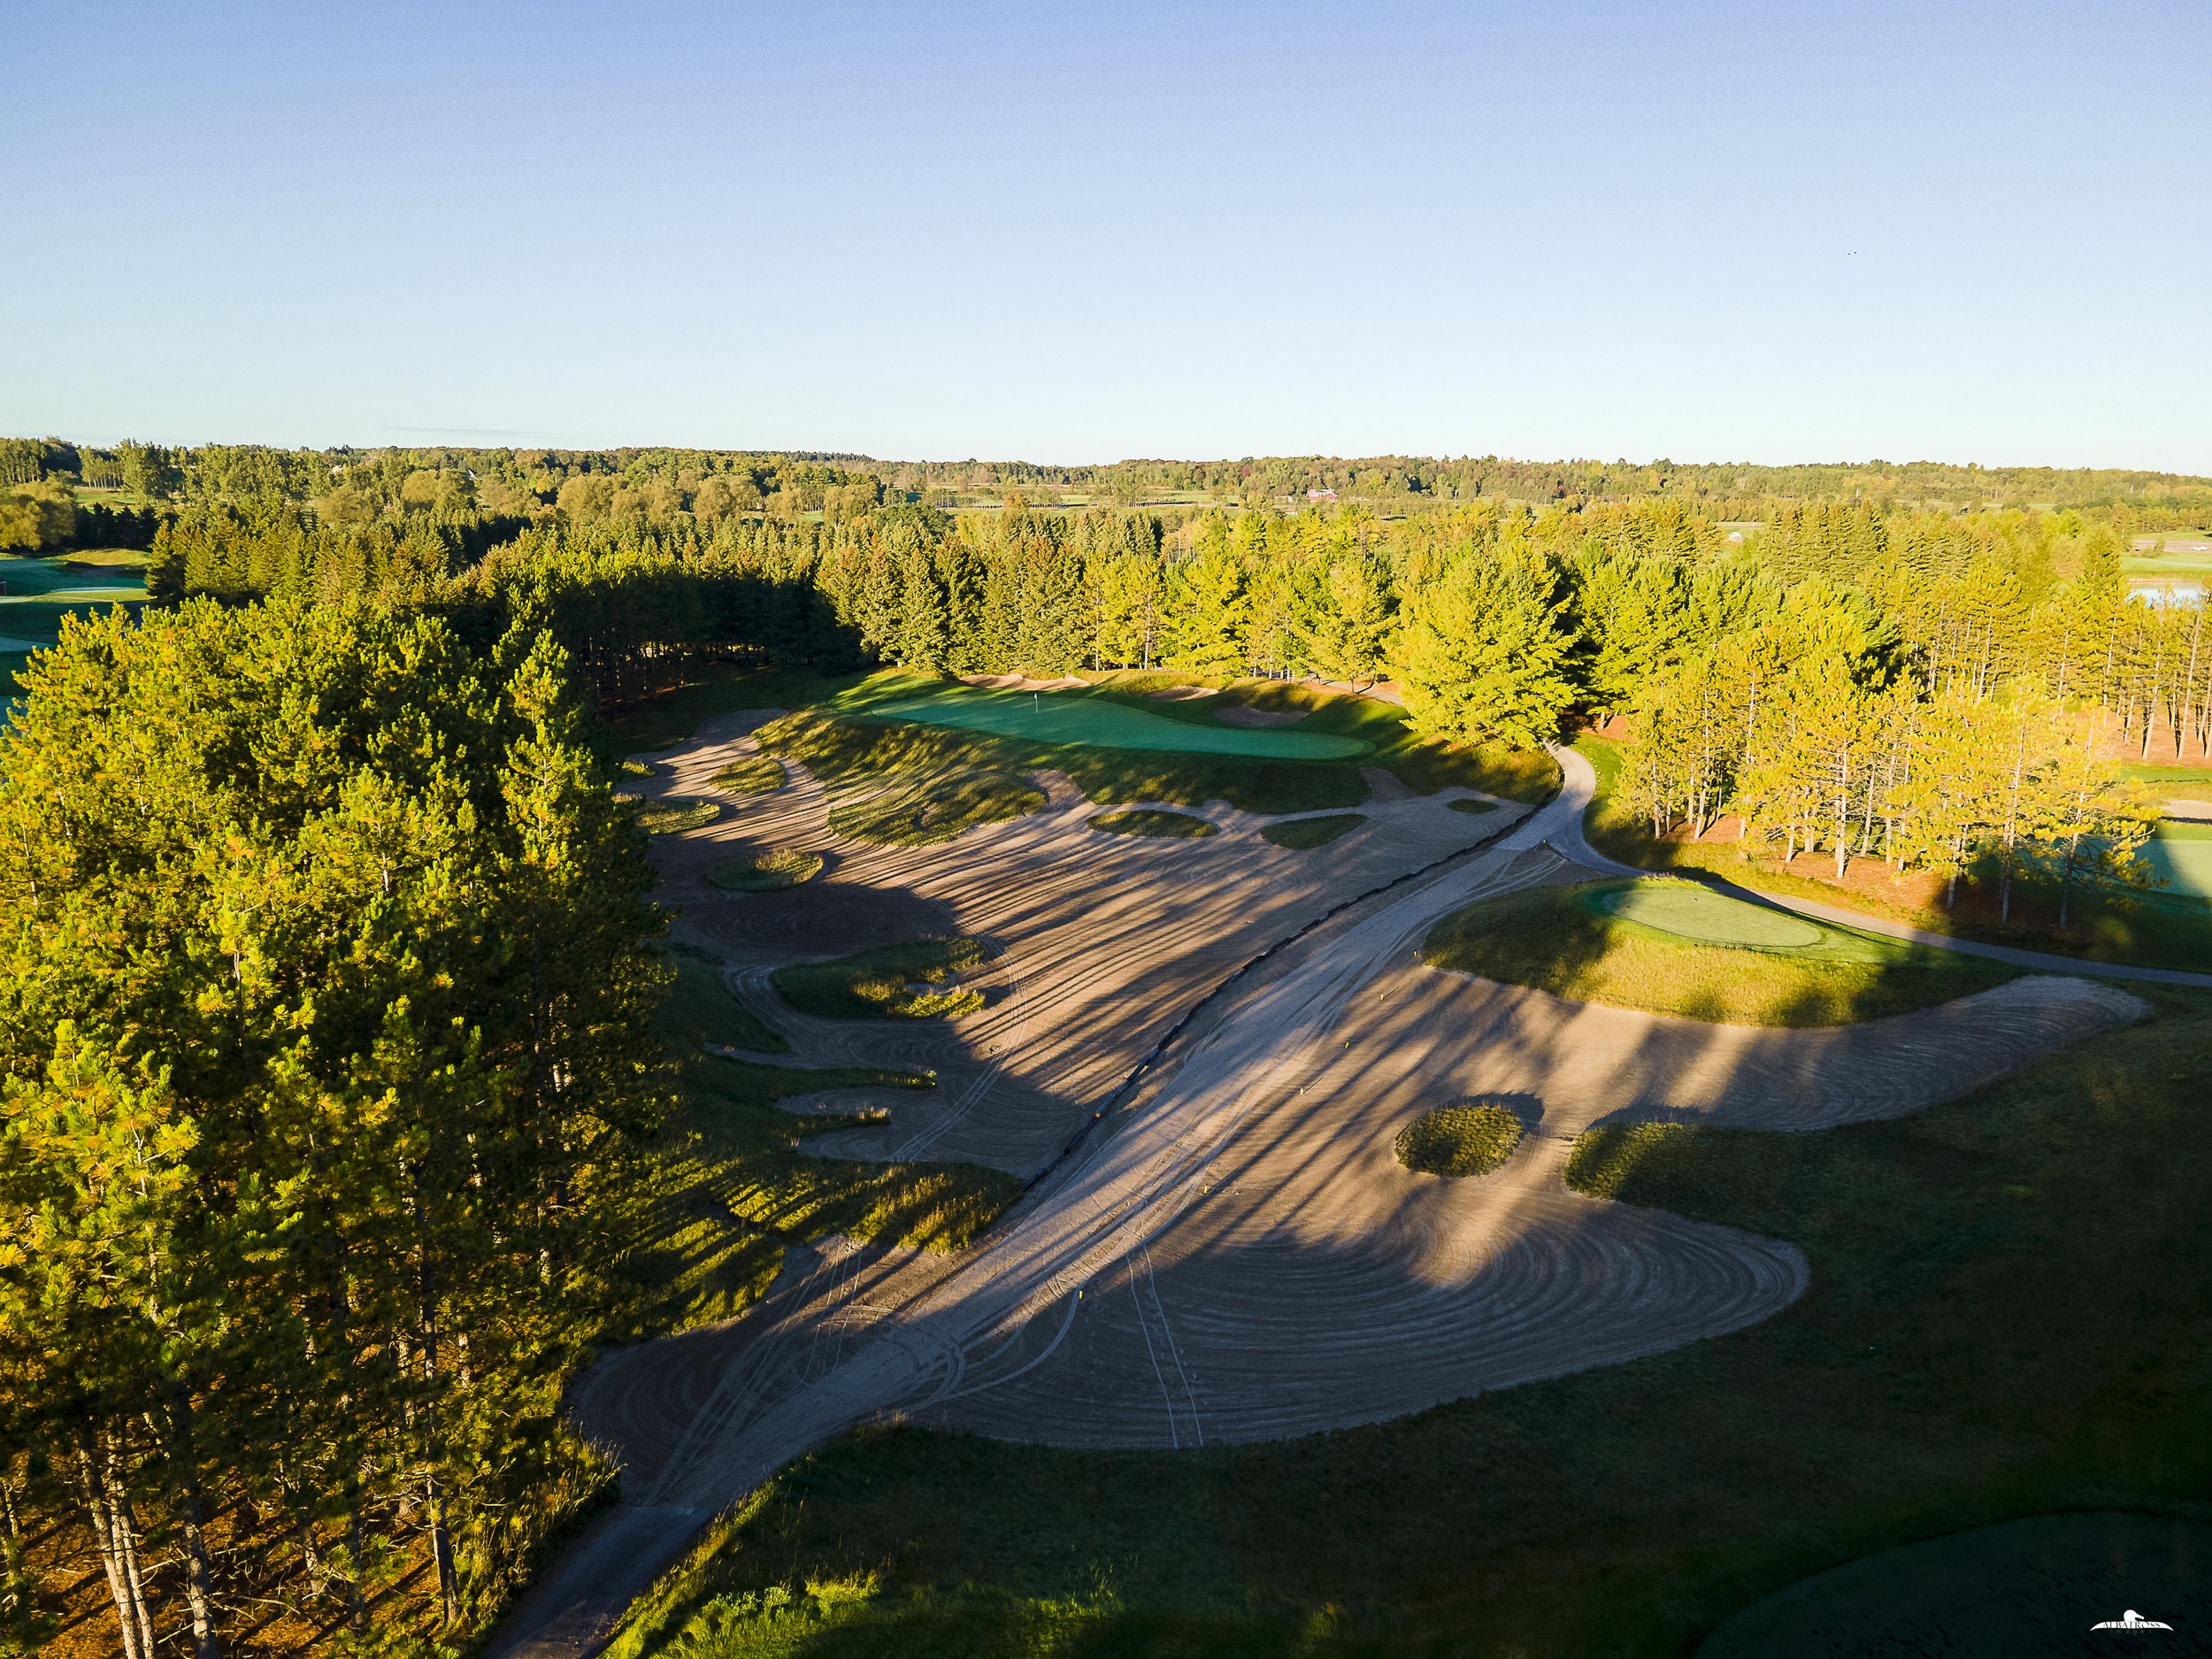
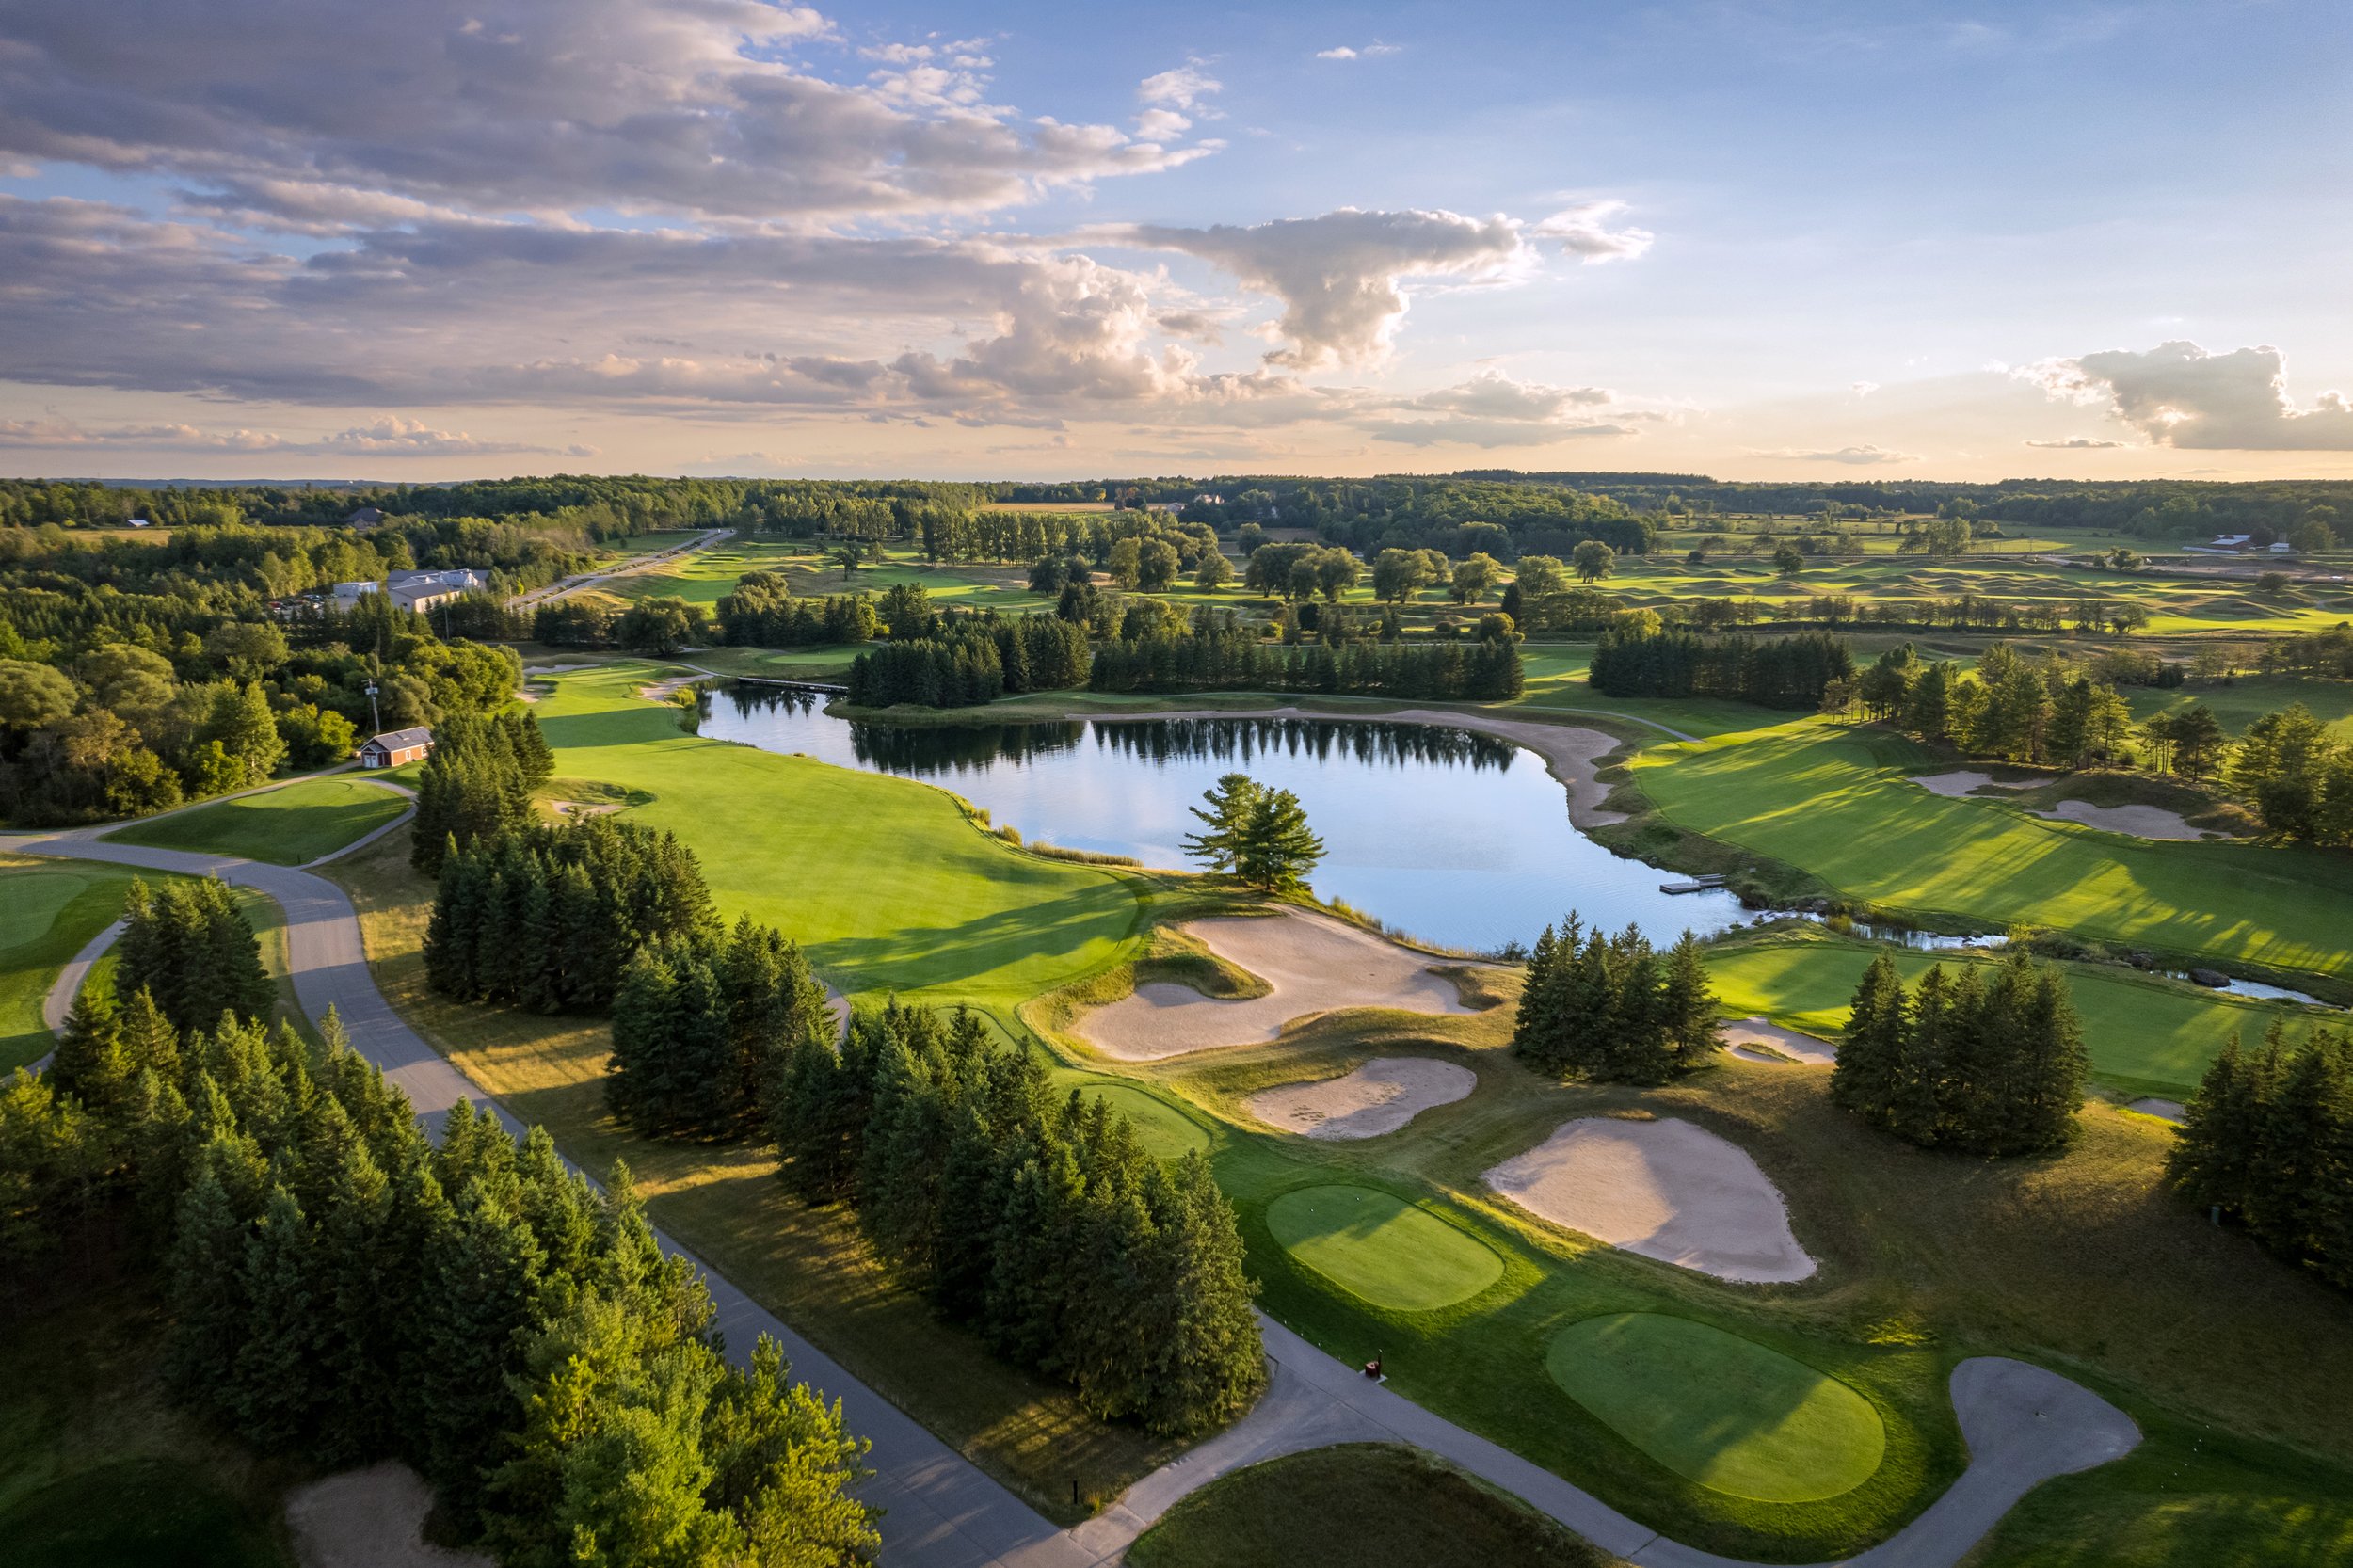
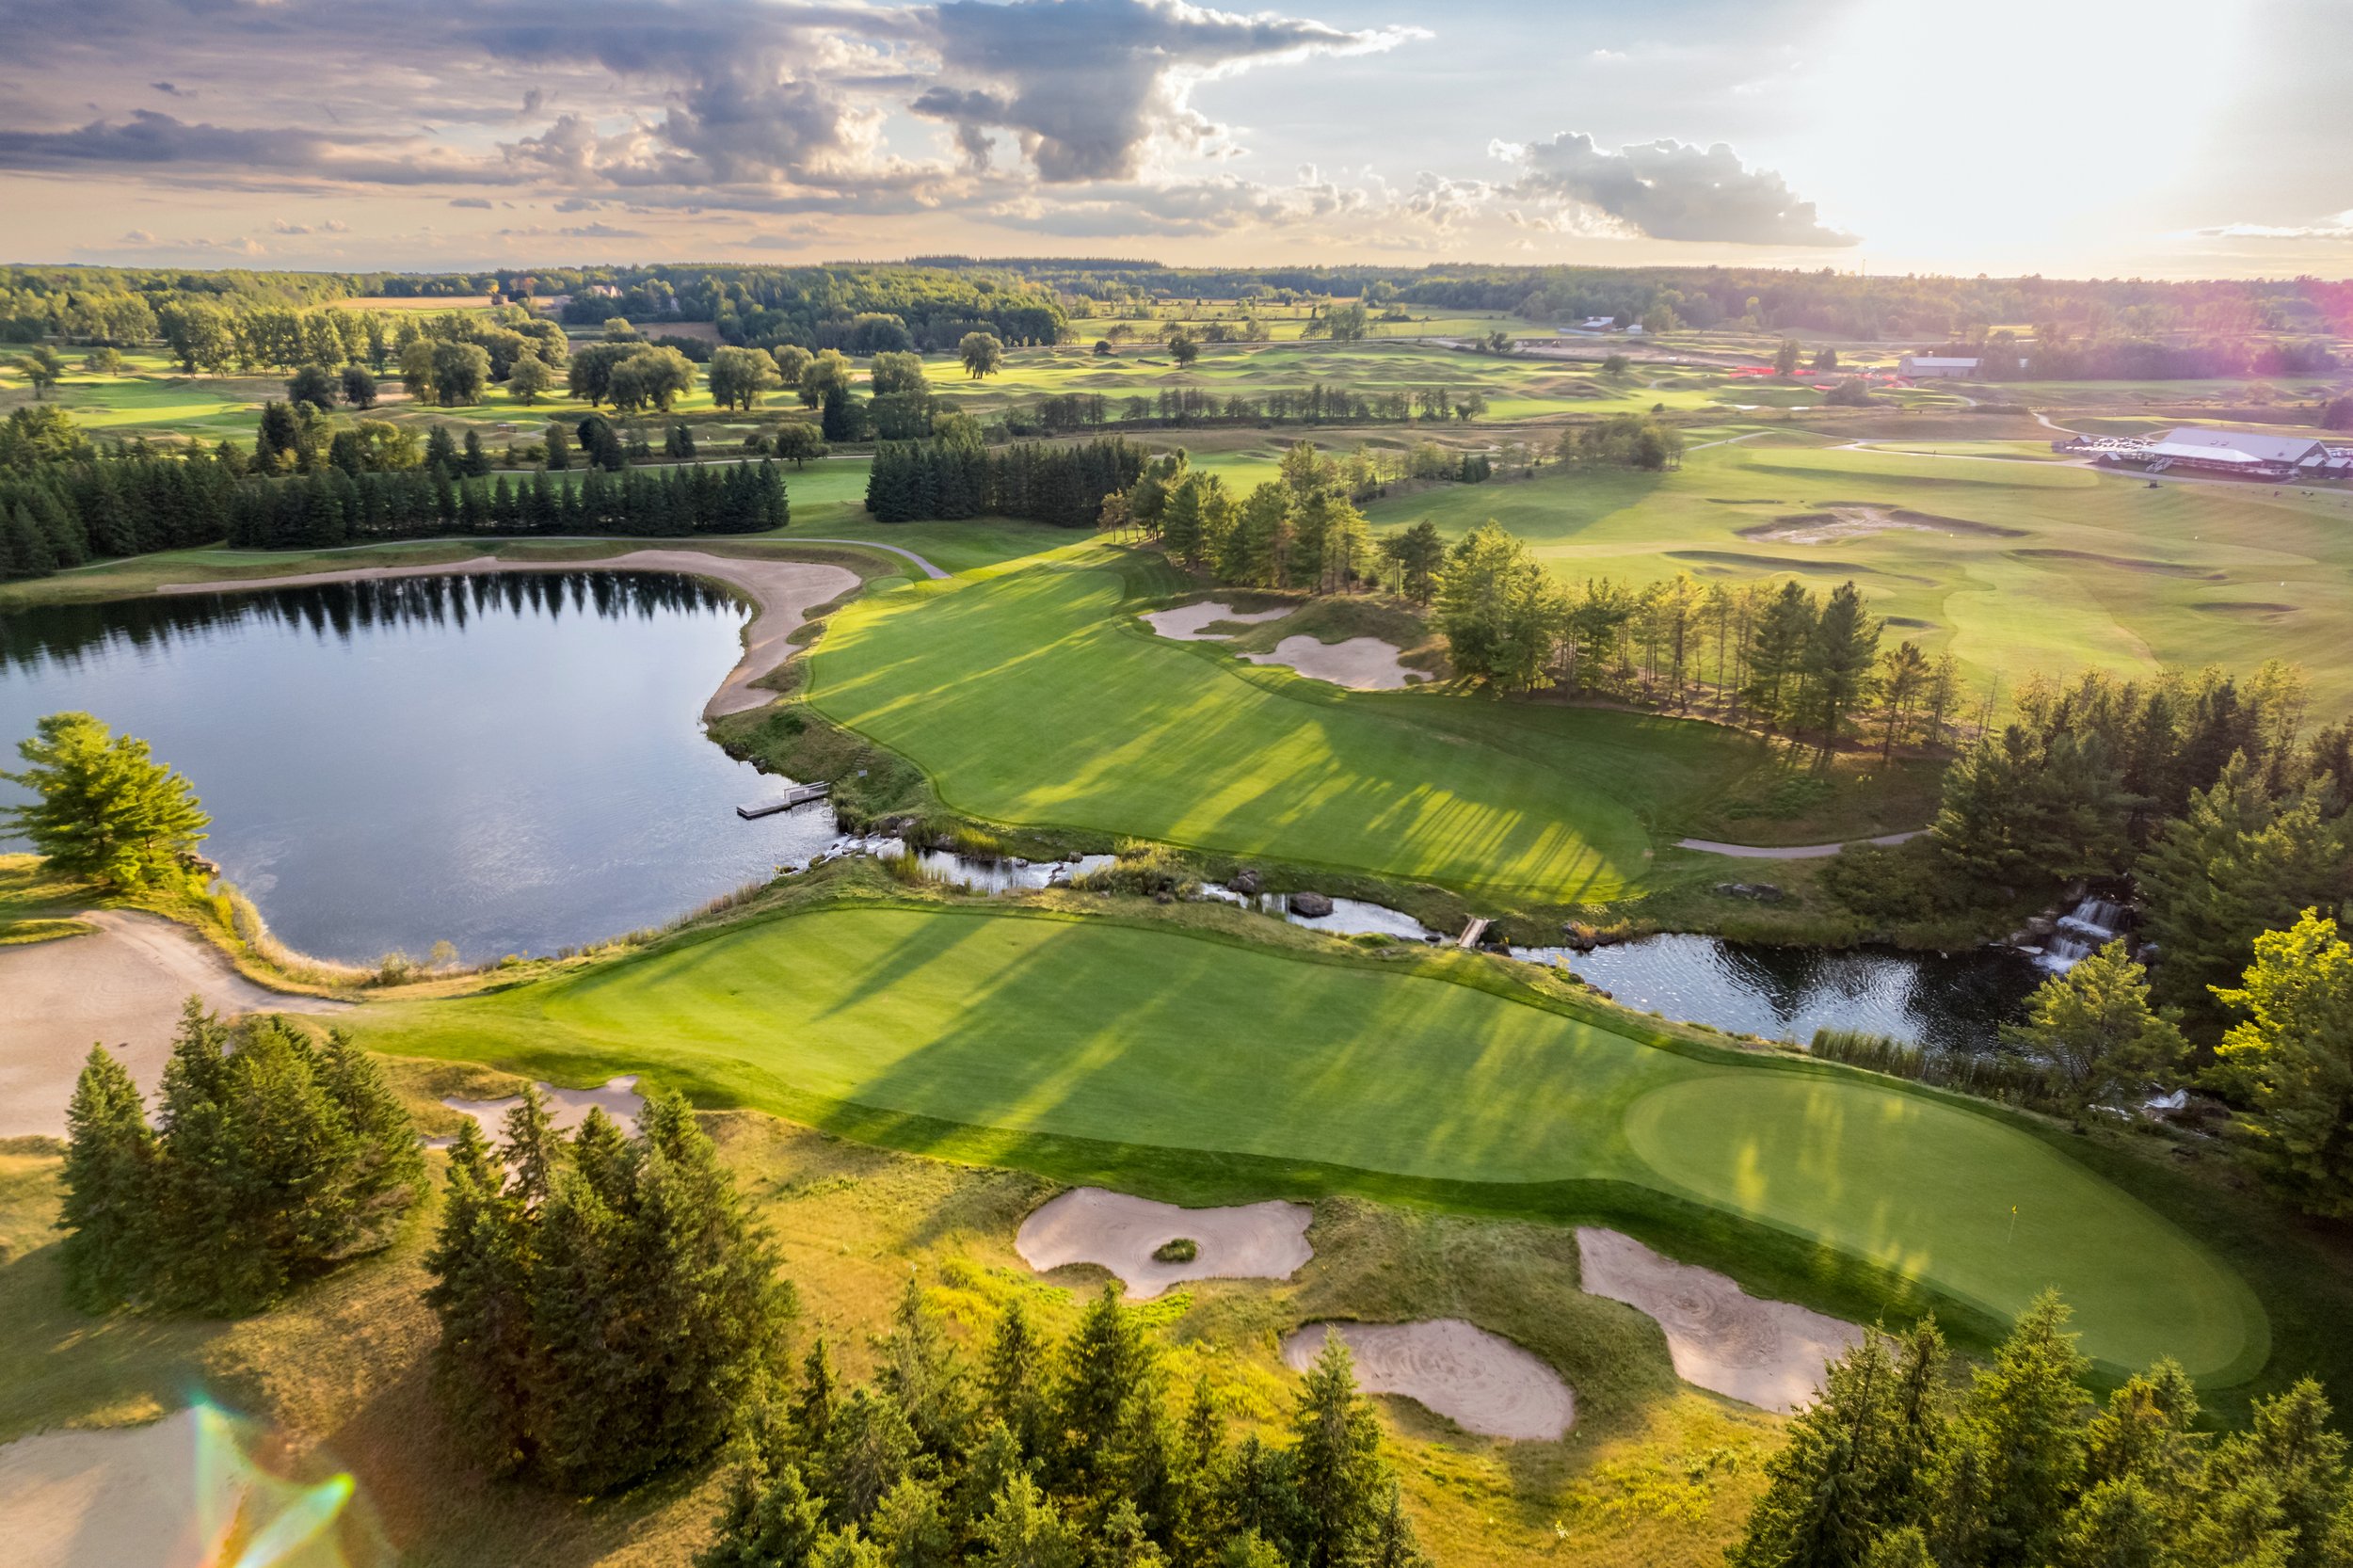
3rd, 4th, 5th, 6th, 8th and 9th Holes - Photo by Chris Fry
3rd Hole - Photo by Chris Fry

4th Hole
4th Hole - Photo by Chris Fry
4th Hole - Photo by Chris Fry
4th Hole - Photo by Chris Fry
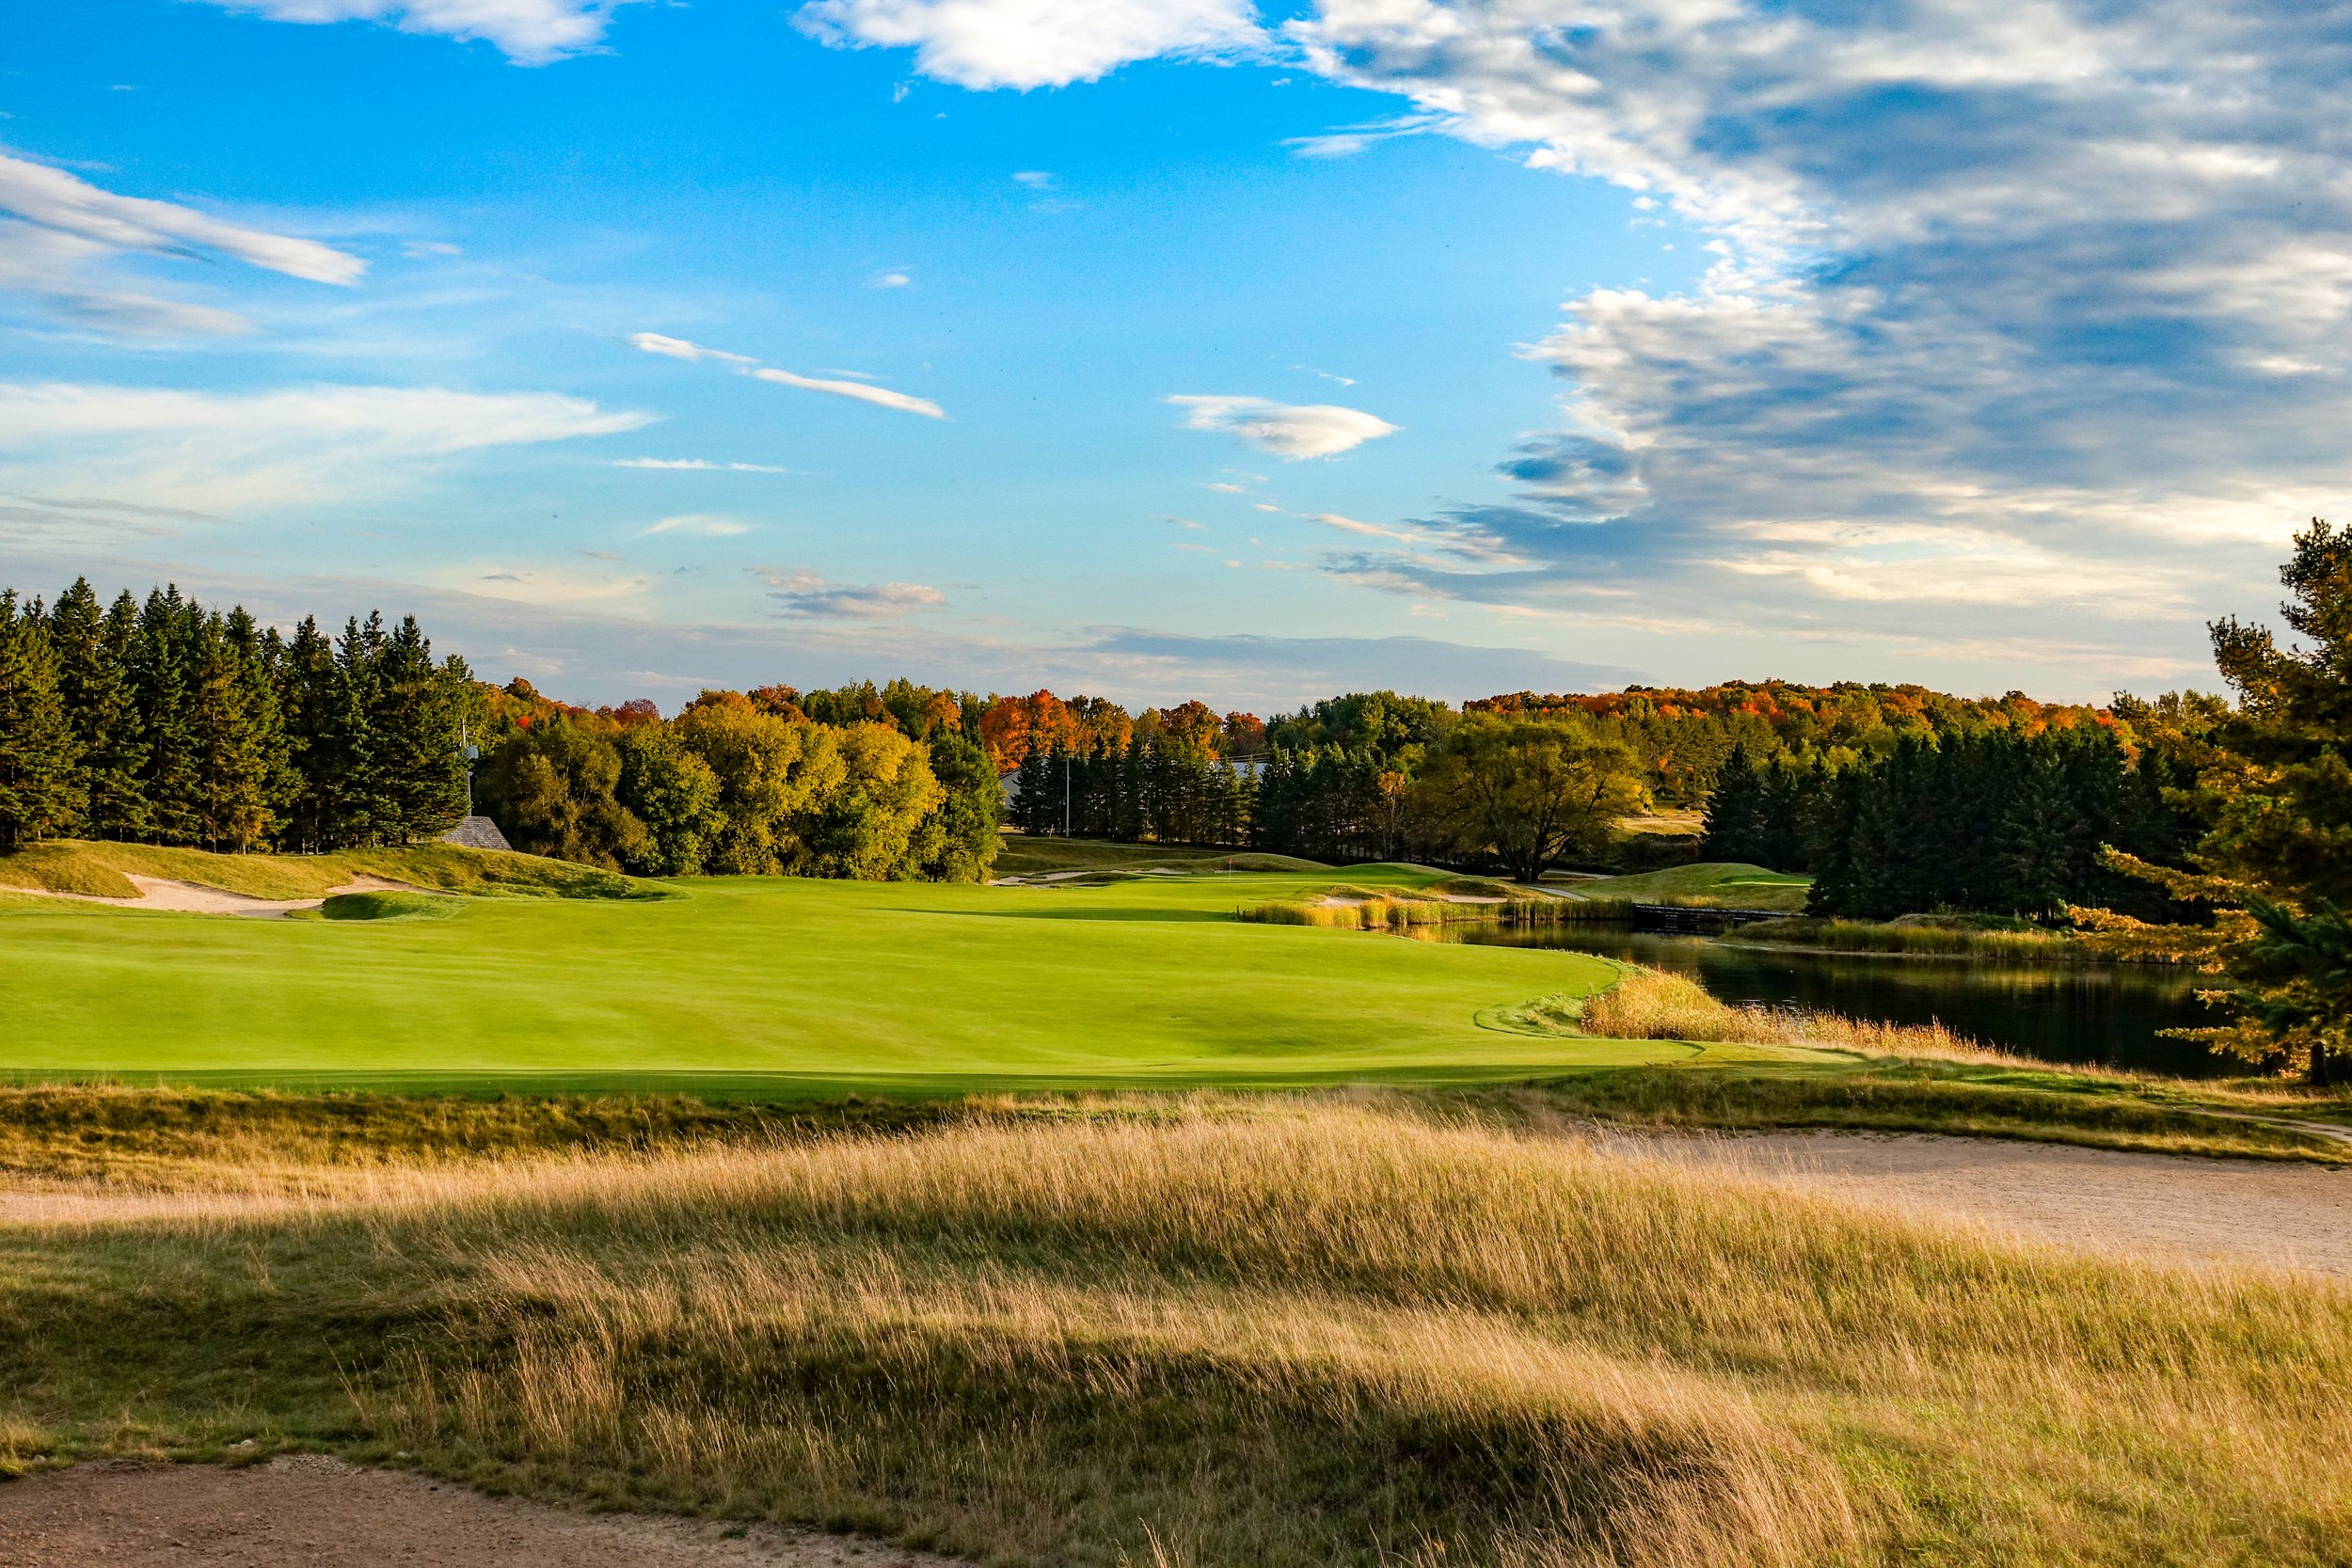
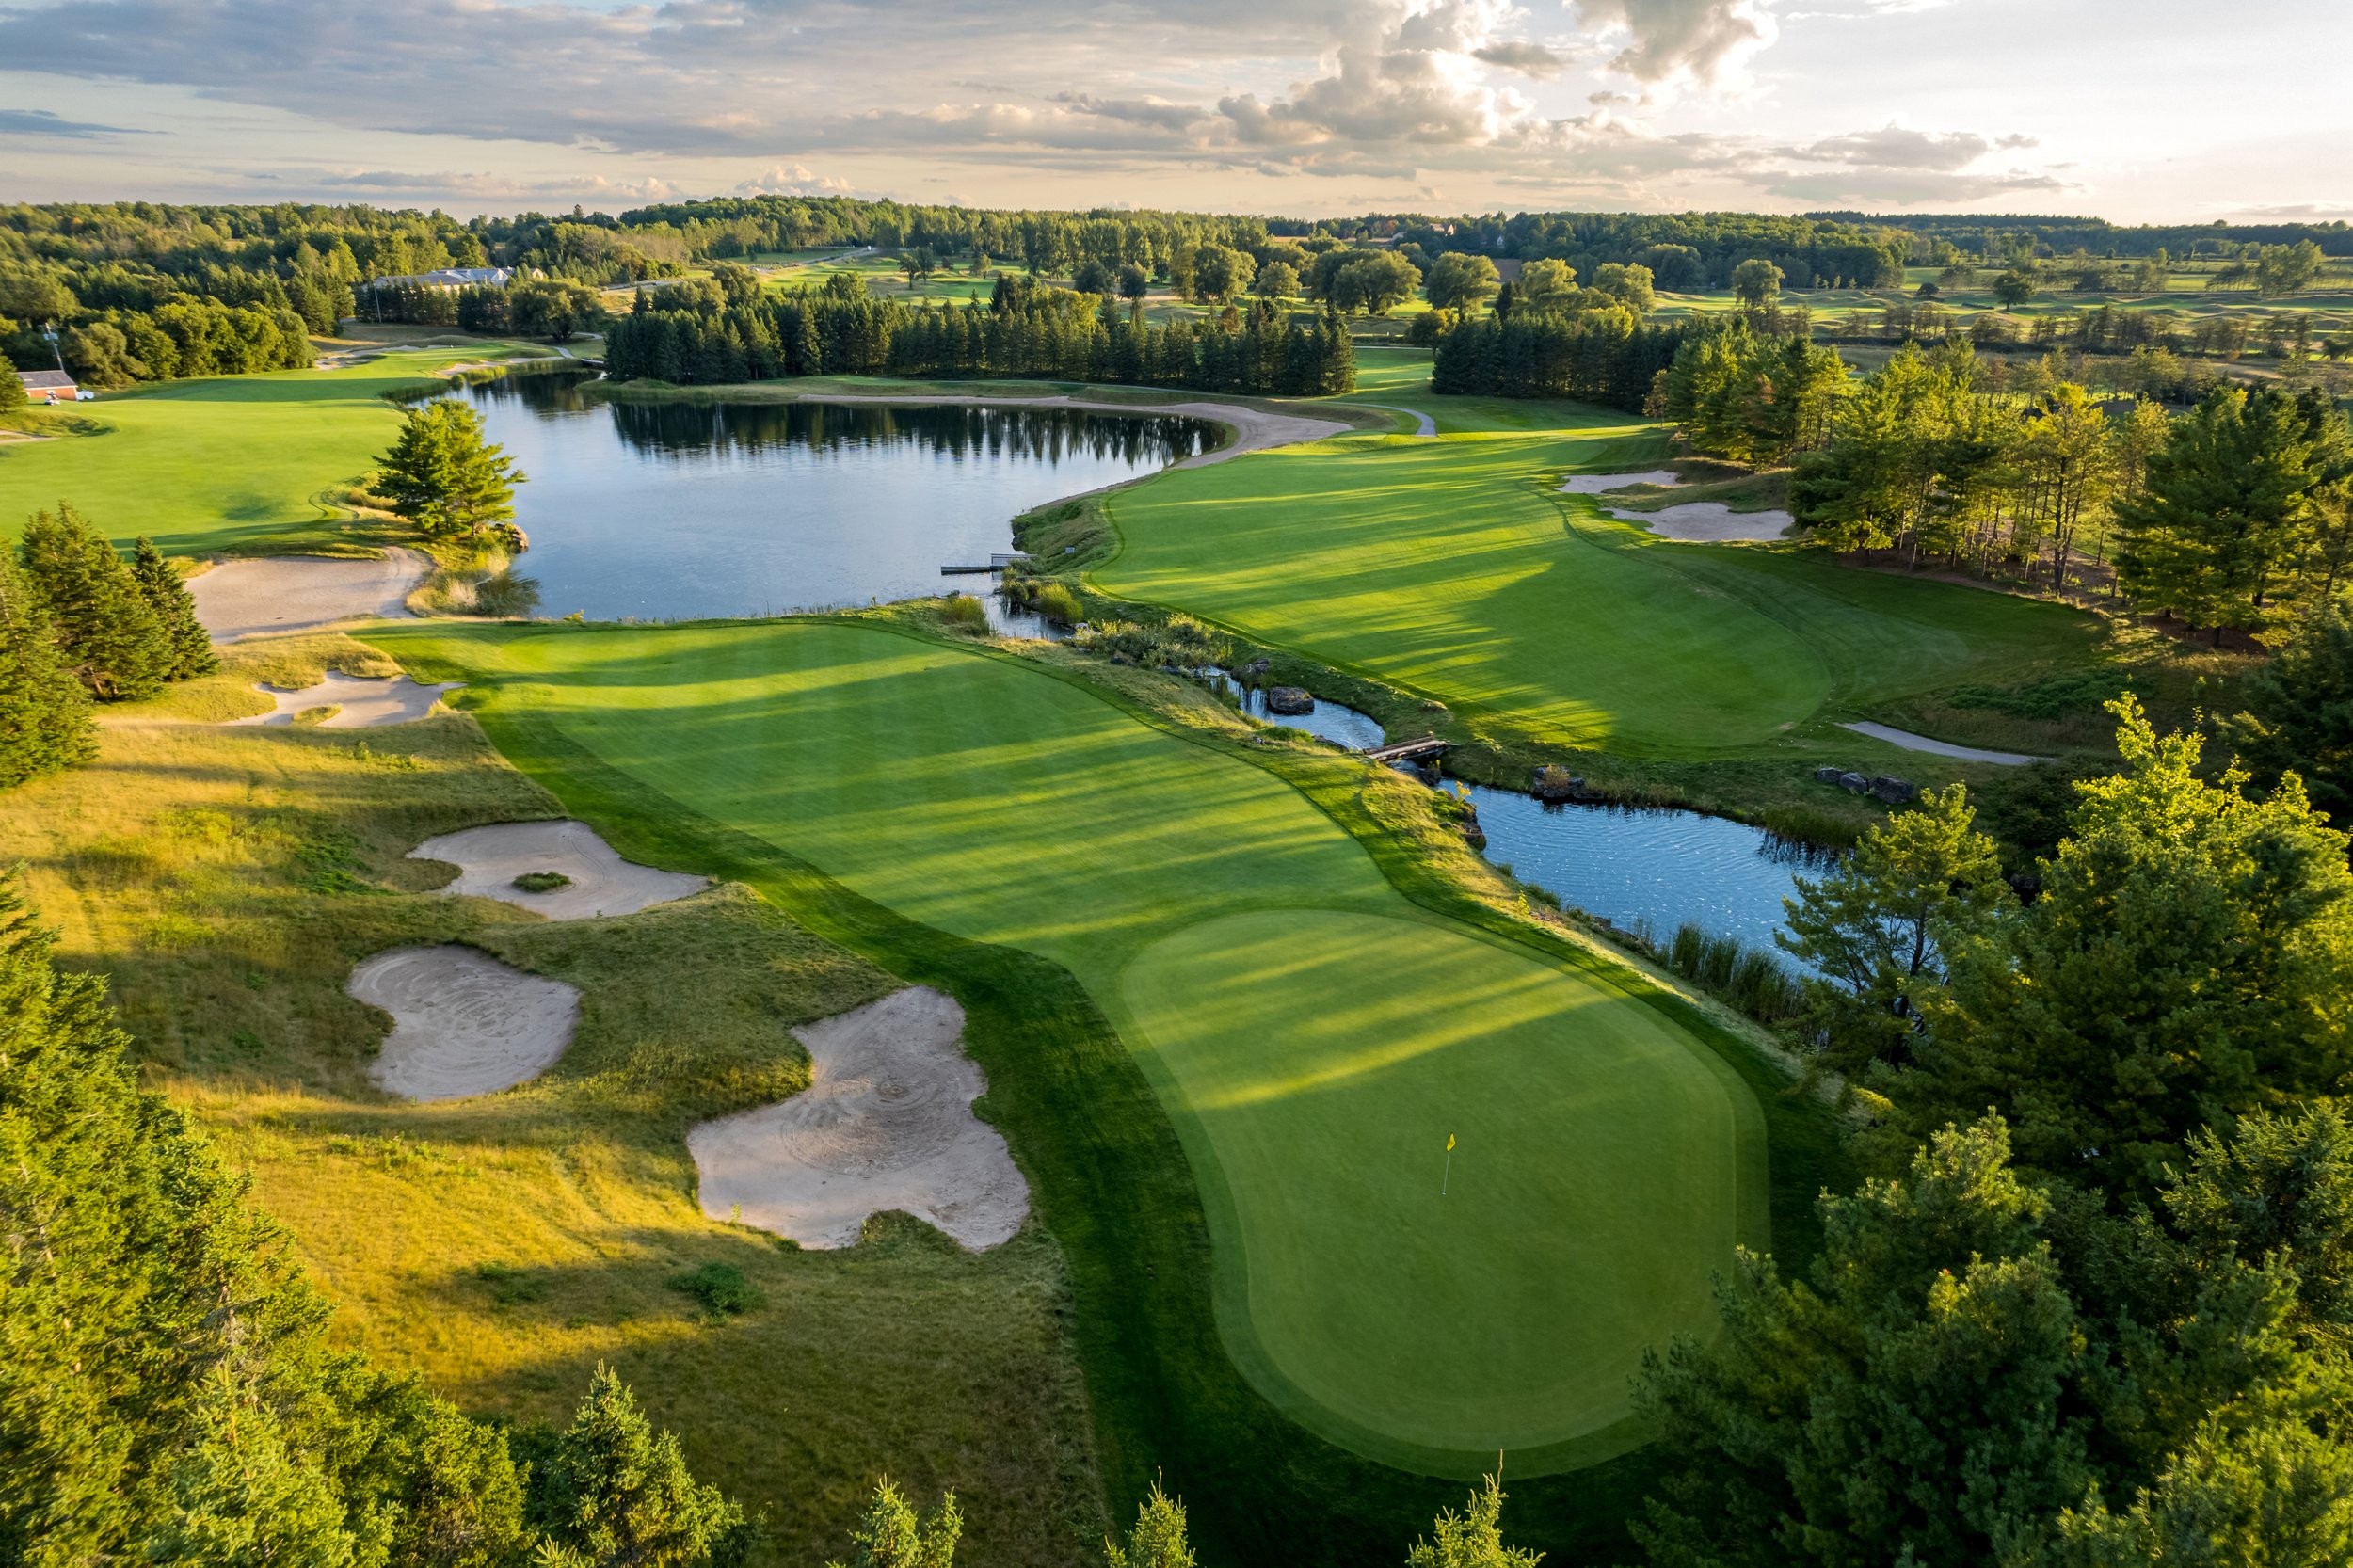
5th Hole - Photo by Chris Fry
5th Hole - Photo by Chris Fry
5th Hole - Photo by Chris Fry

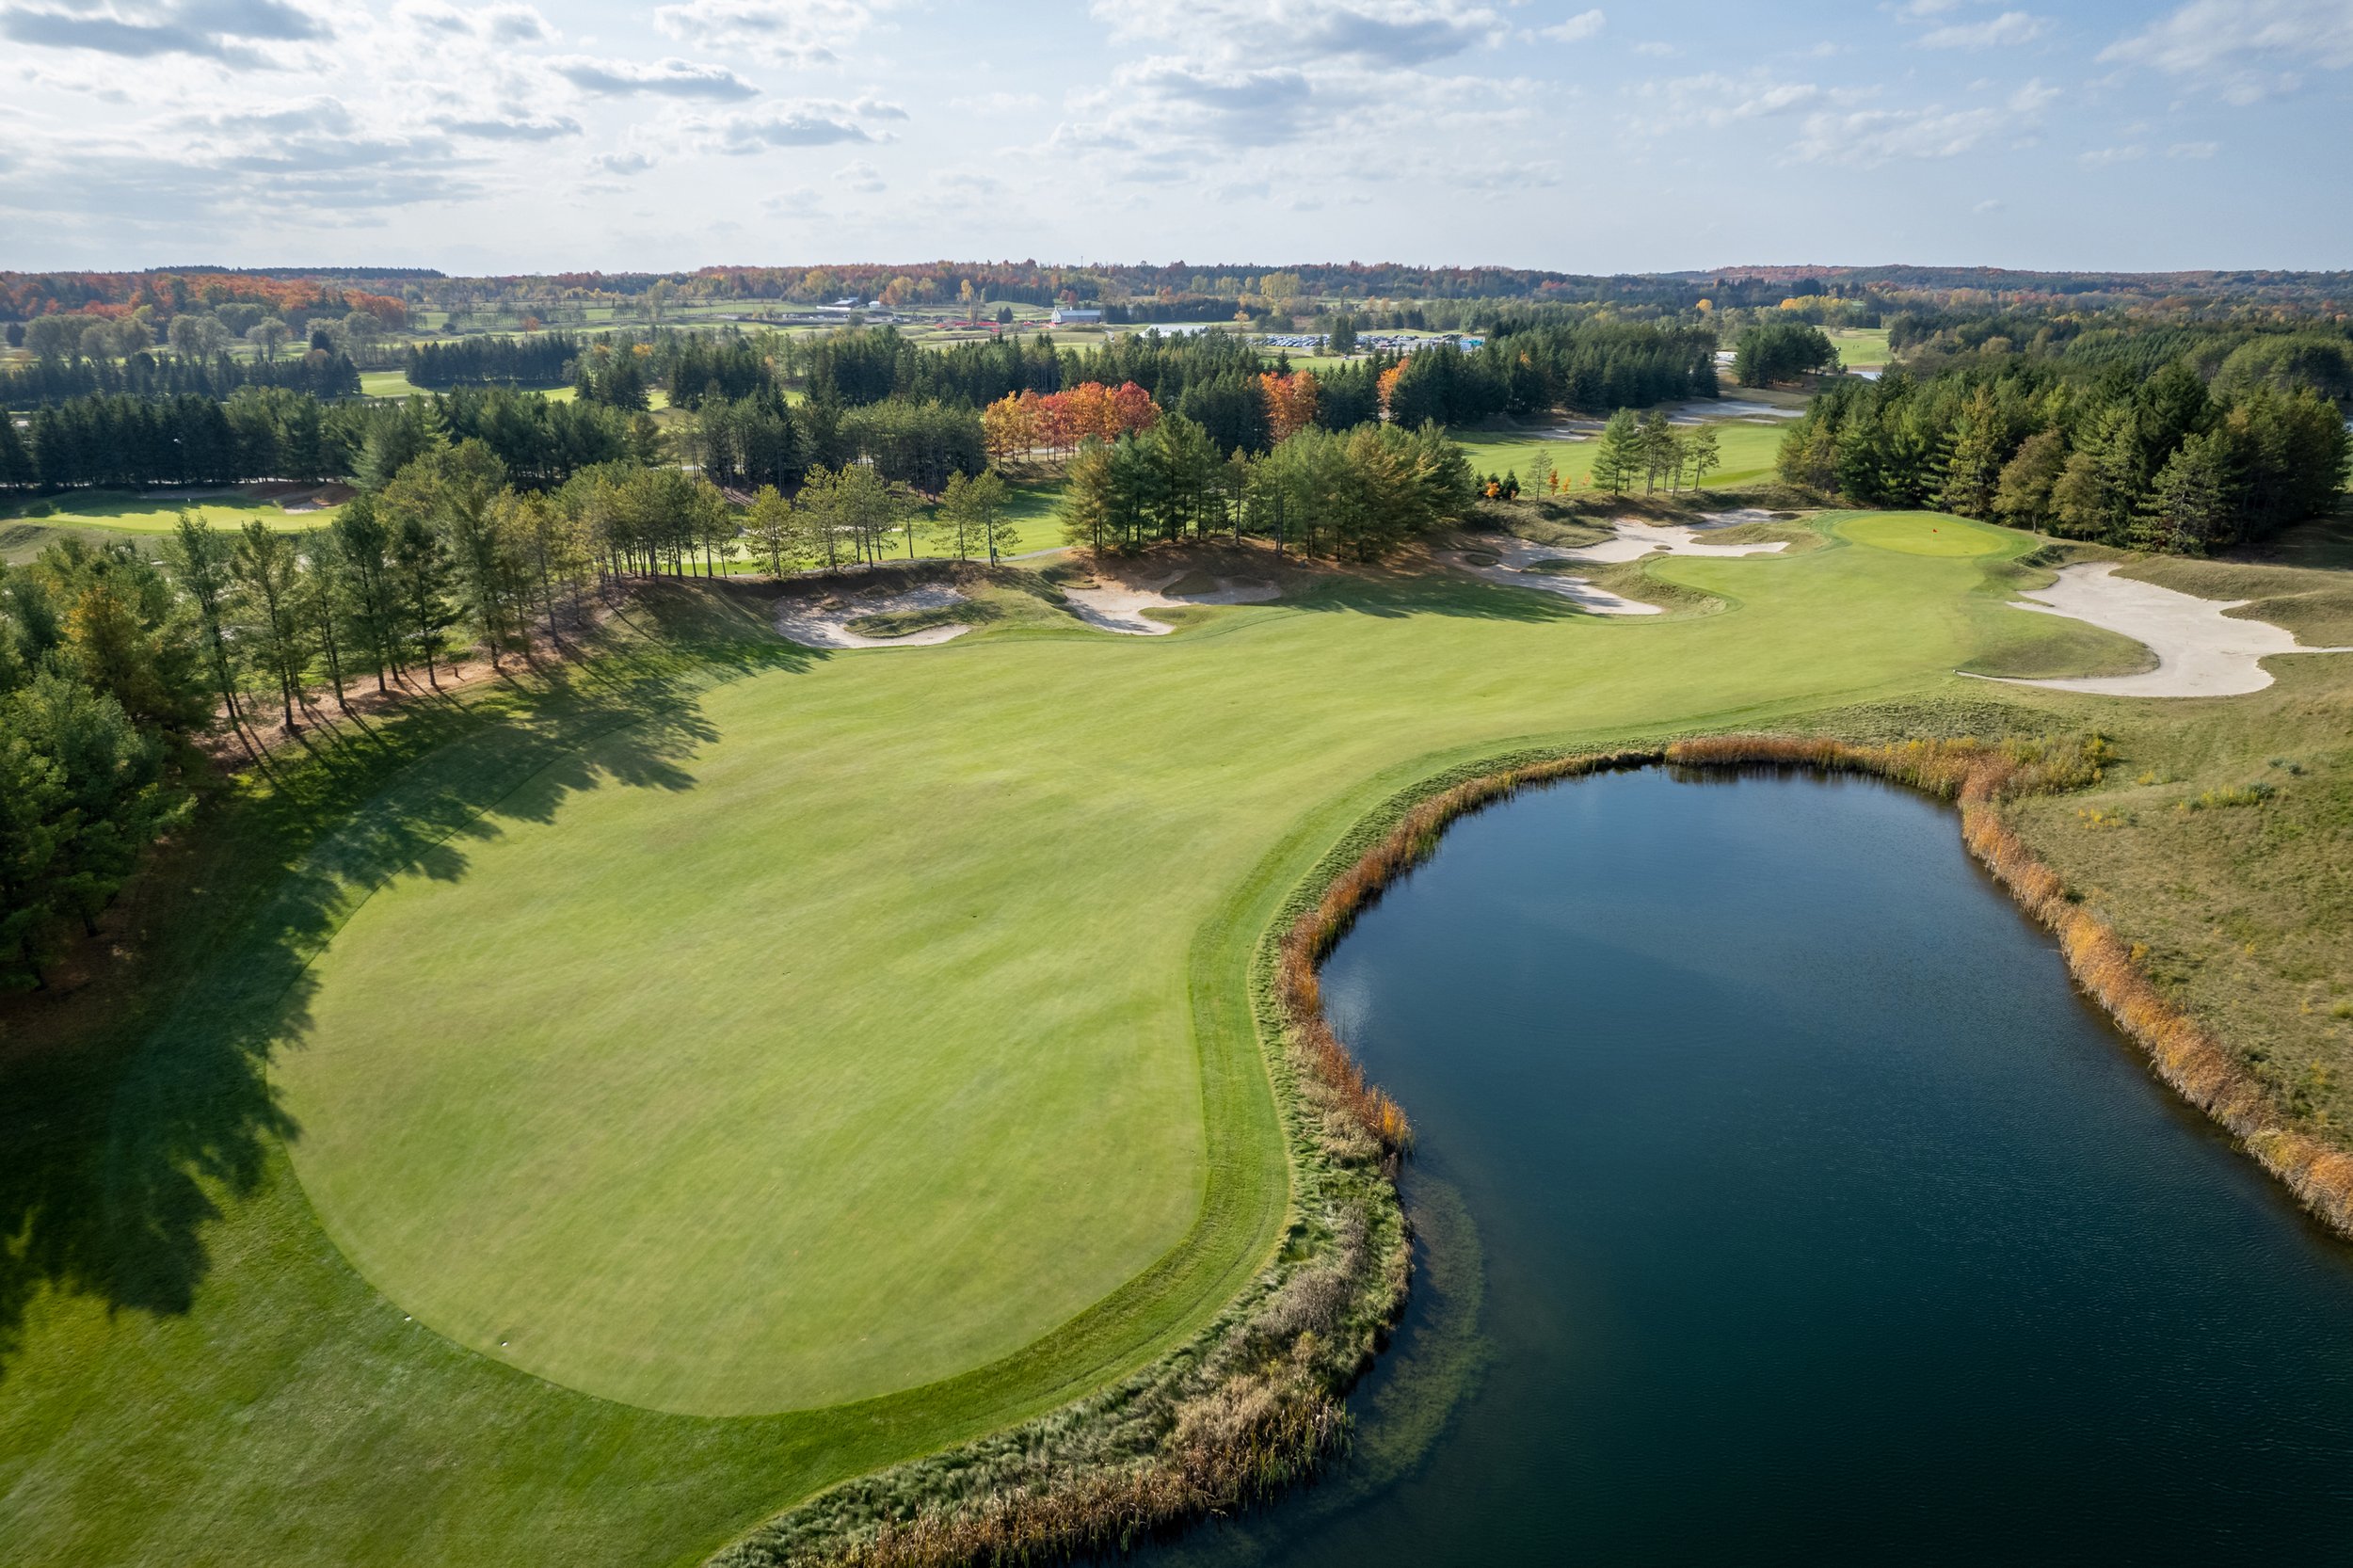
5th Hole

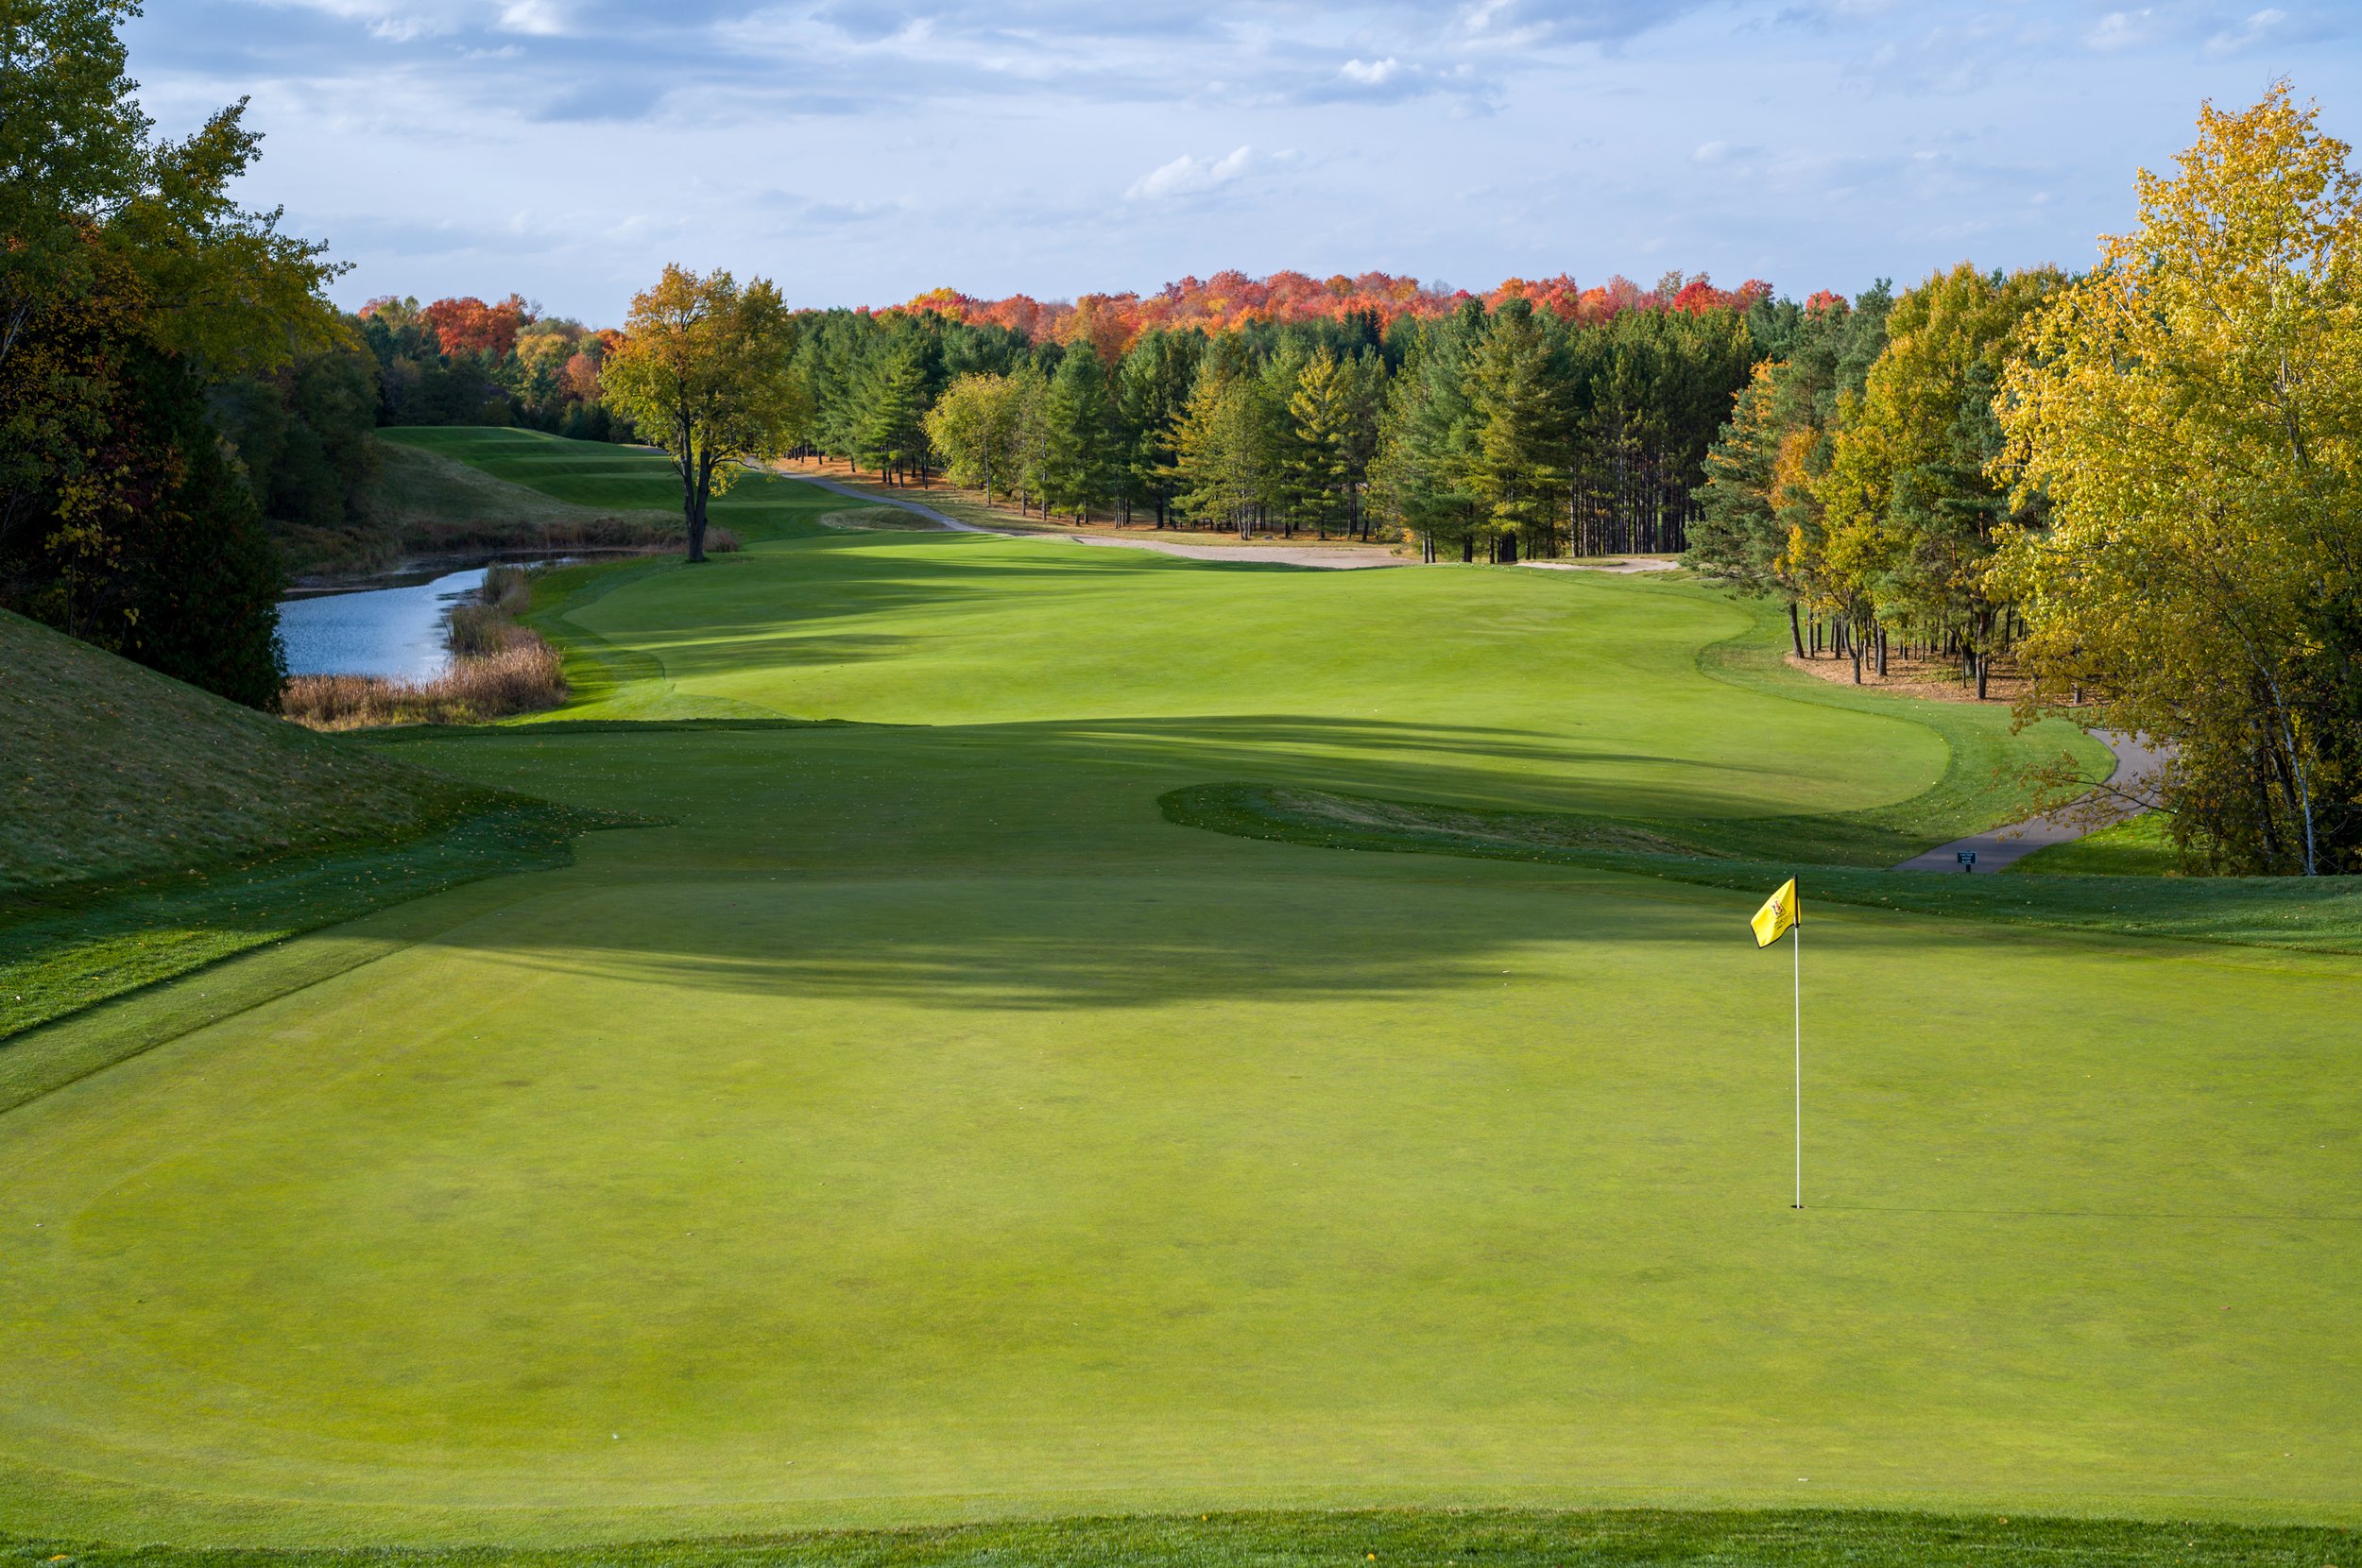
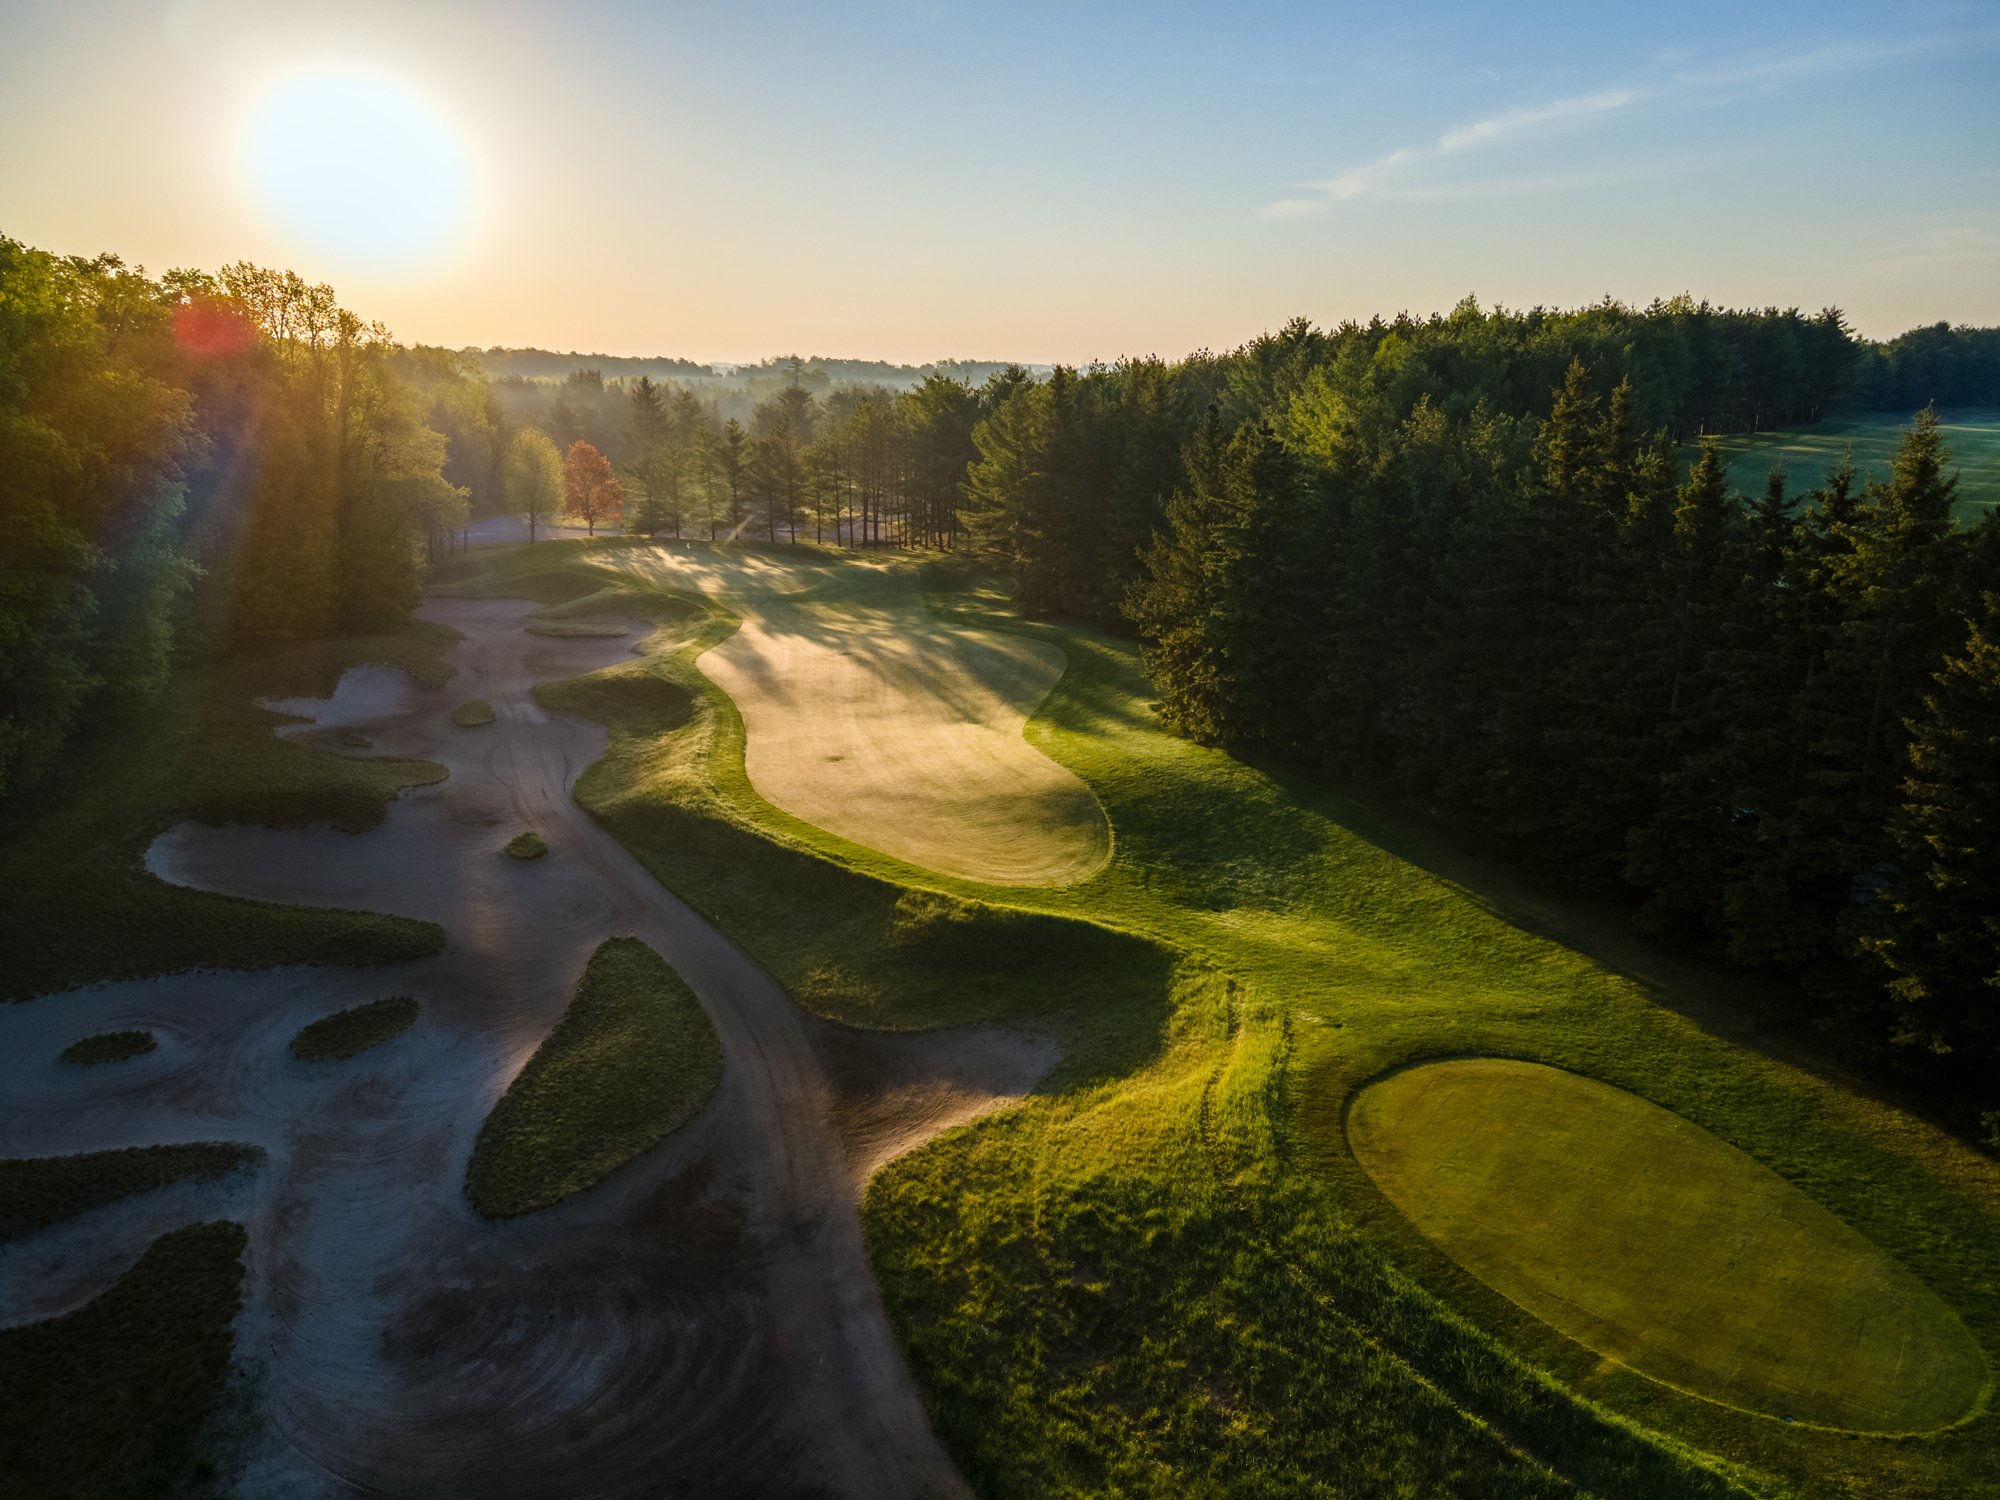
6th Hole
6th Hole

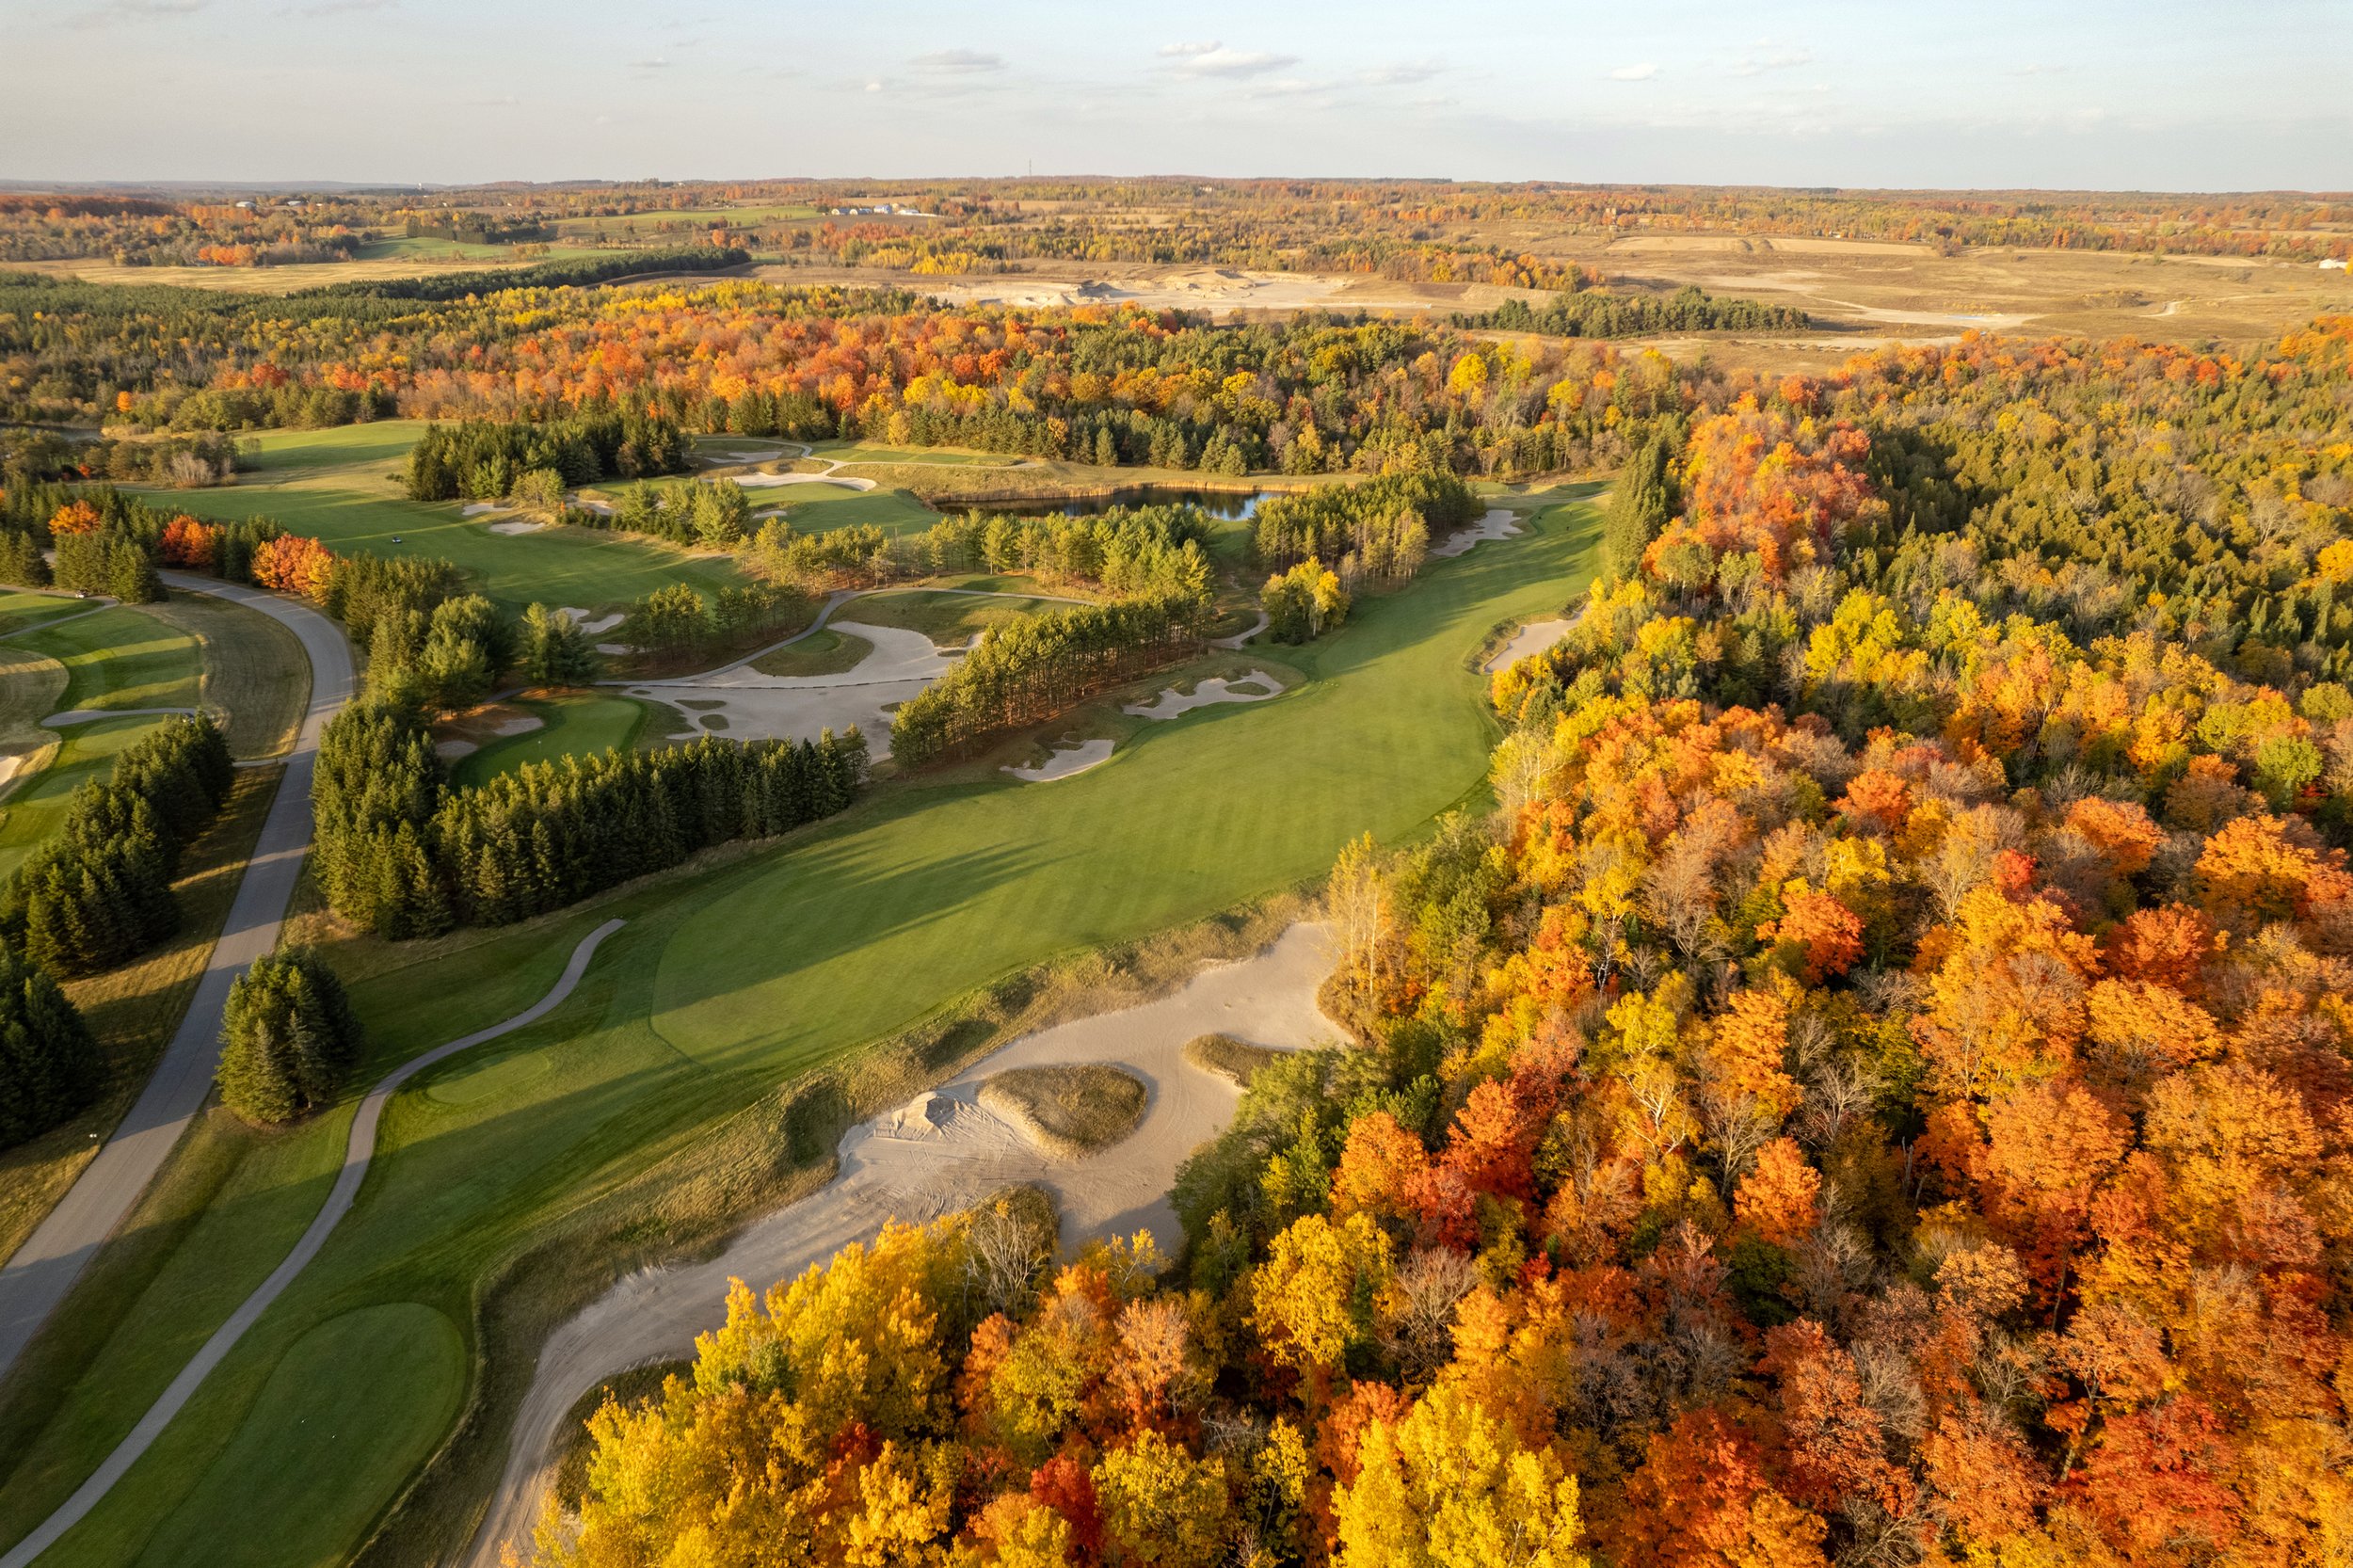
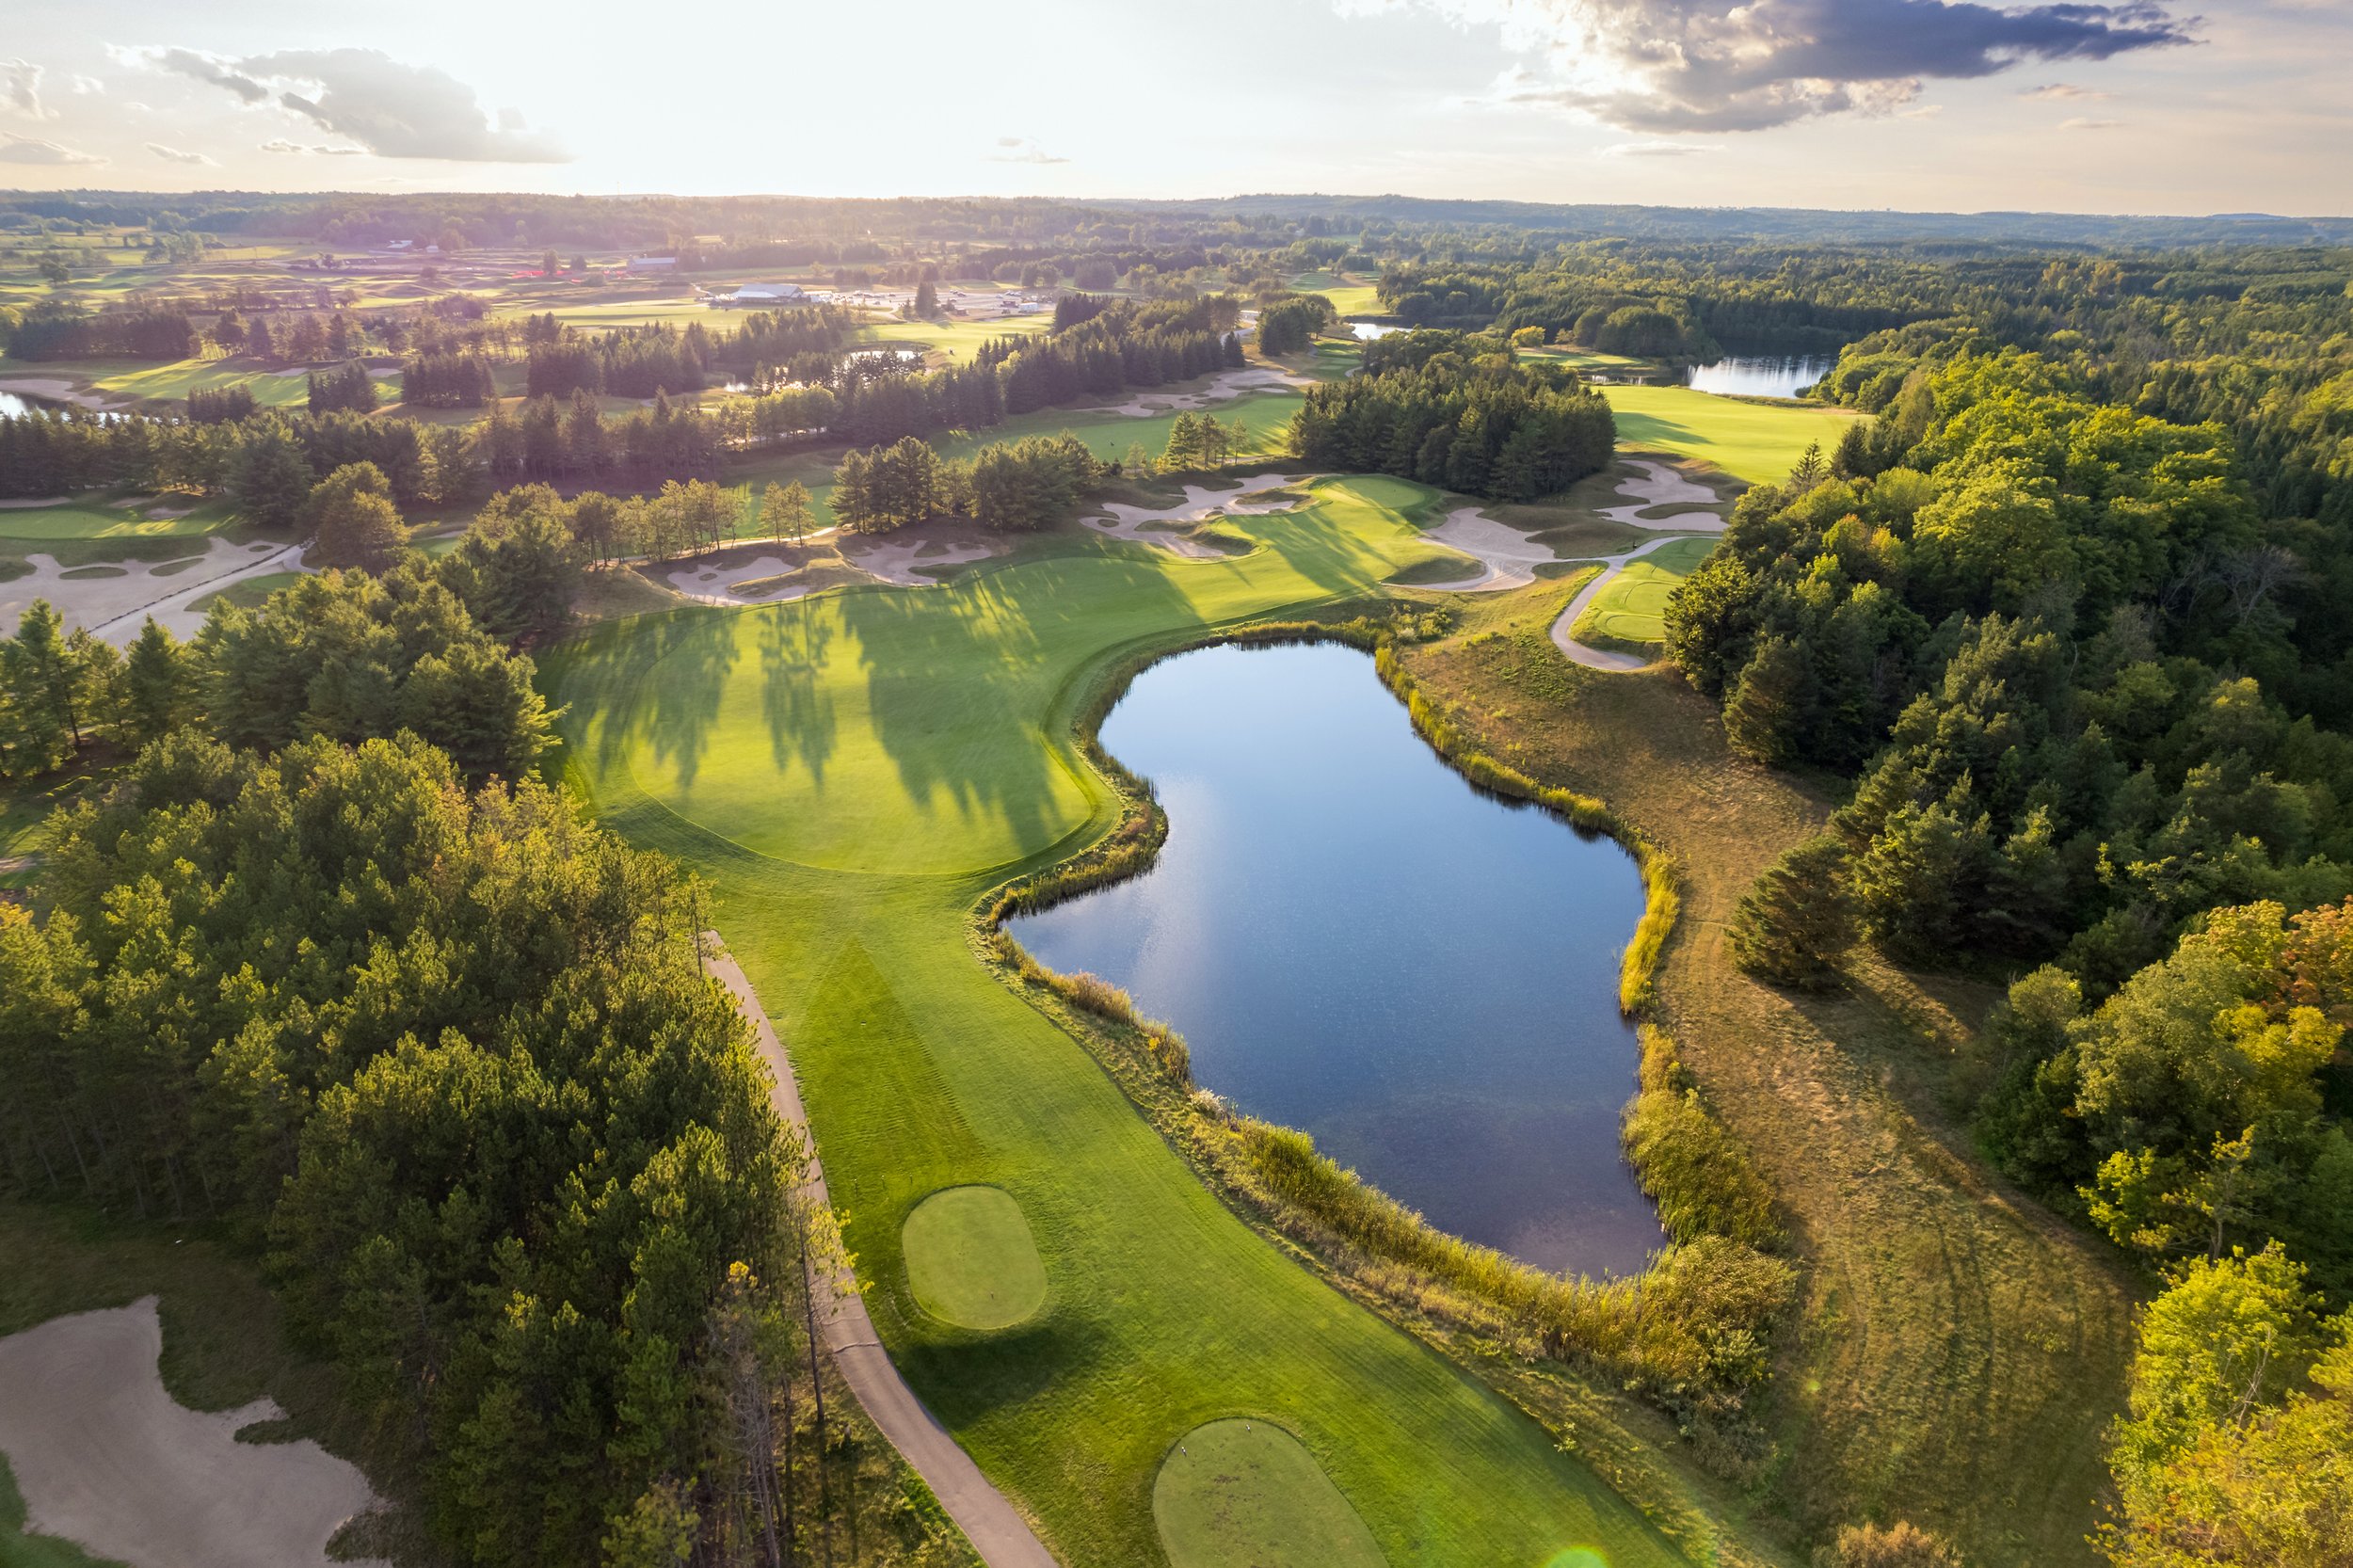
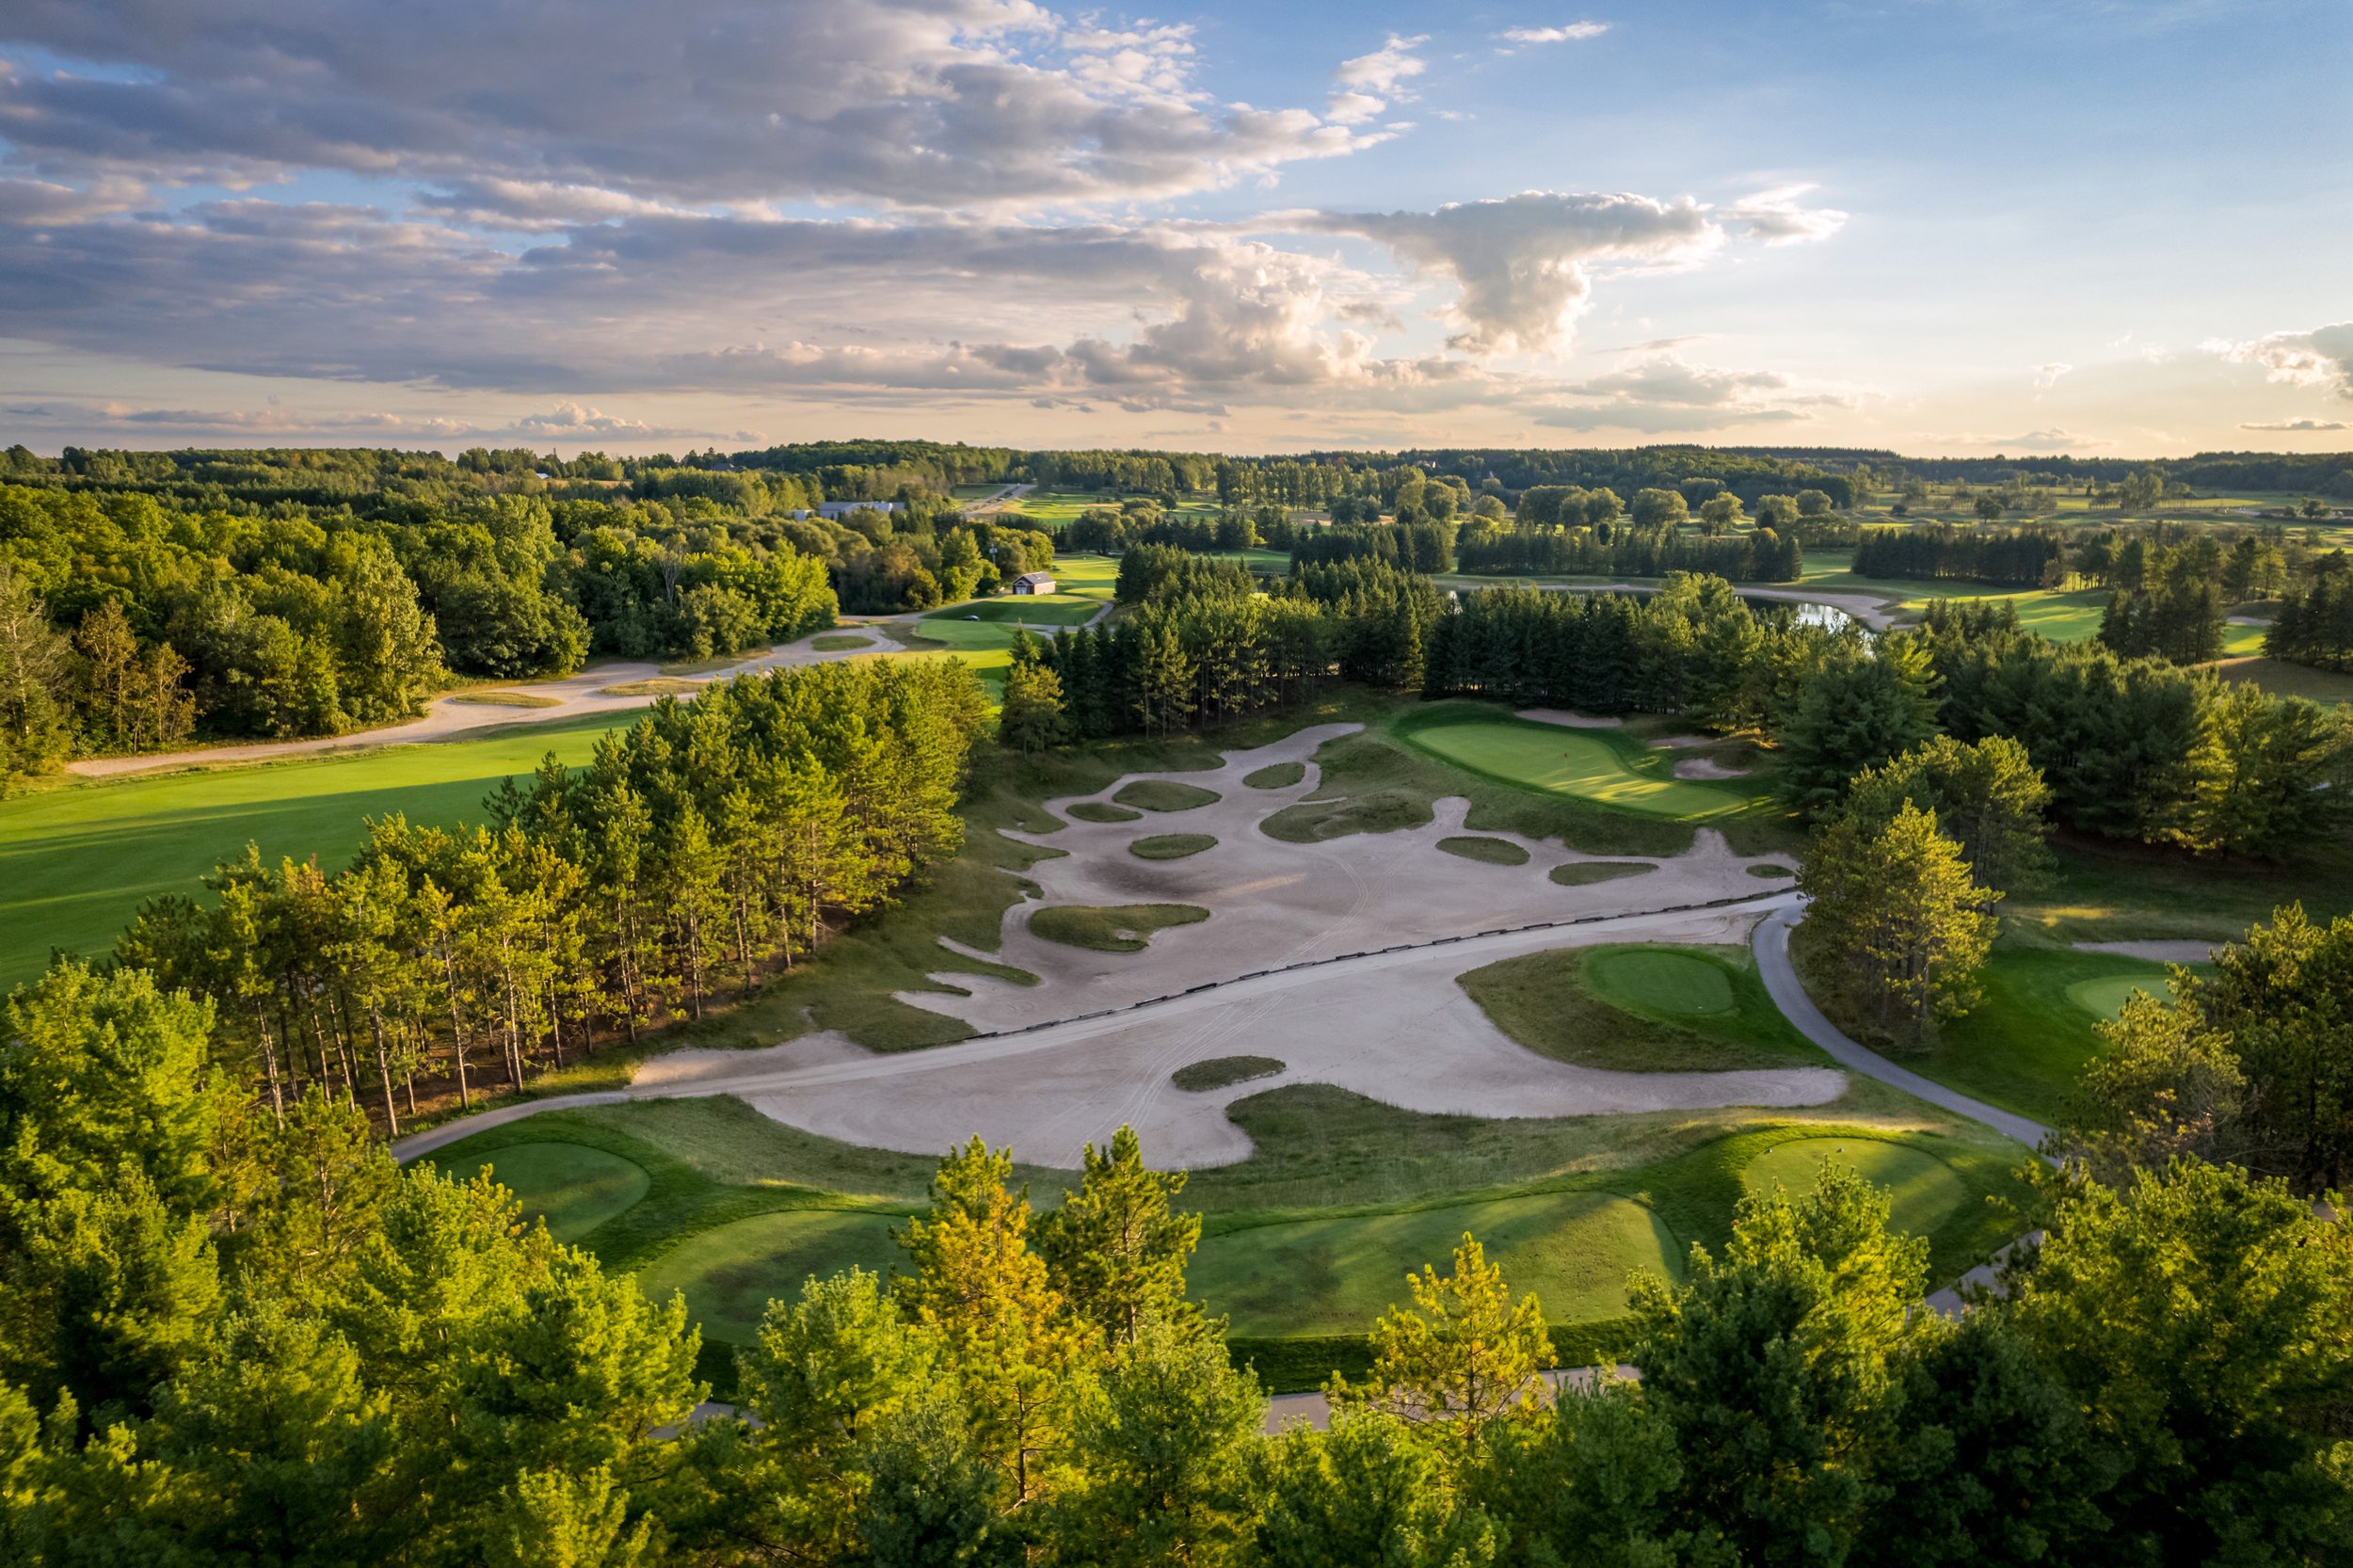
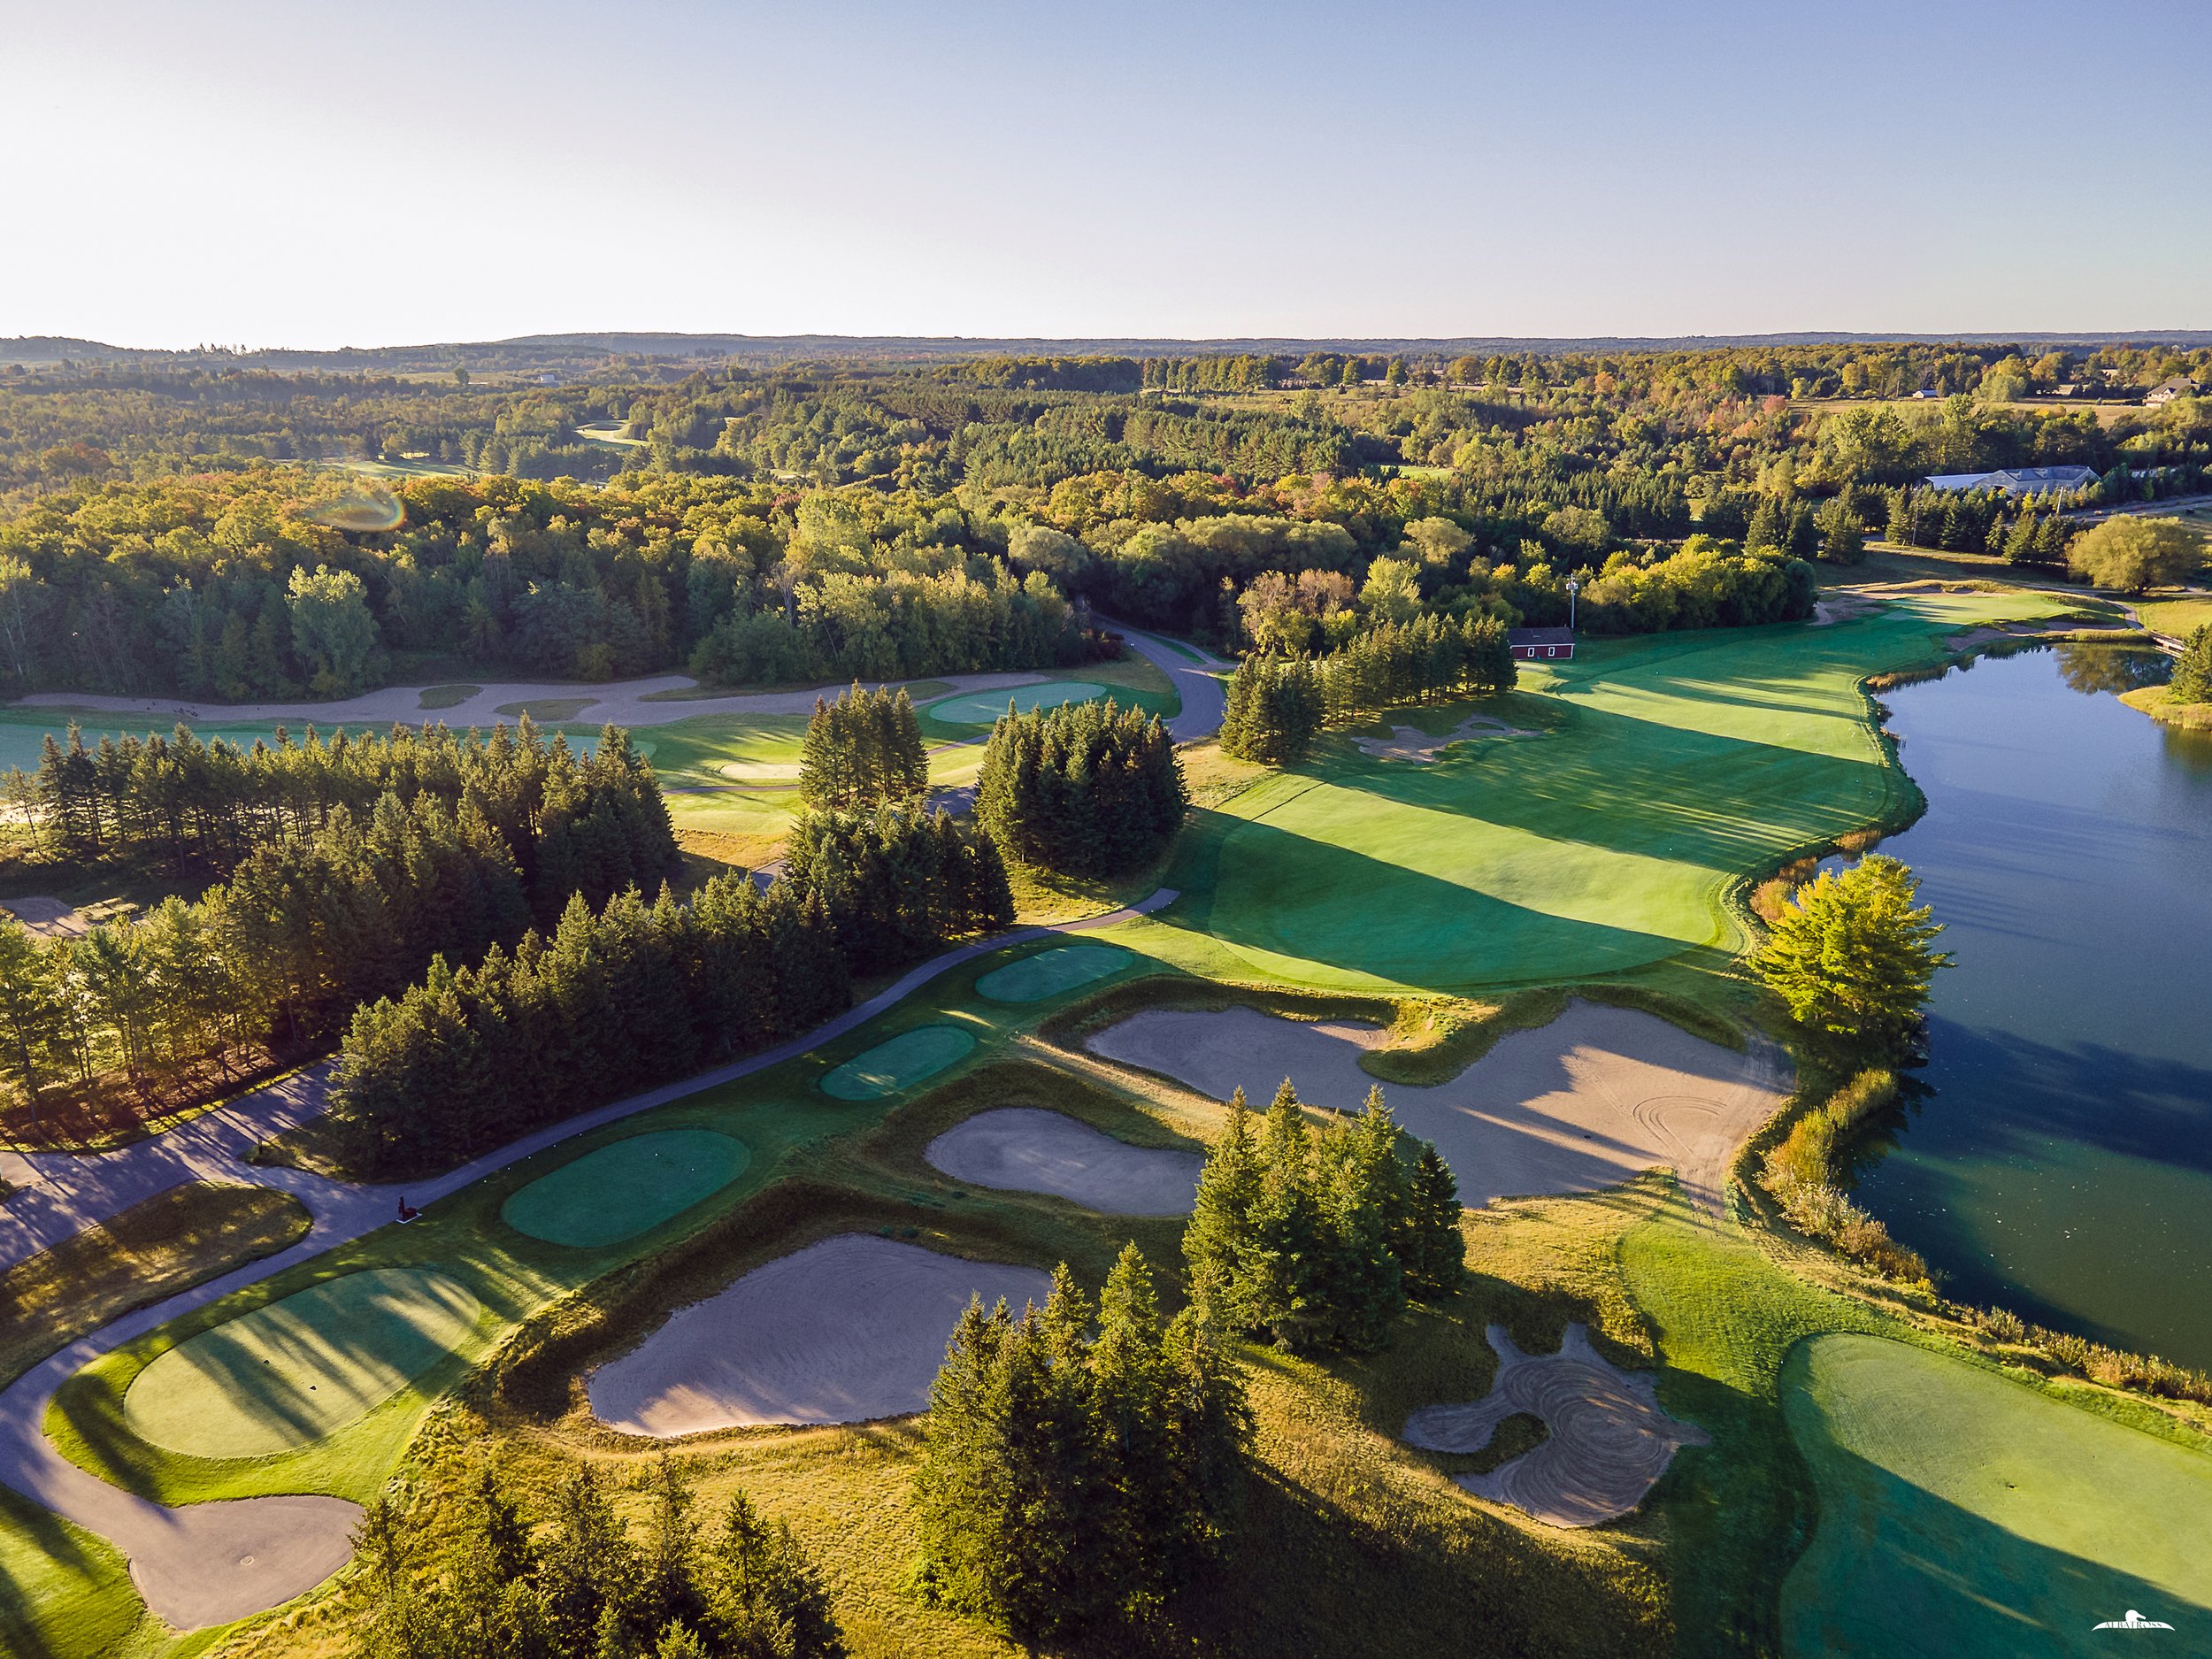
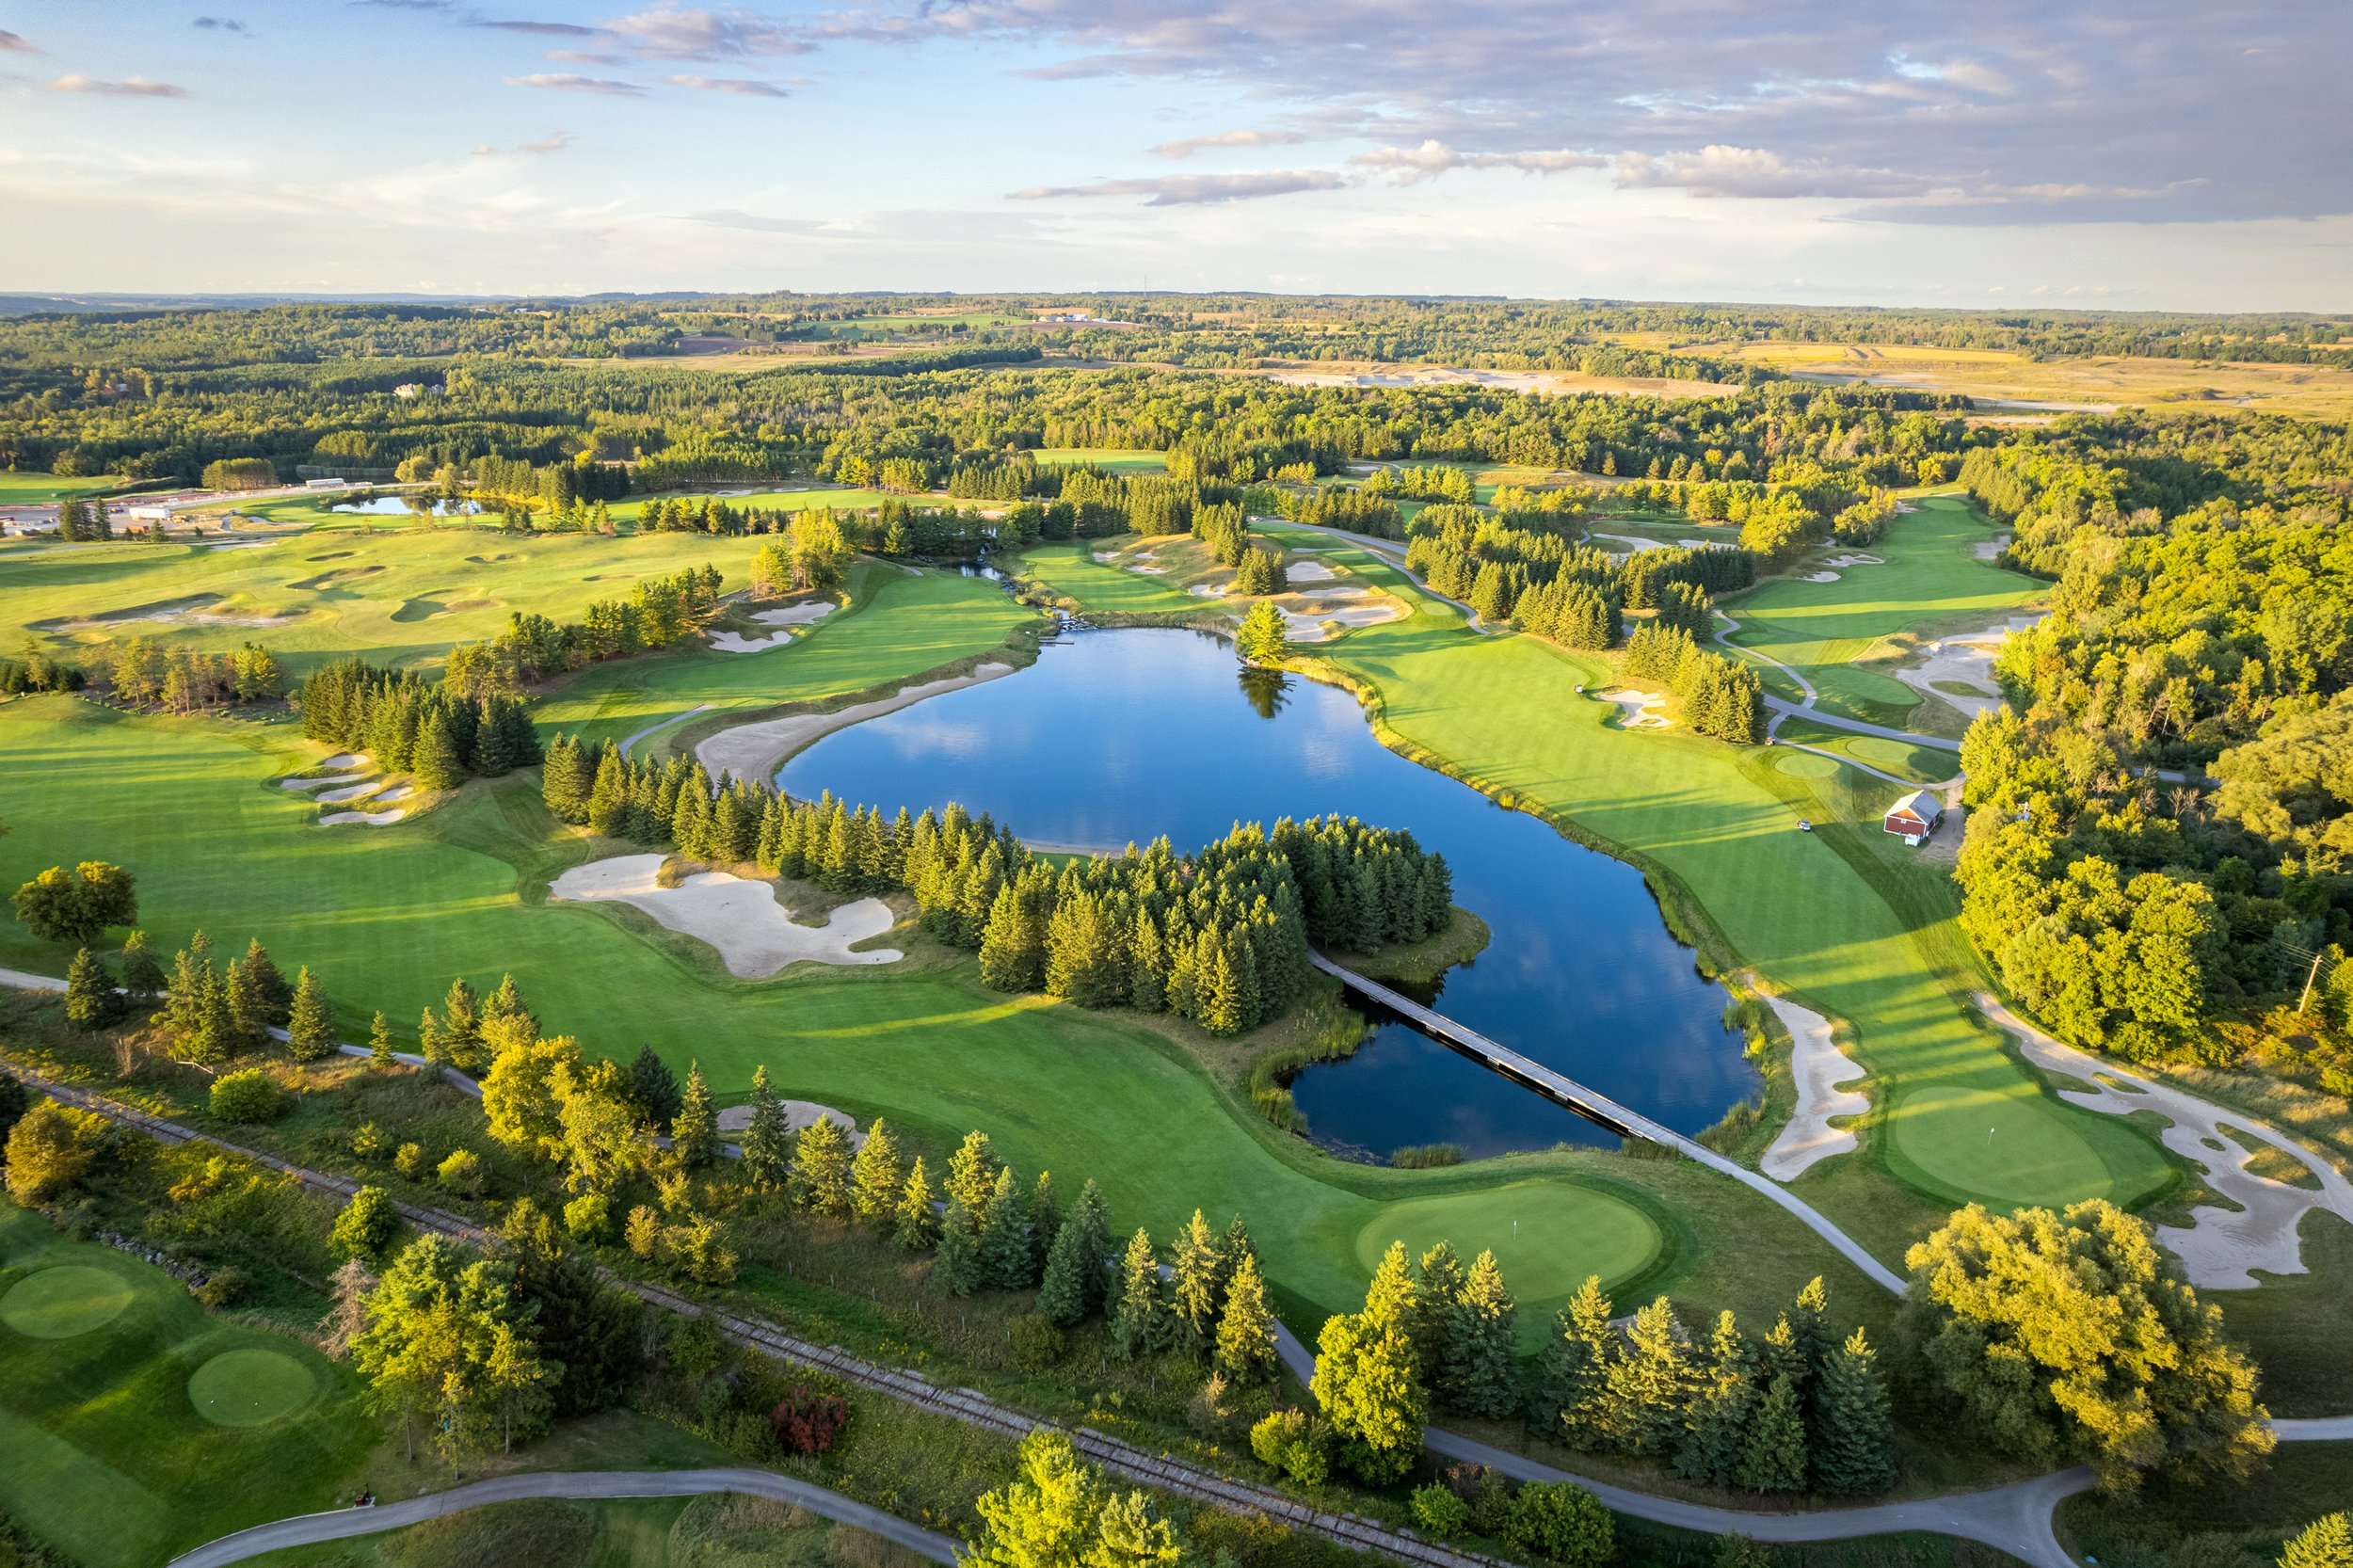
6th and 7th Holes - Photo by Chris Fry

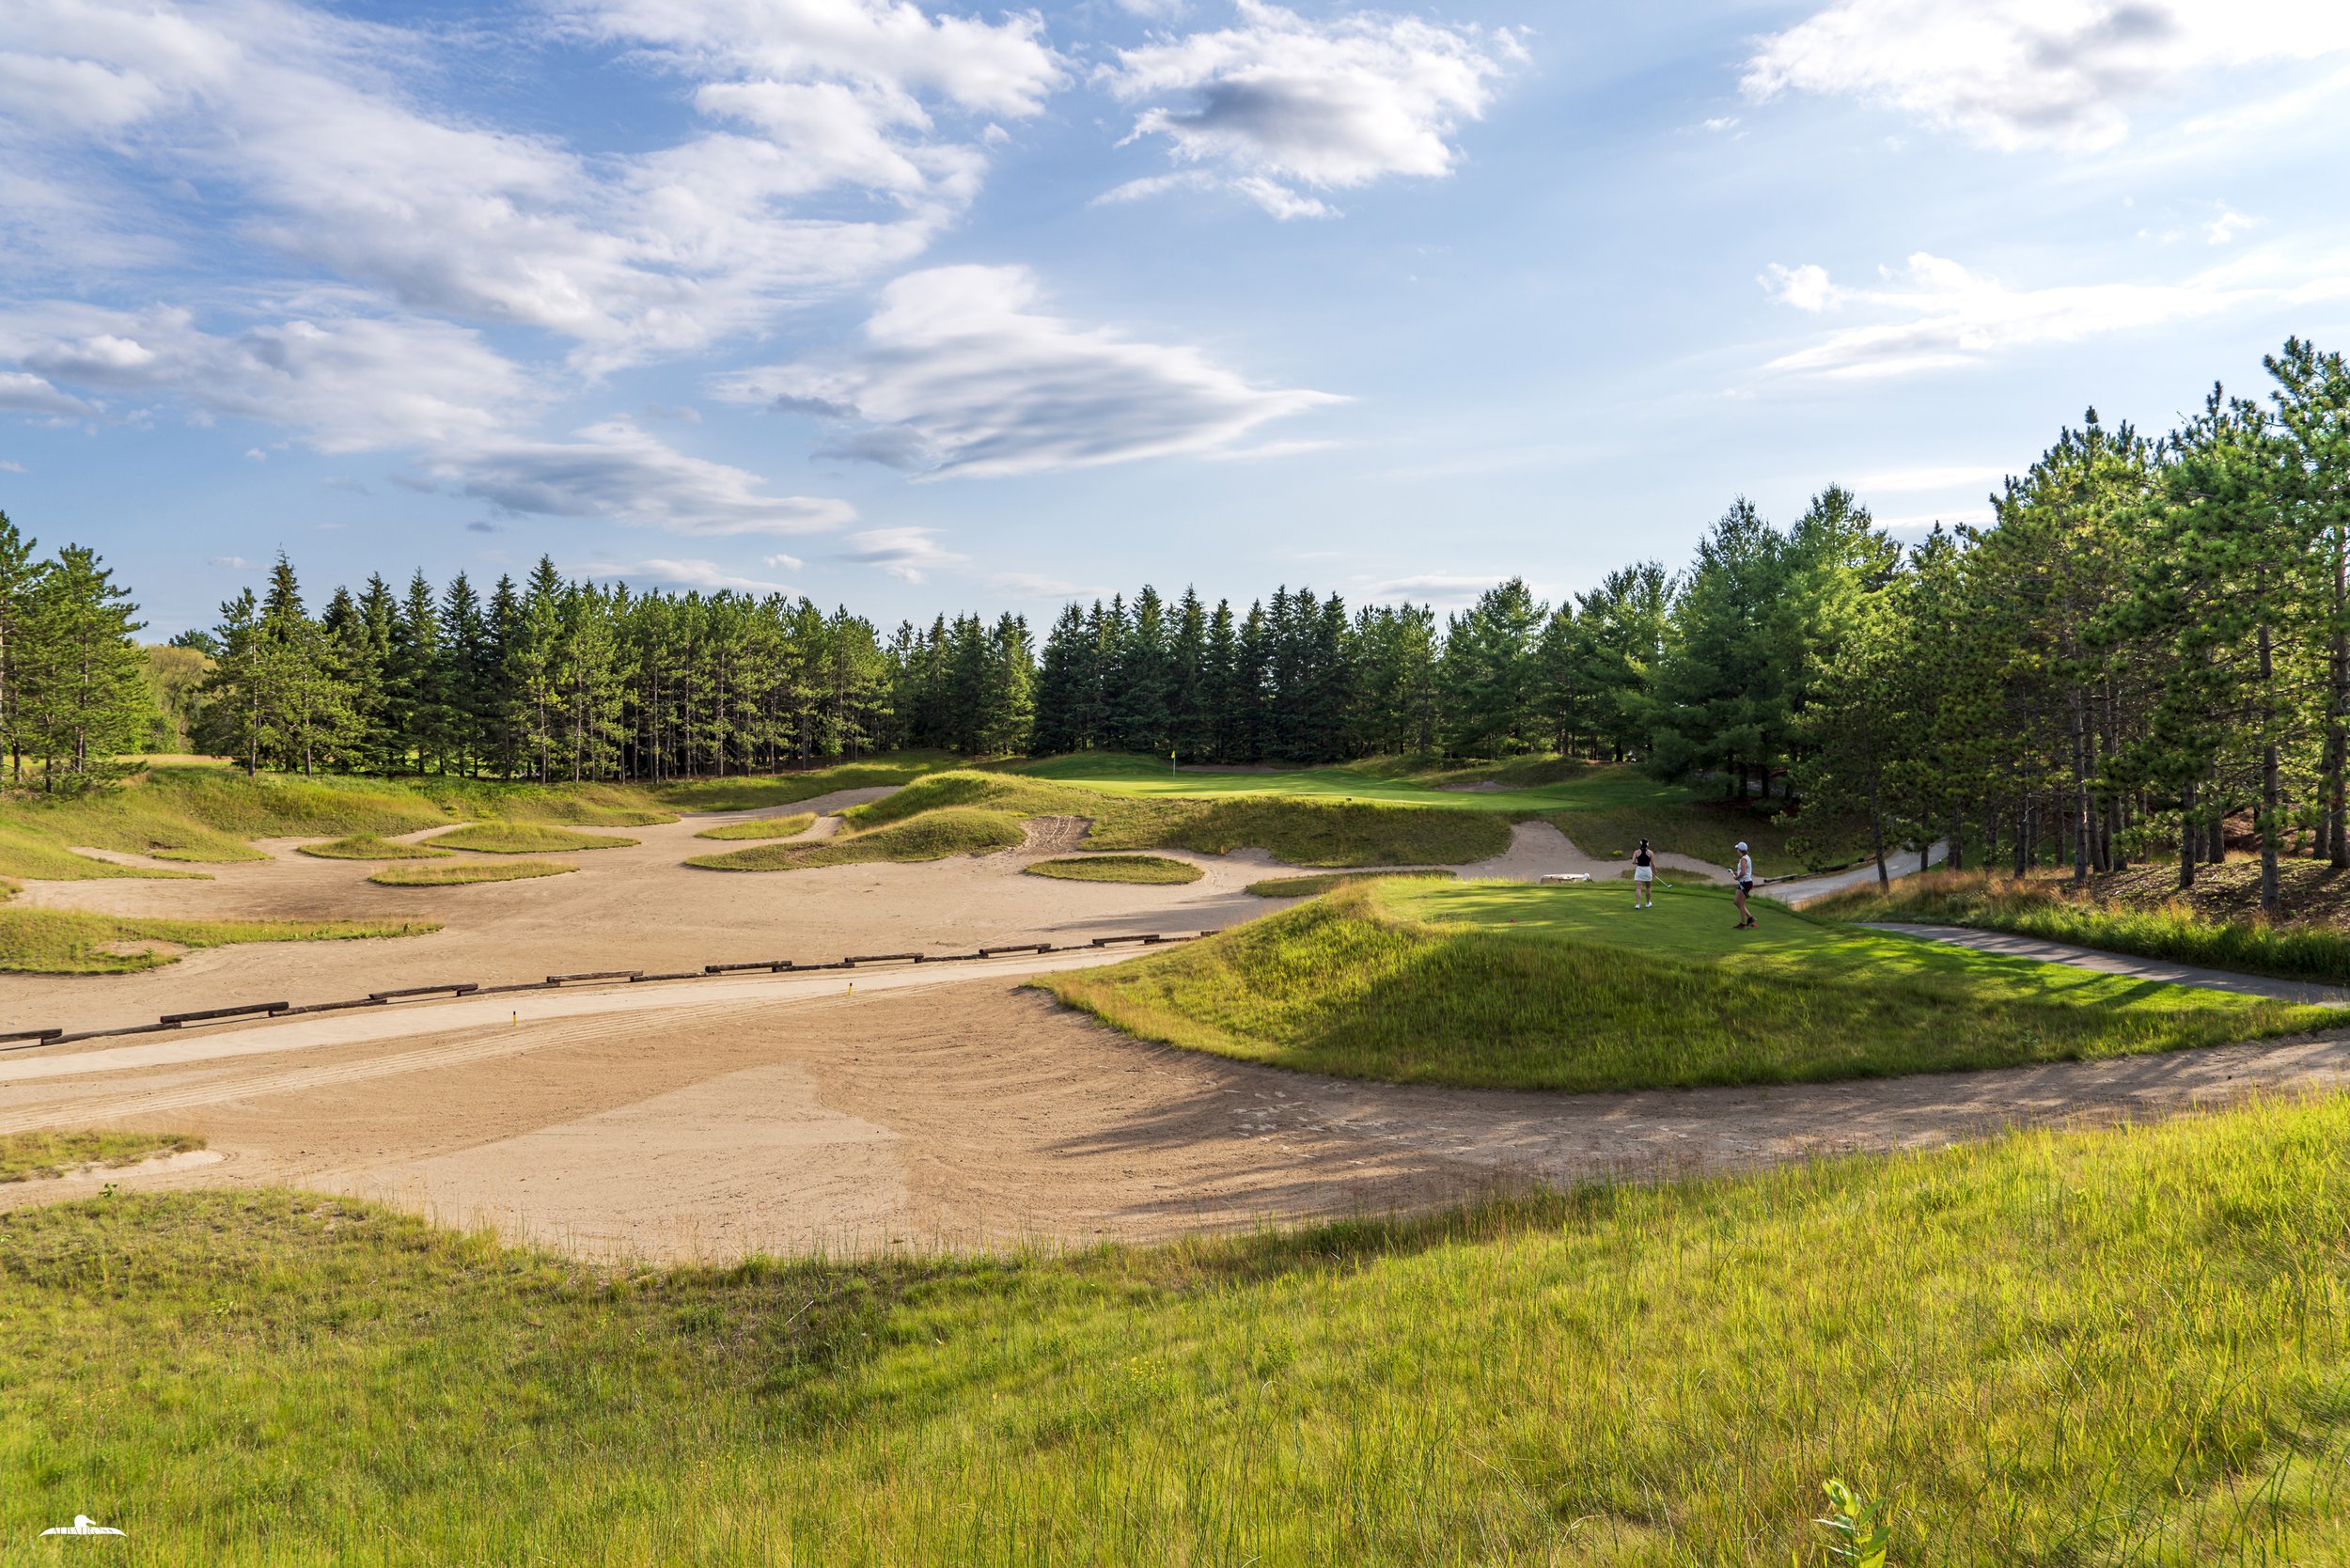
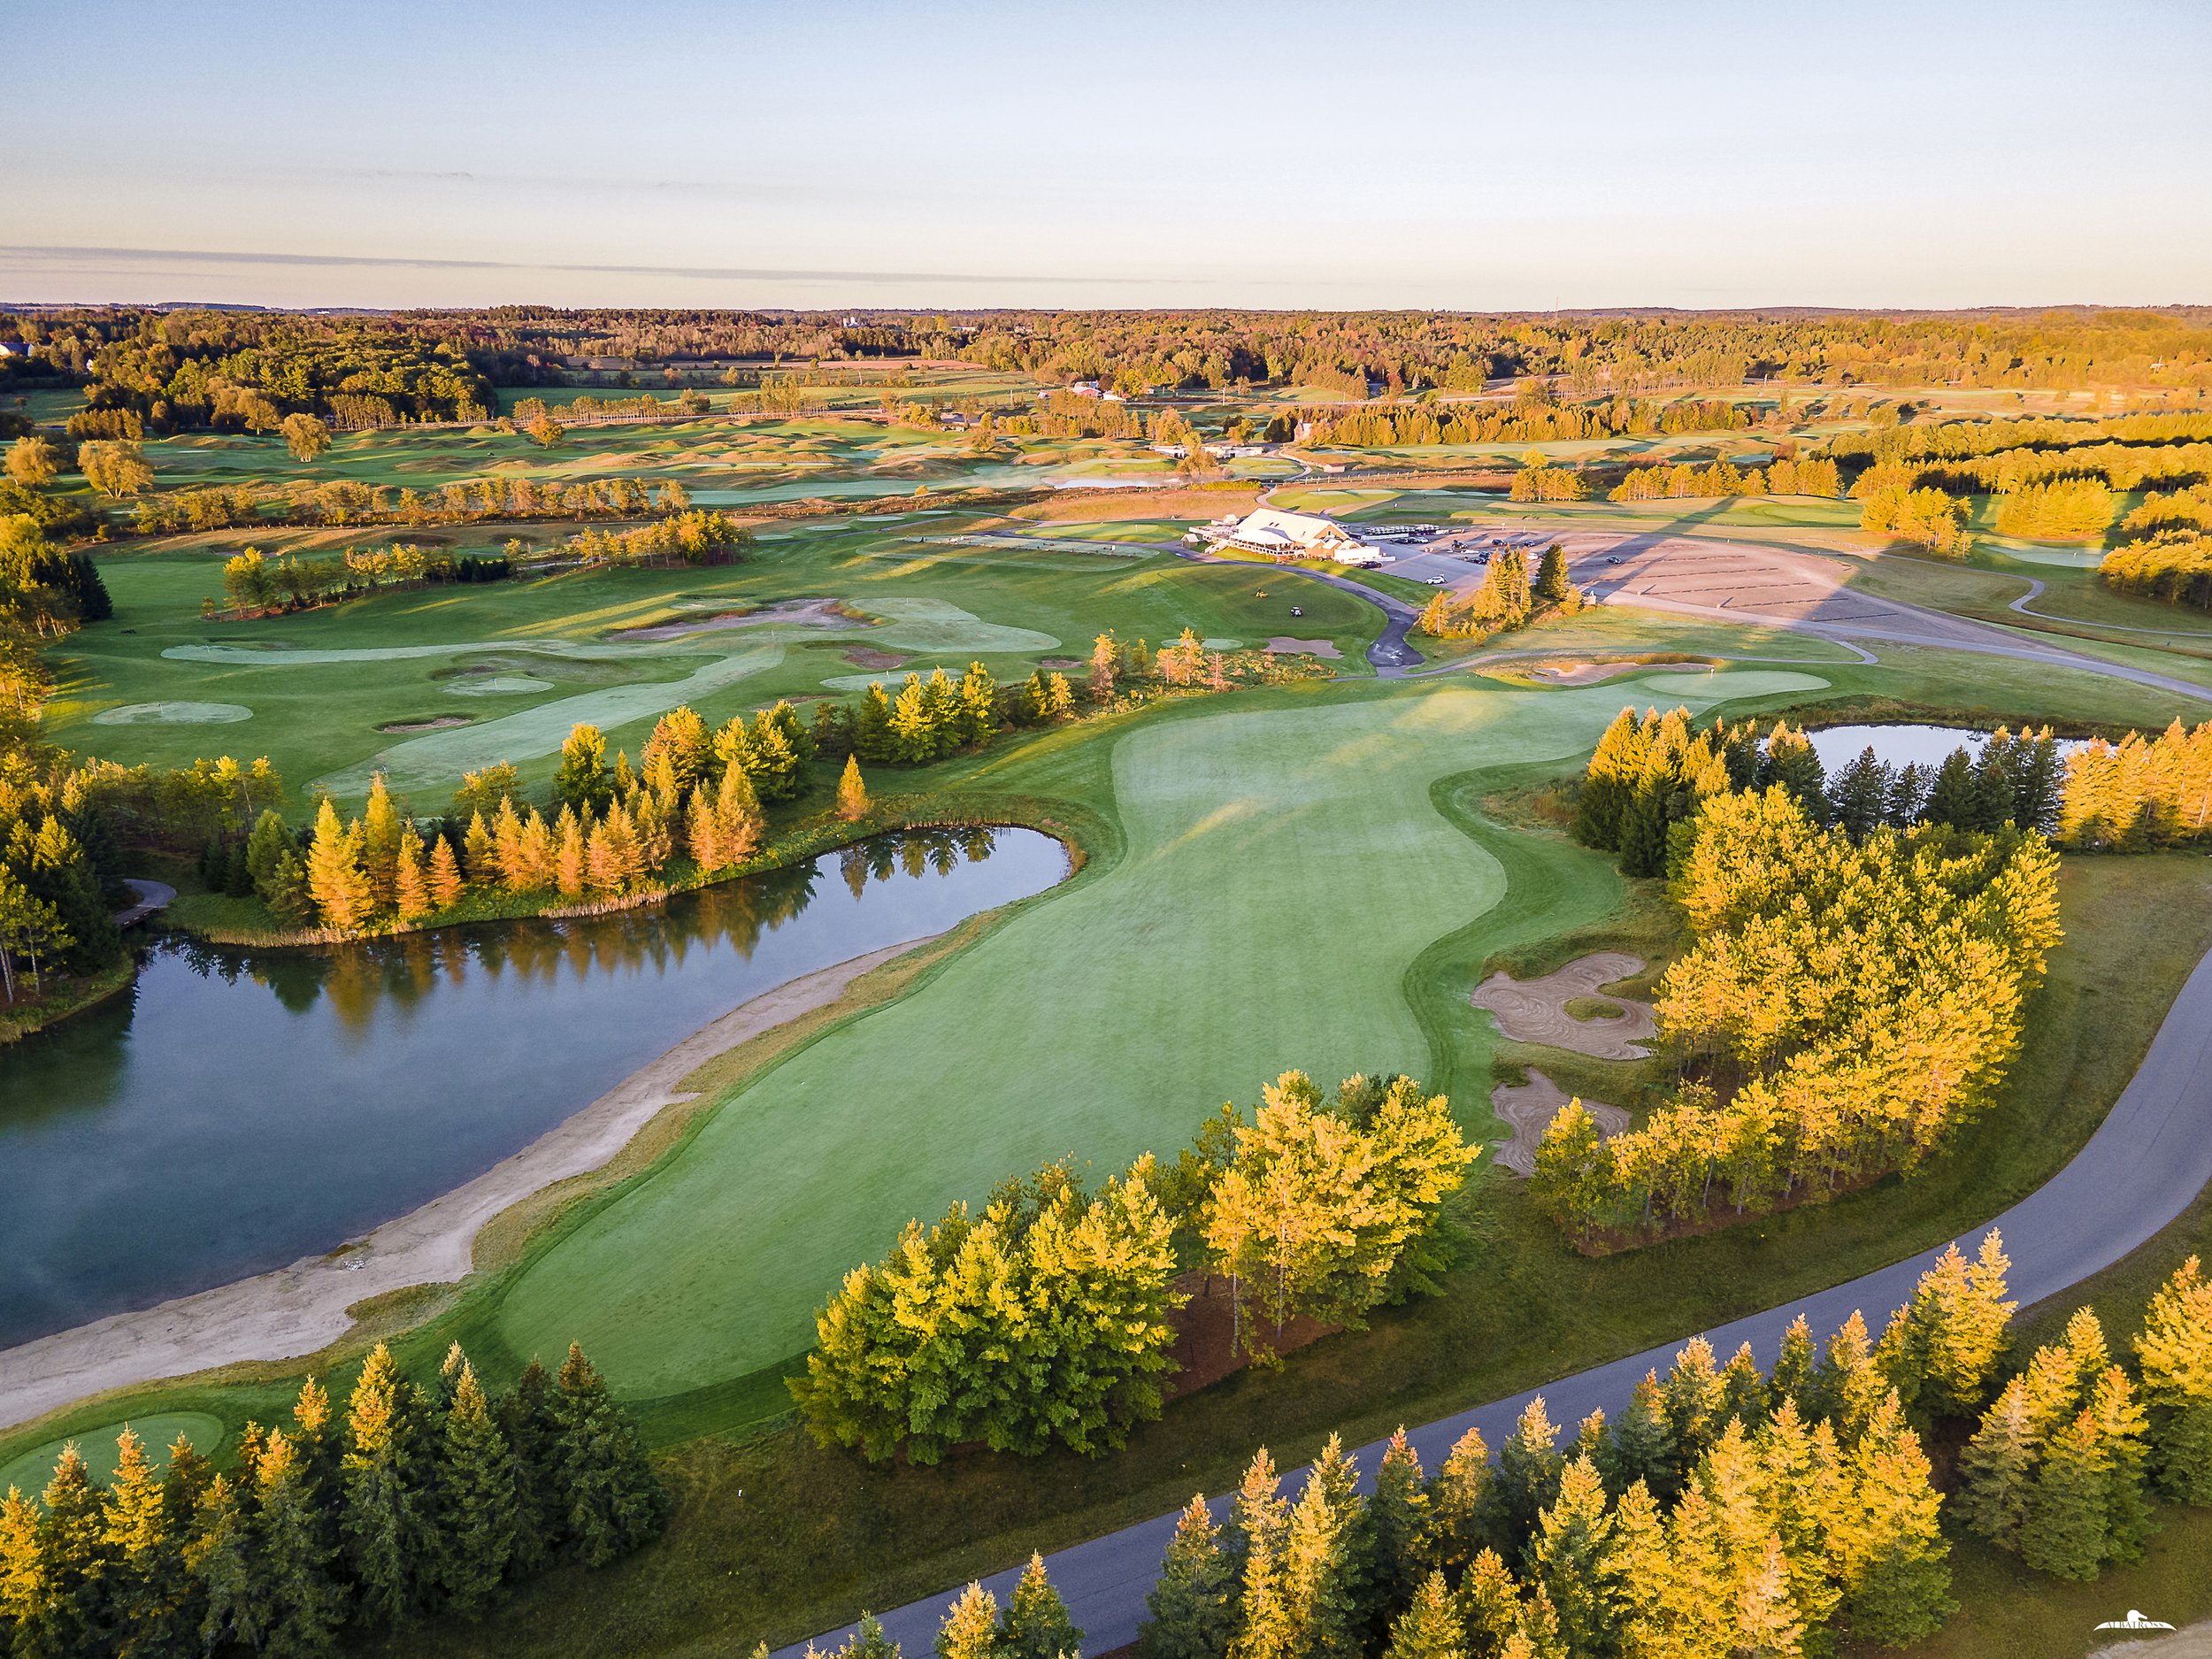
7th Hole
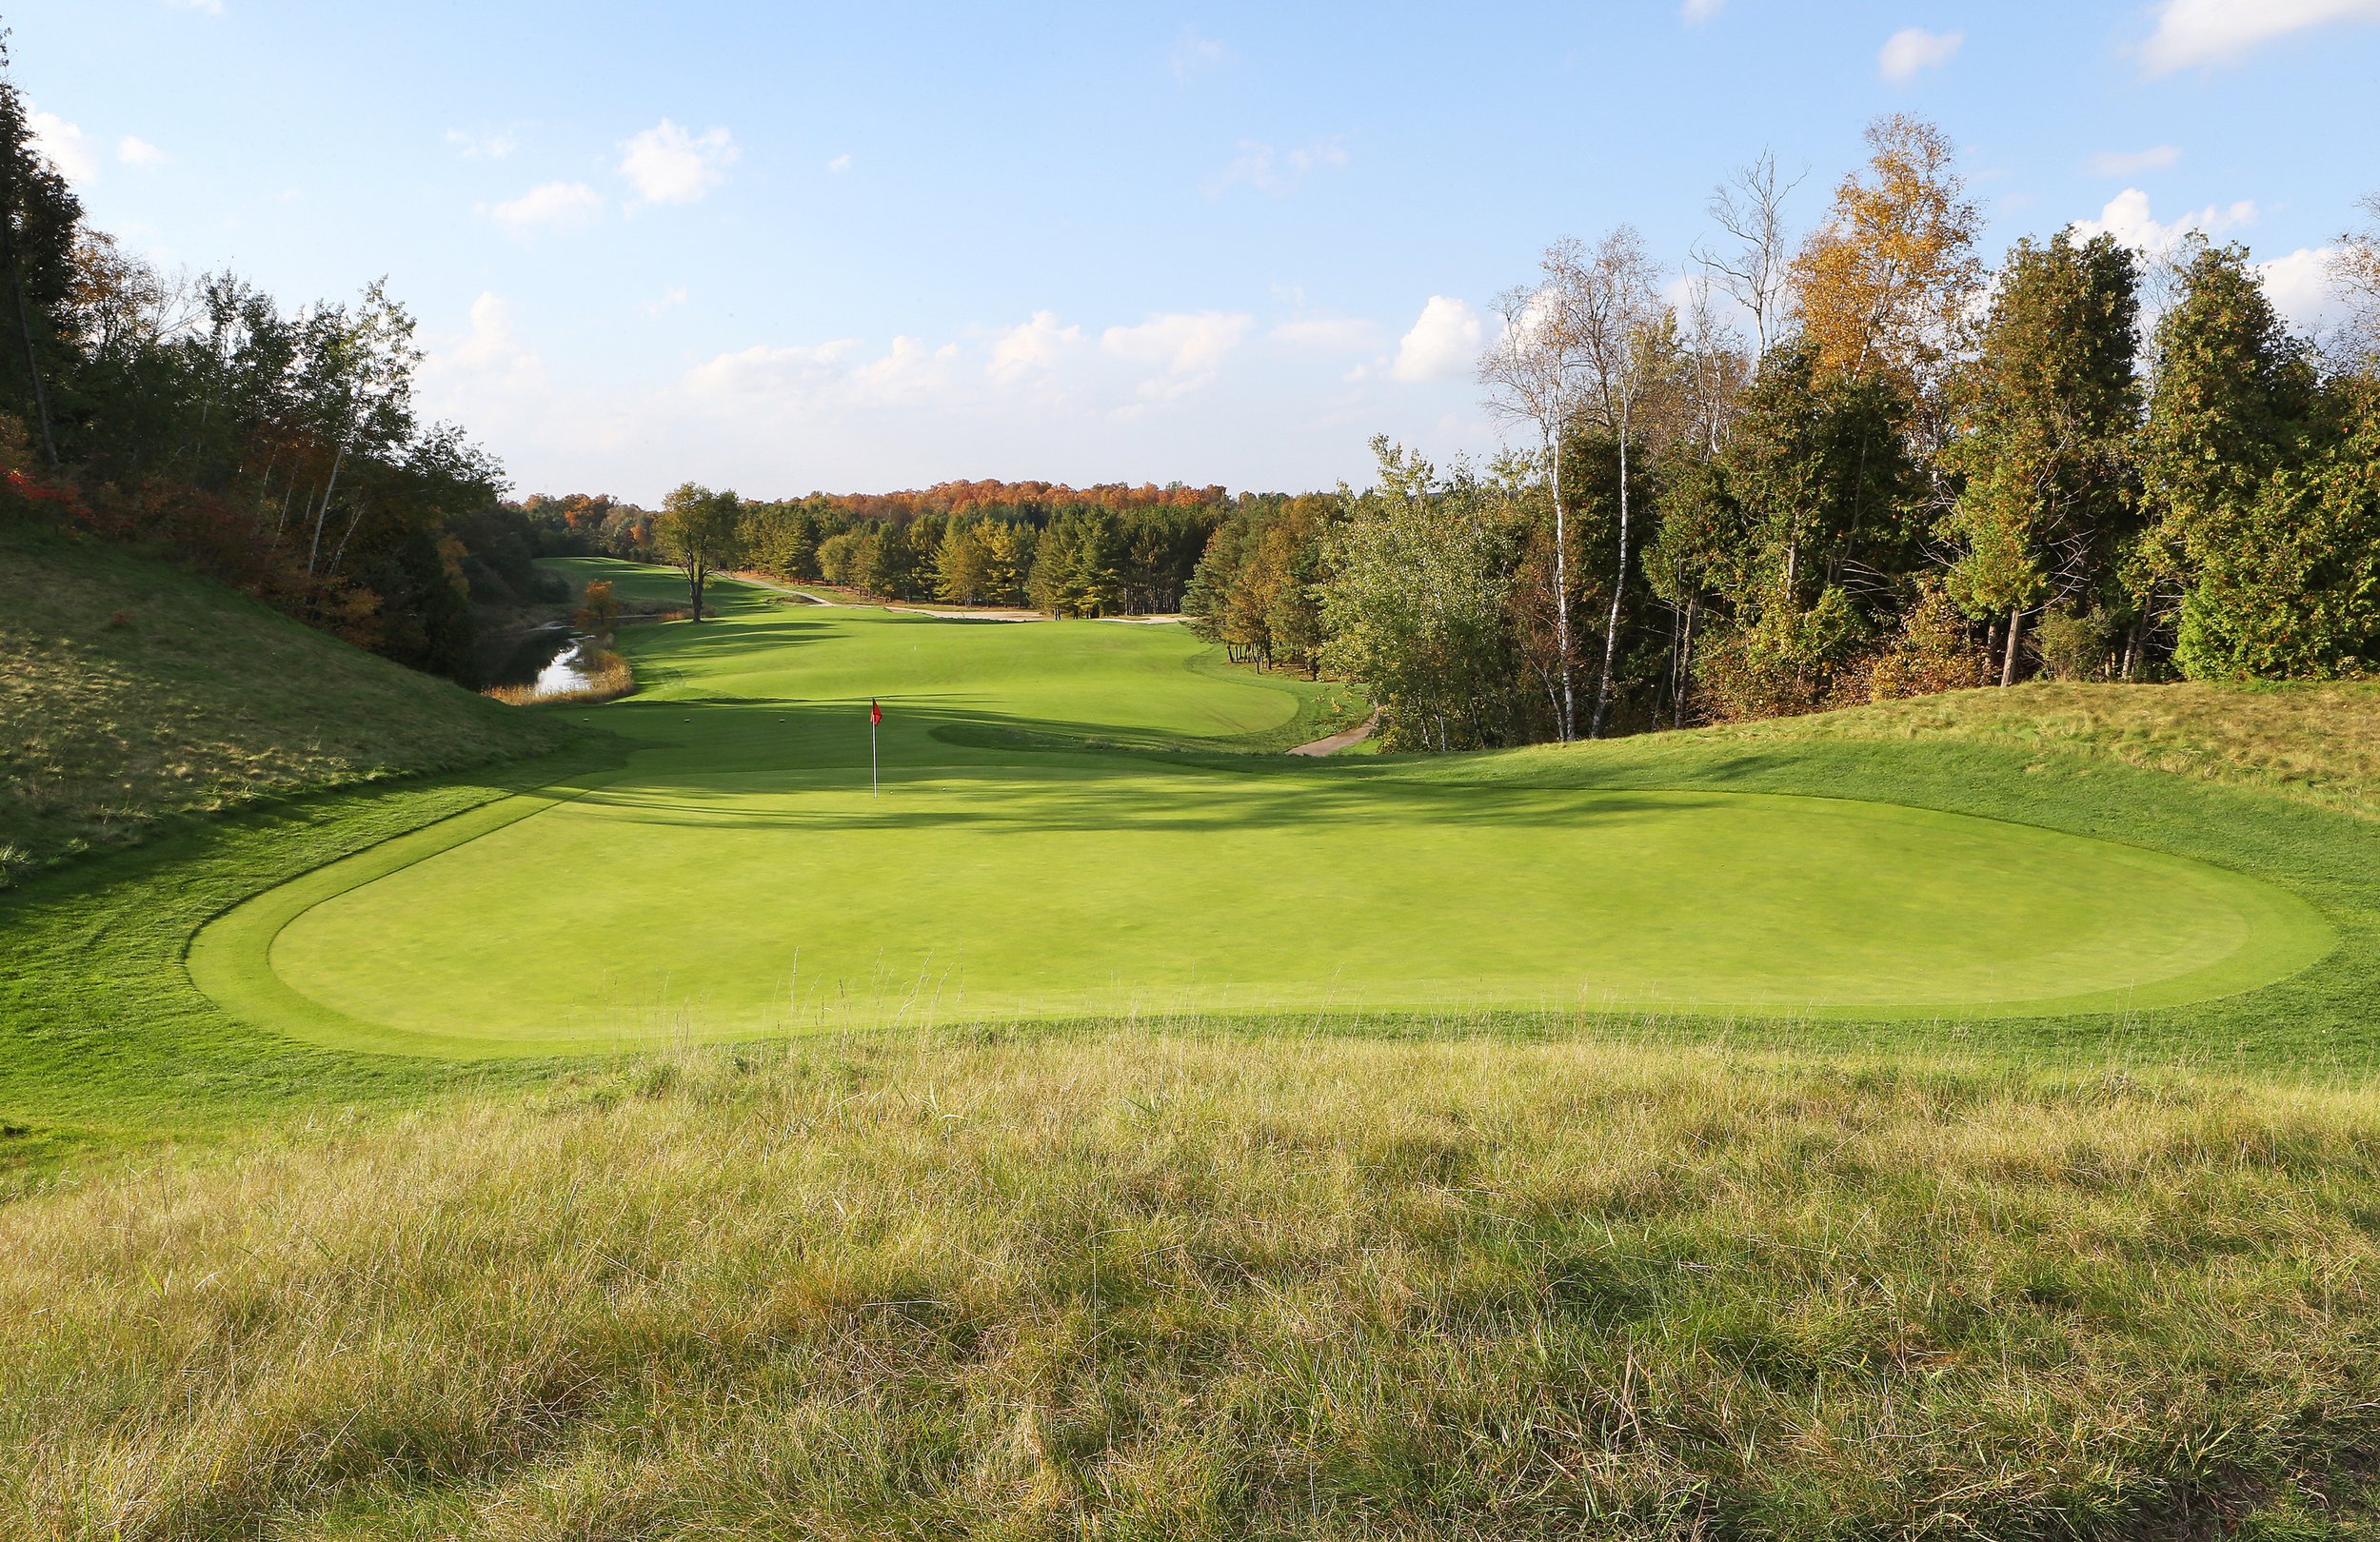
7th Hole - Photo by Claus Andersen

7th Hole
7th Hole - Photo by Chris Fry
8th Hole - Photo by Chris Fry
8th Hole - Photo by Chris Fry
9th Hole - Photo by Chris Fry

10th Hole
10th Hole - Photo by Chris Fry

10th Hole - Photo by Chris Fry
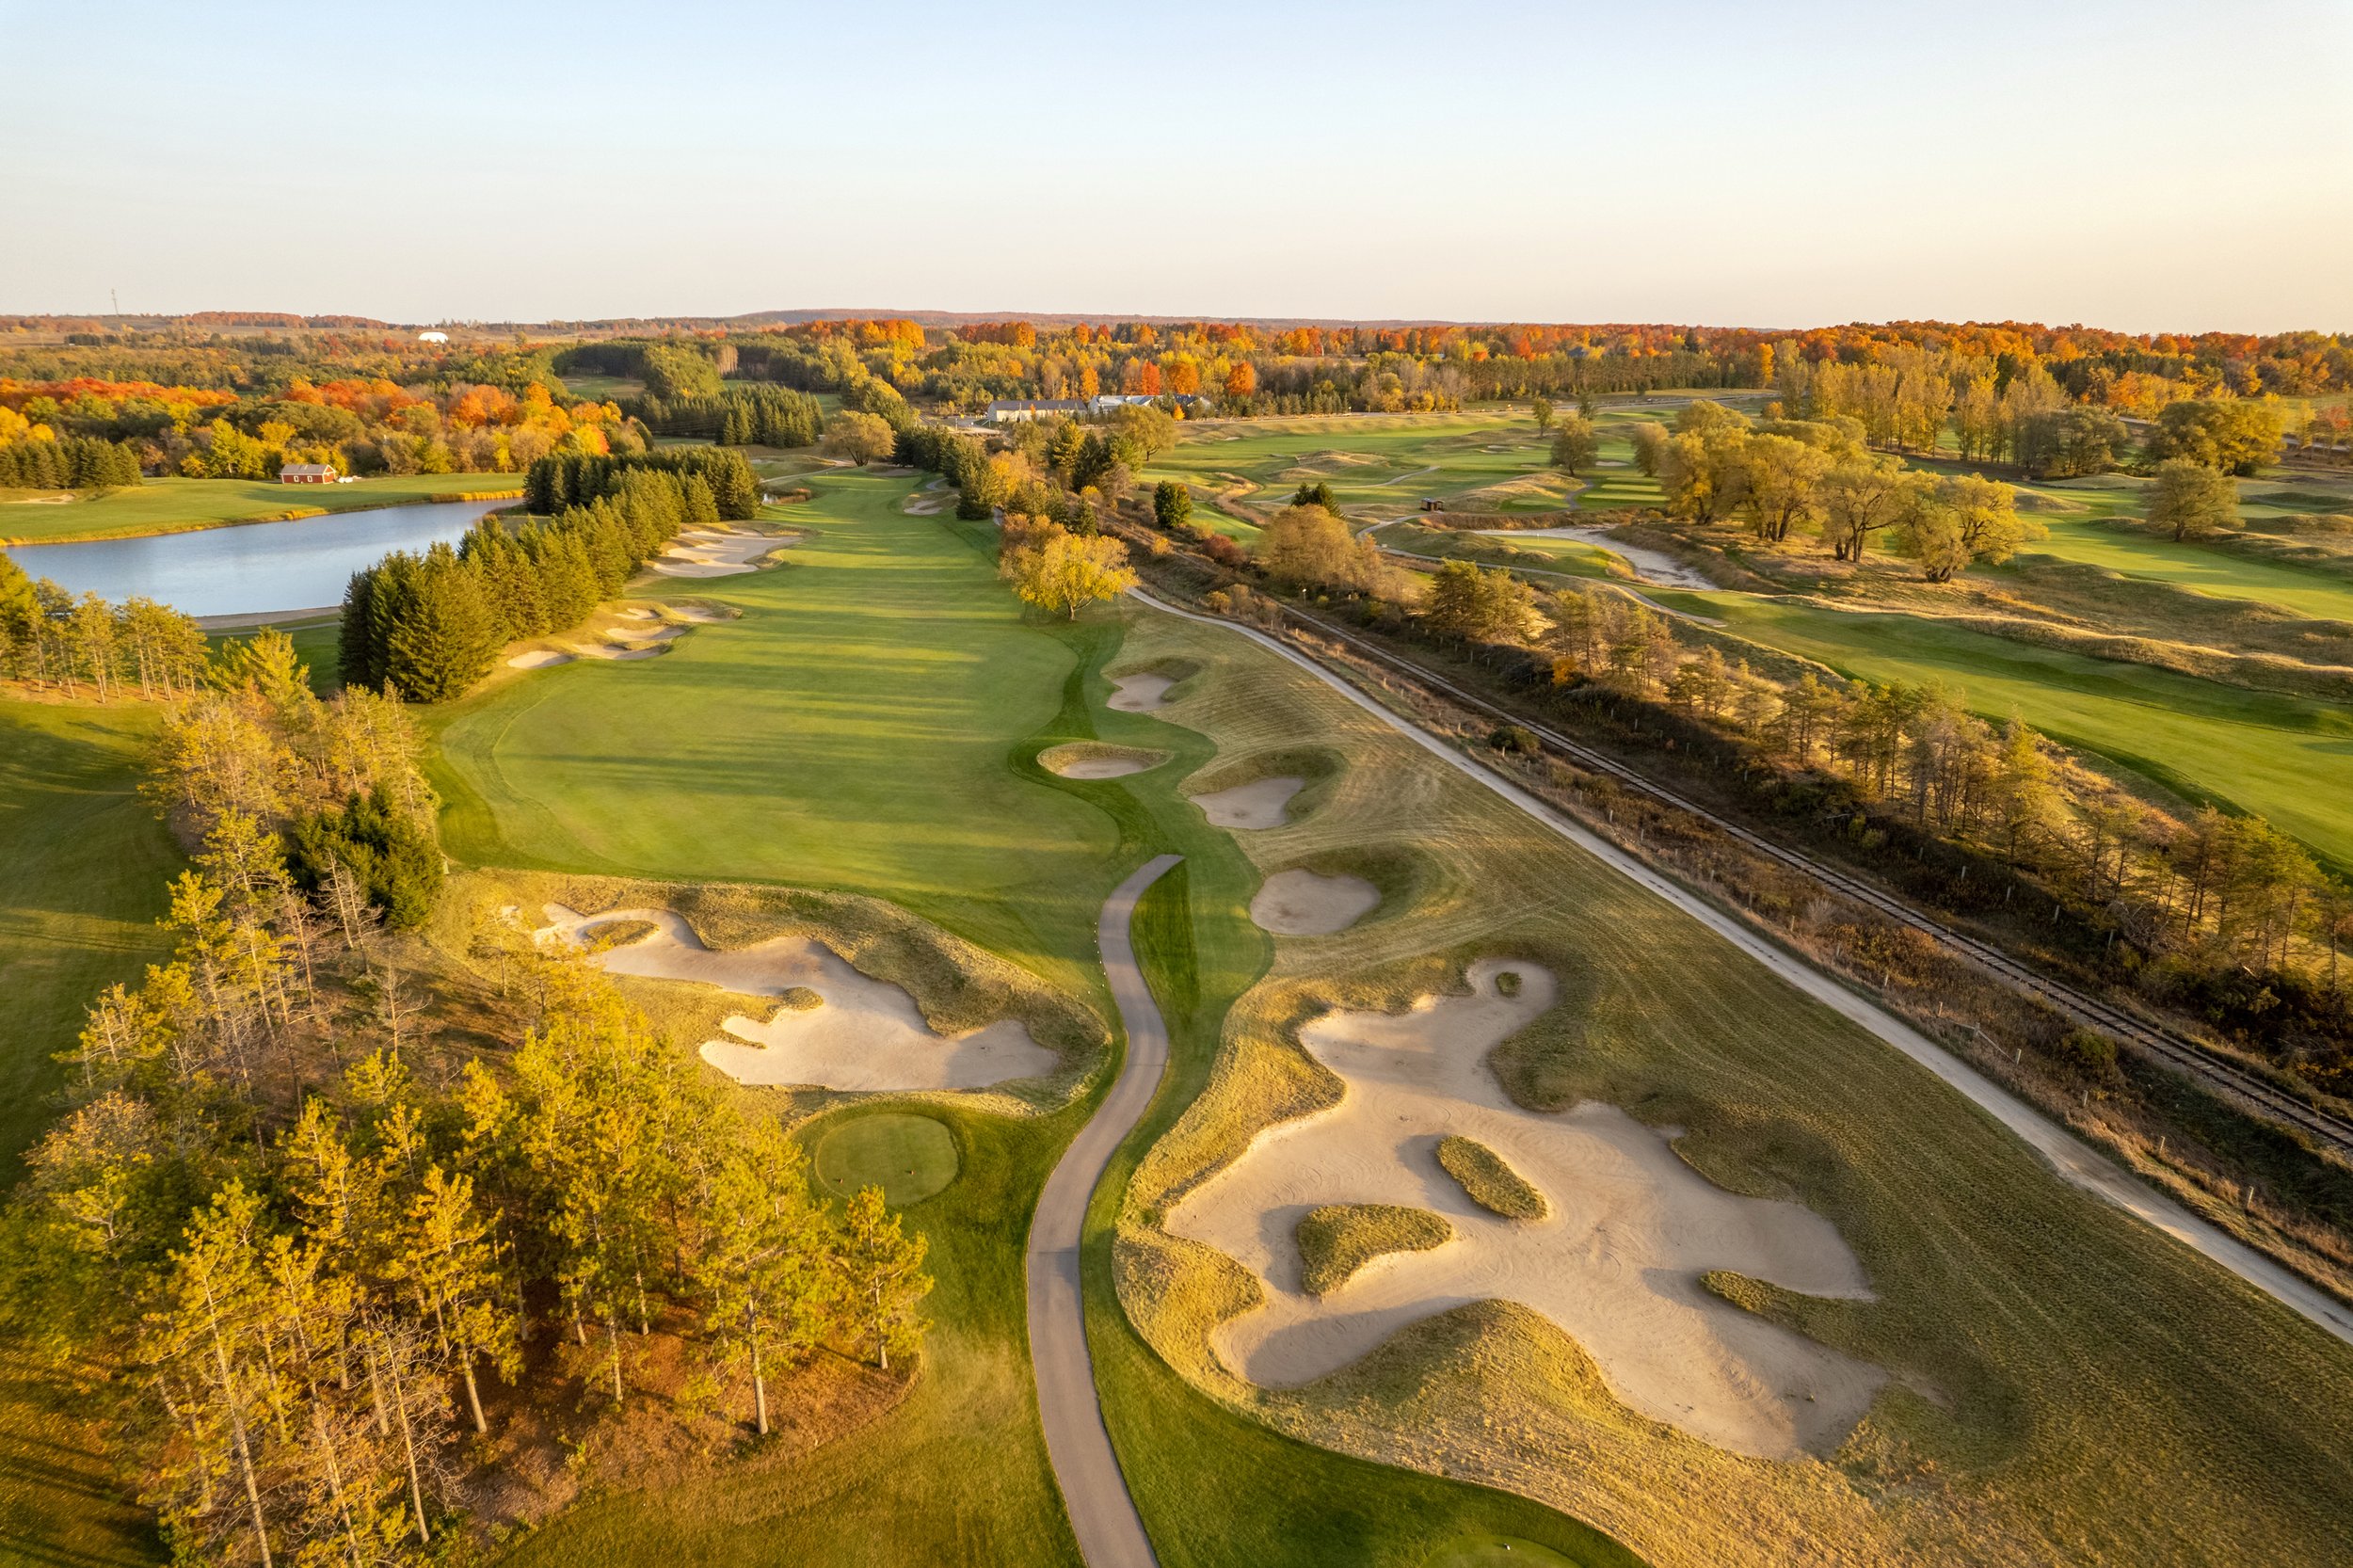
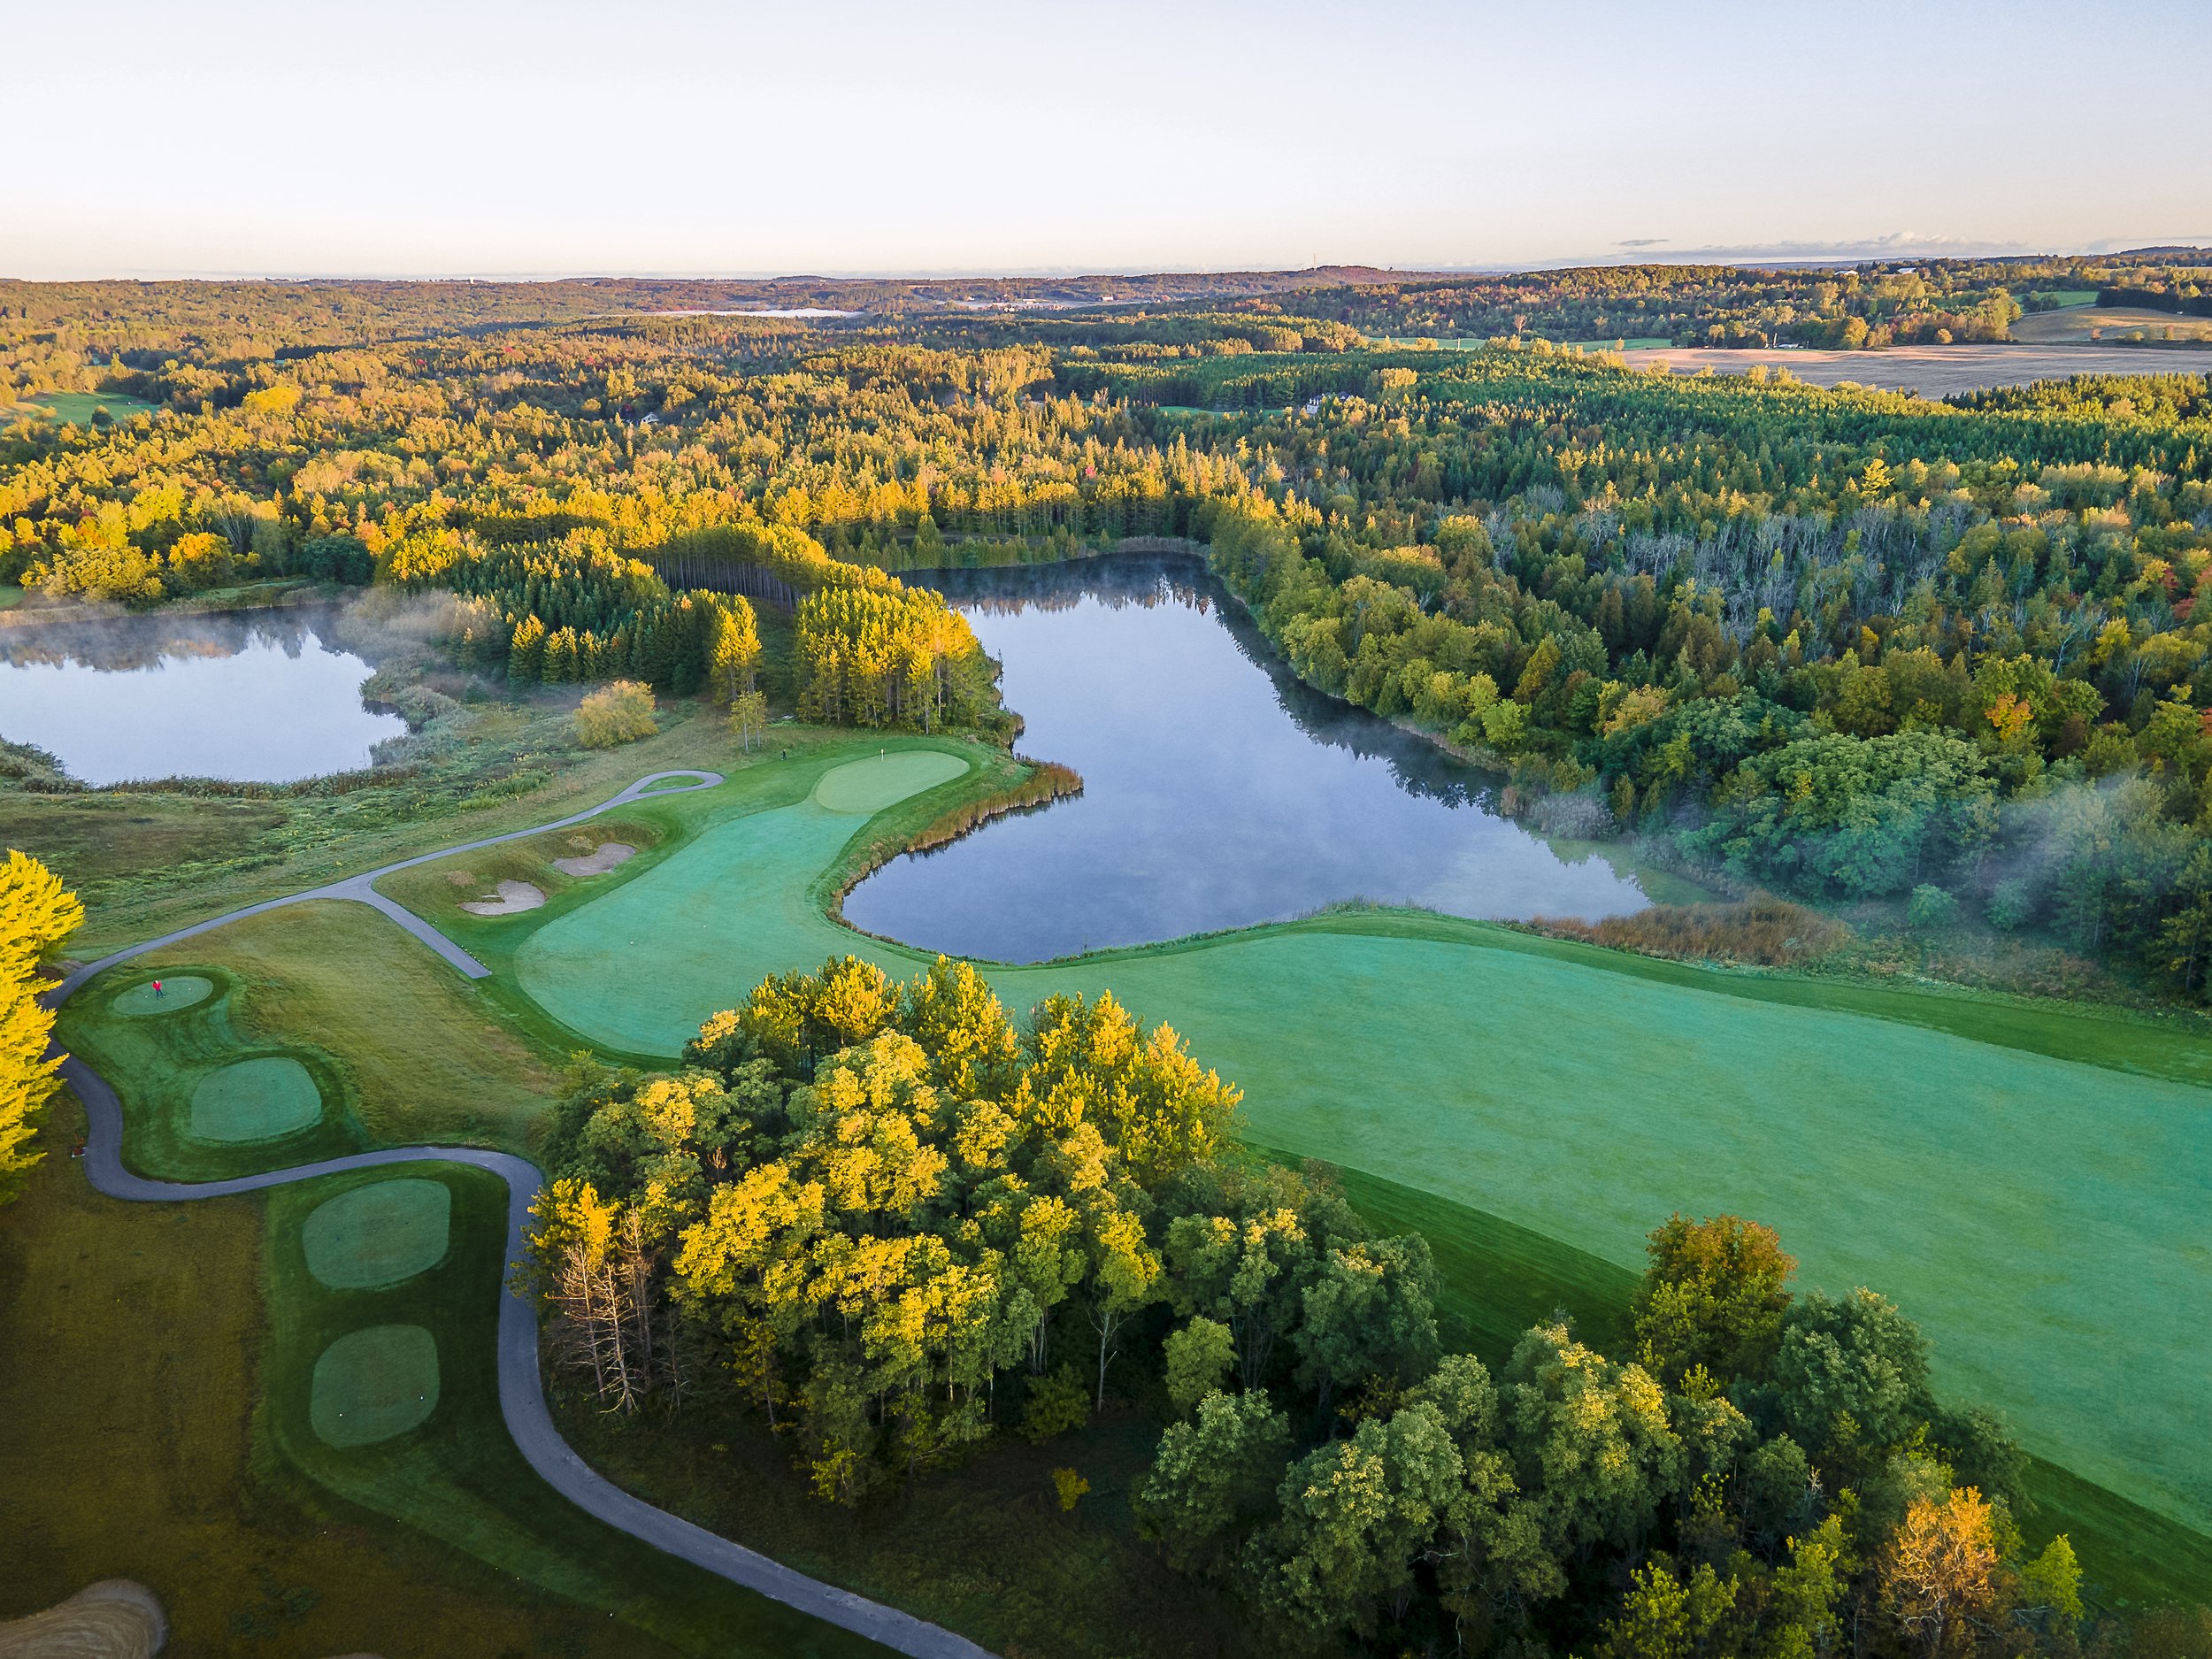
11th Hole - Photo by Chris Fry
11th Hole - Photo by Chris Fry
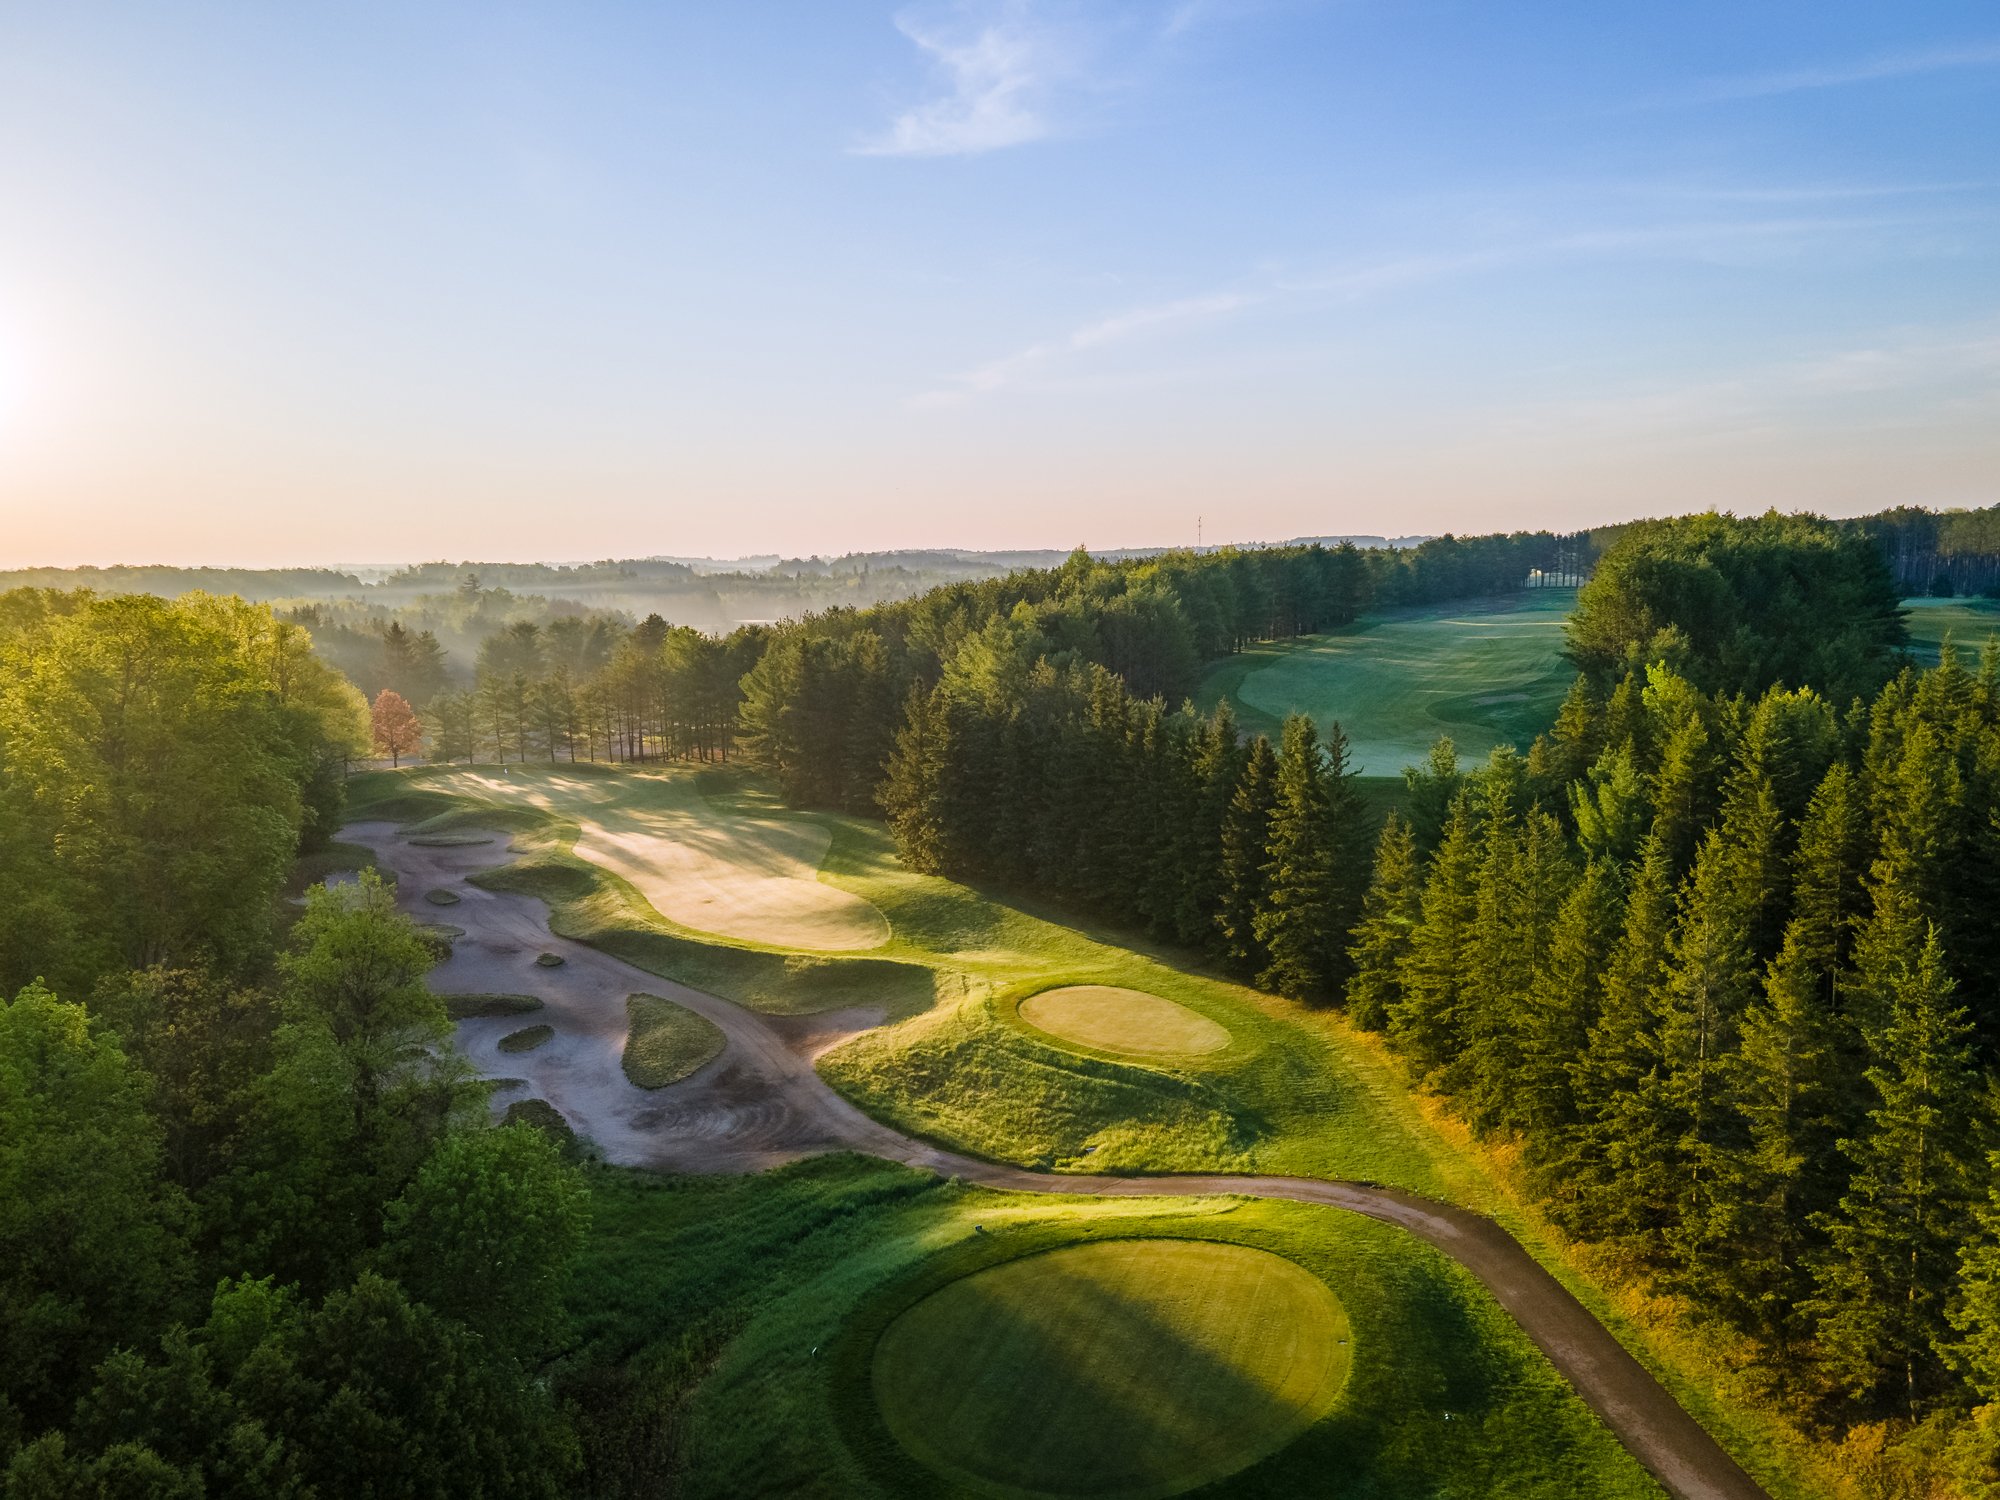
12th Hole - Photo by Chris Fry
12th Hole - Photo by Chris Fry
12th Hole - Photo by Chris Fry
12th Hole - Photo by Chris Fry

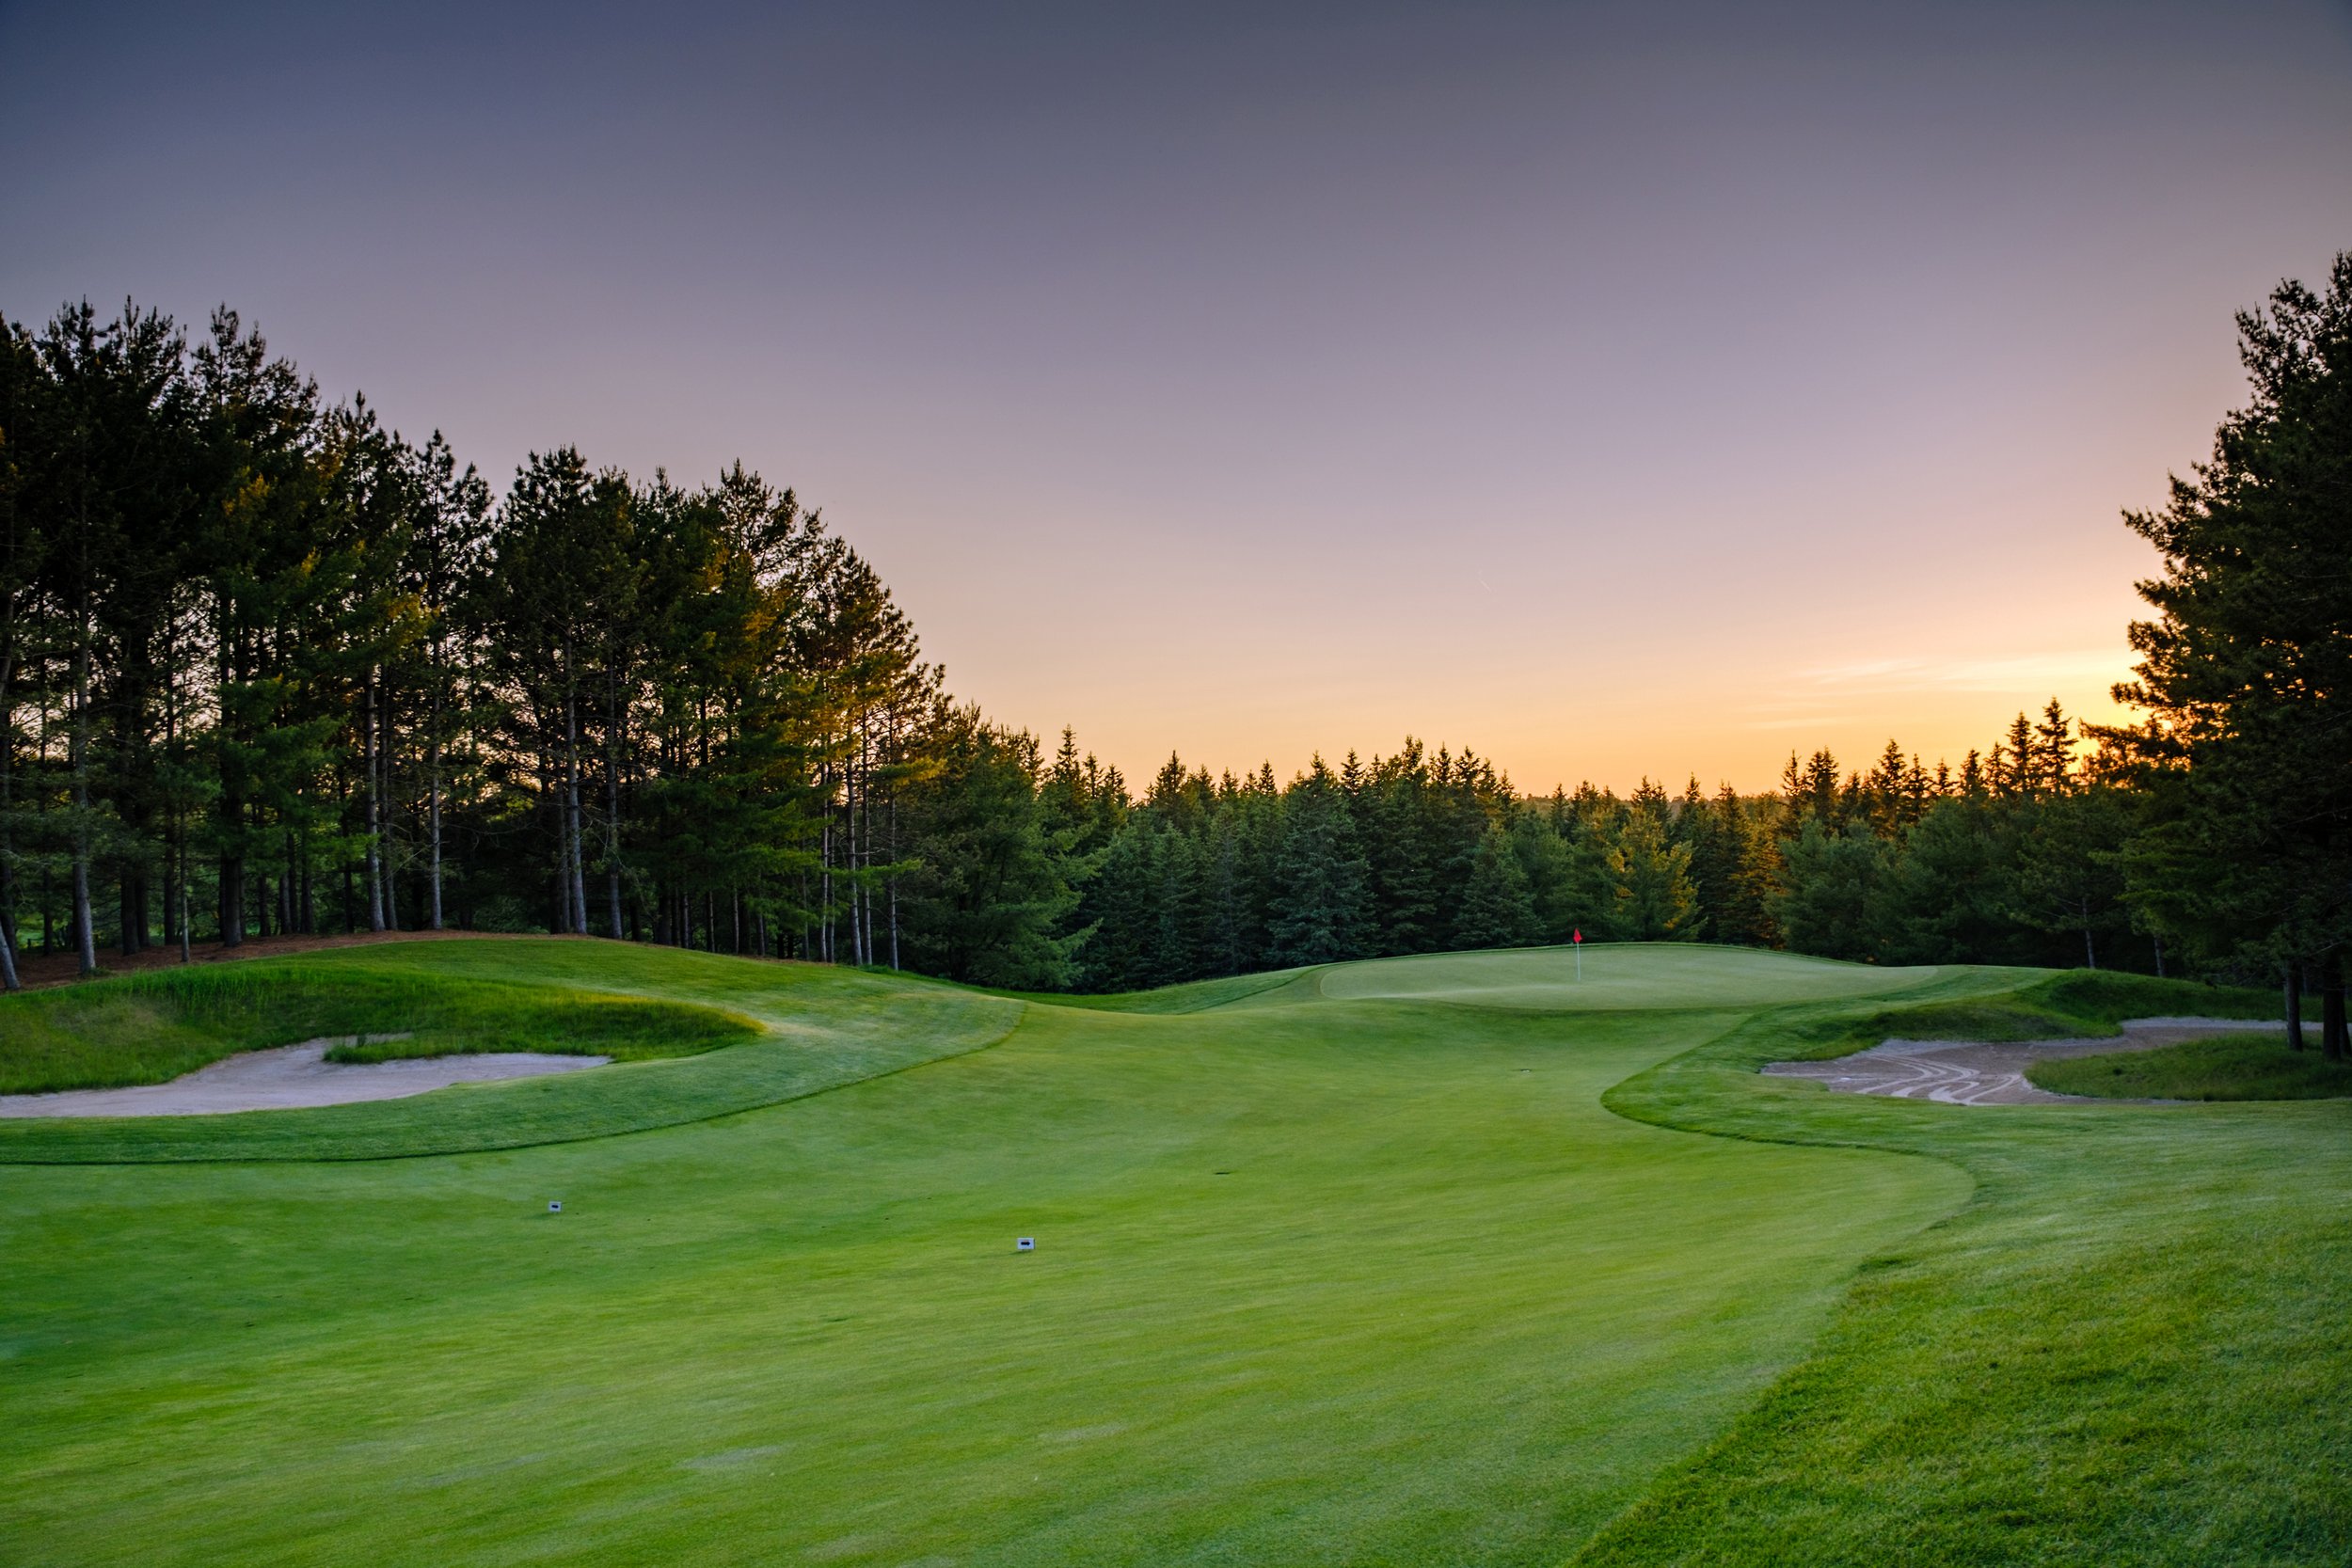
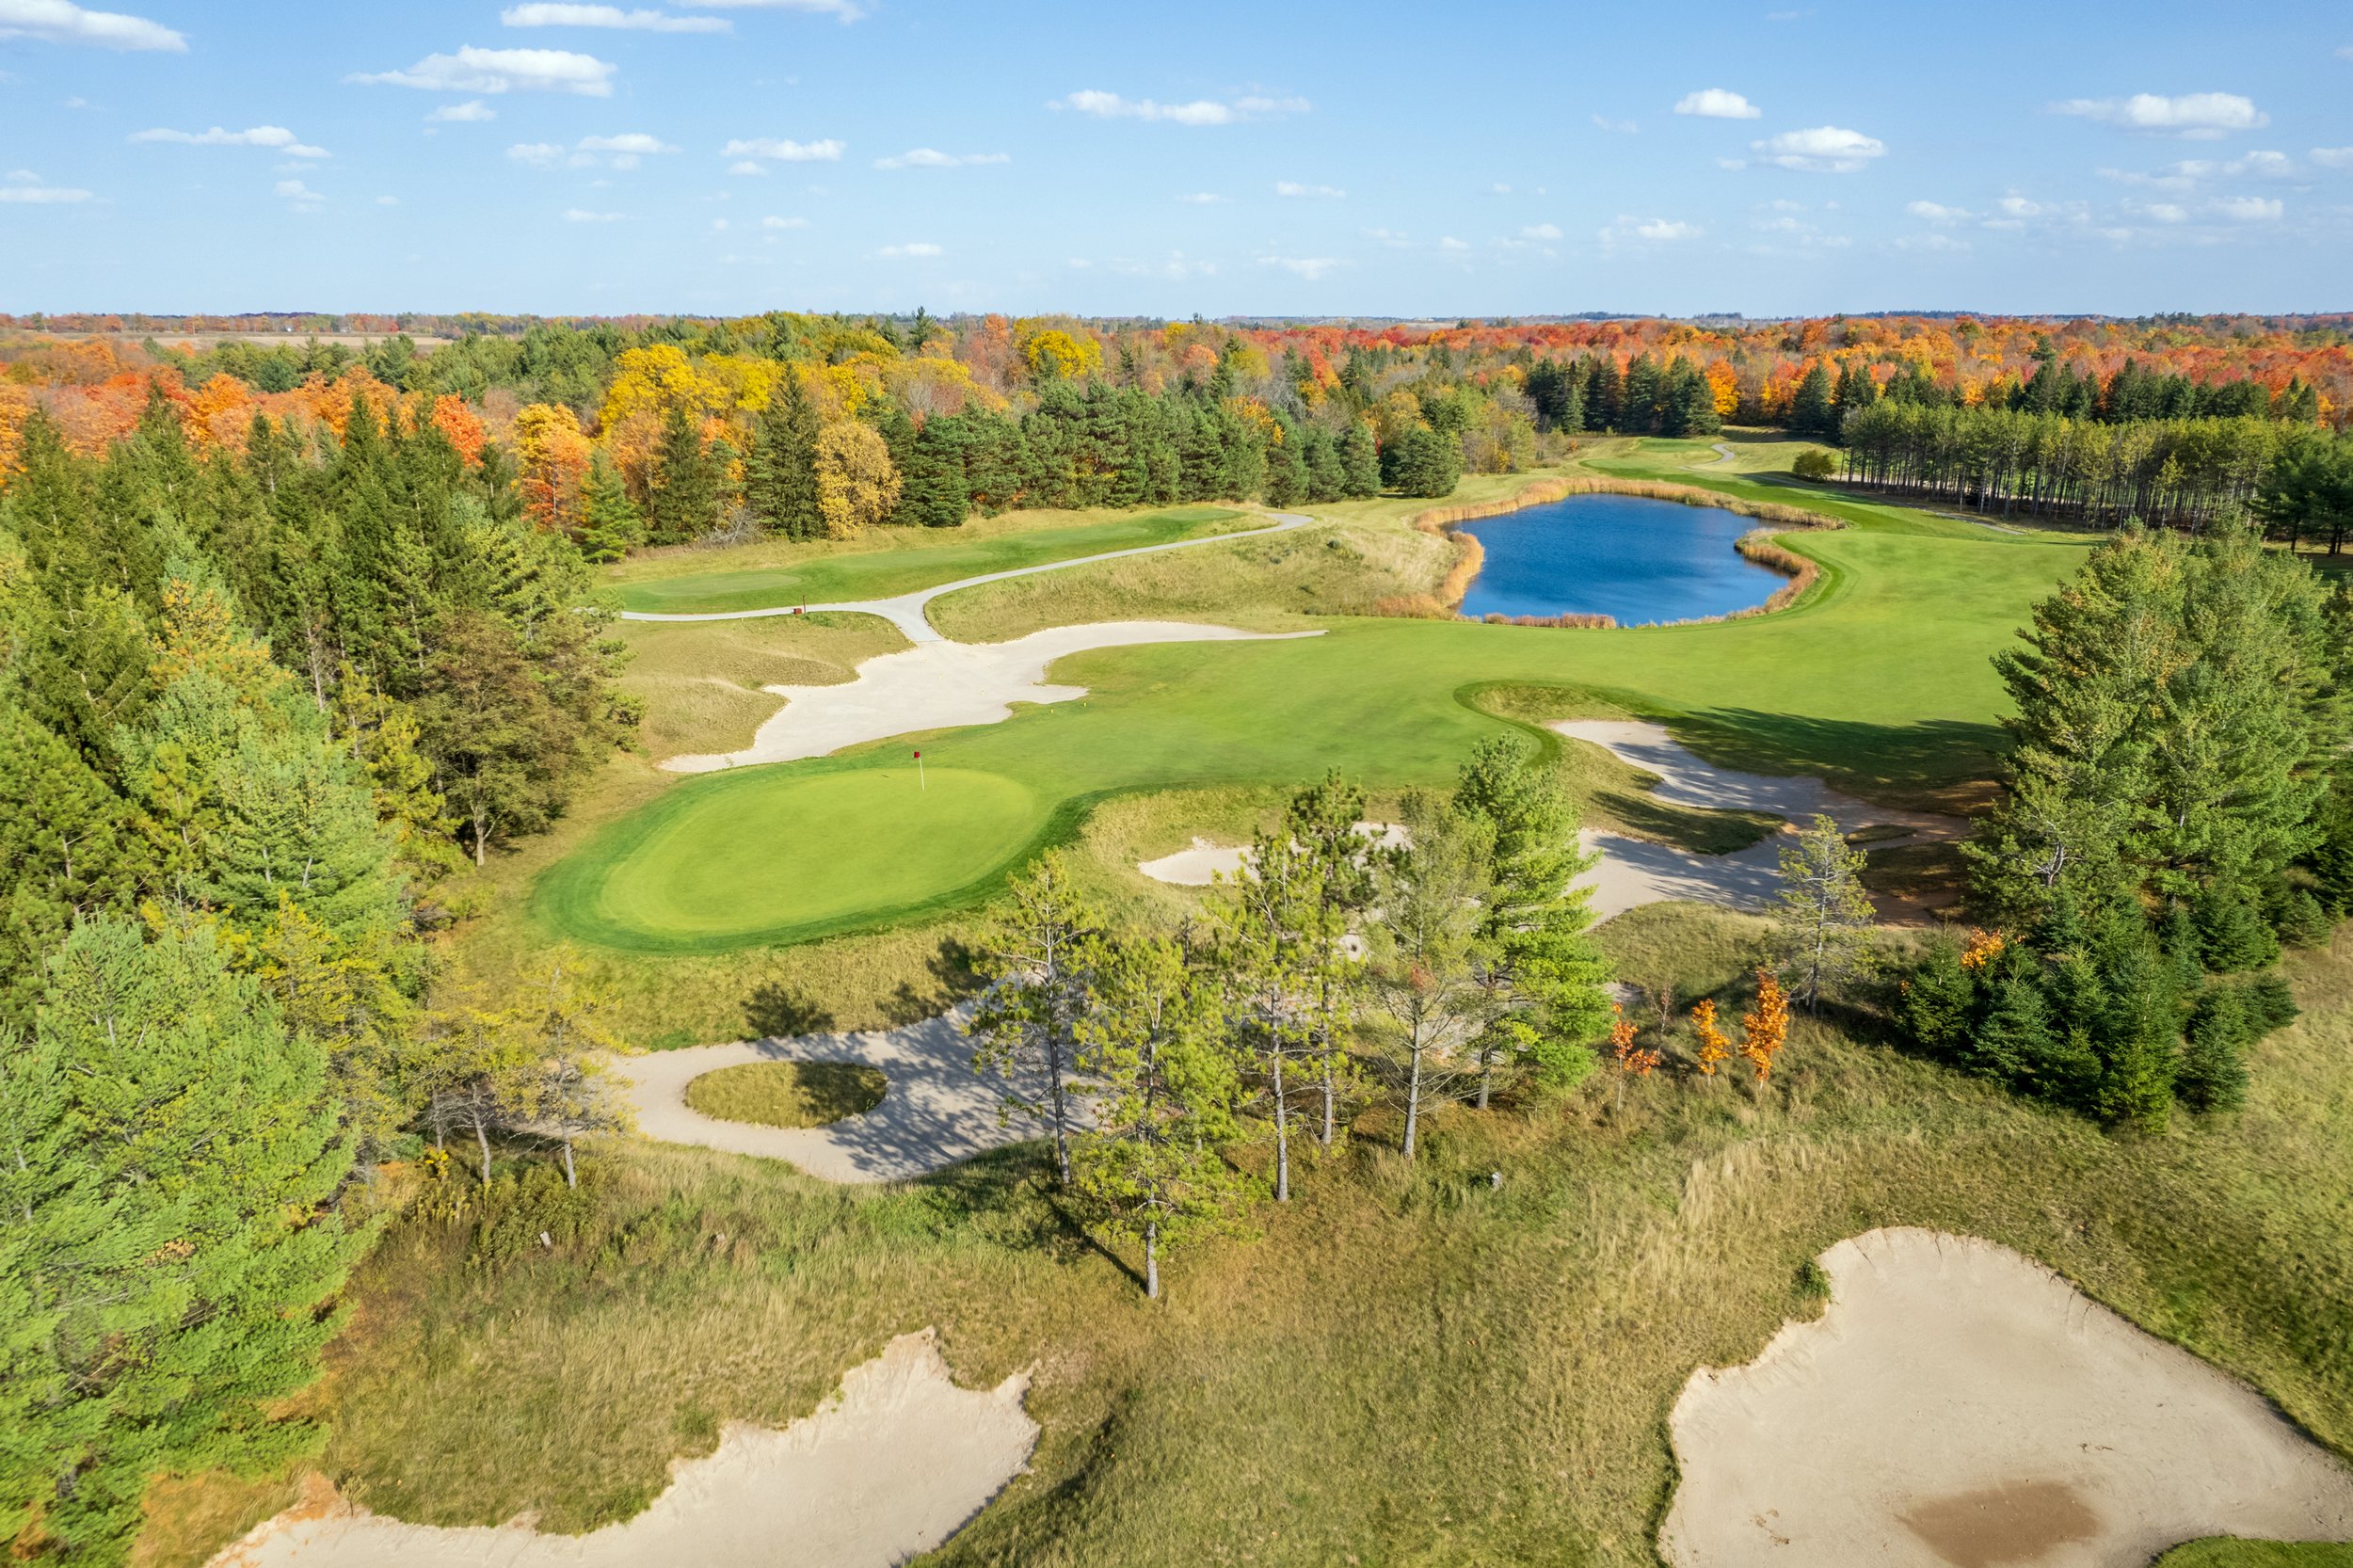
13th Hole
13th Hole
13th Hole
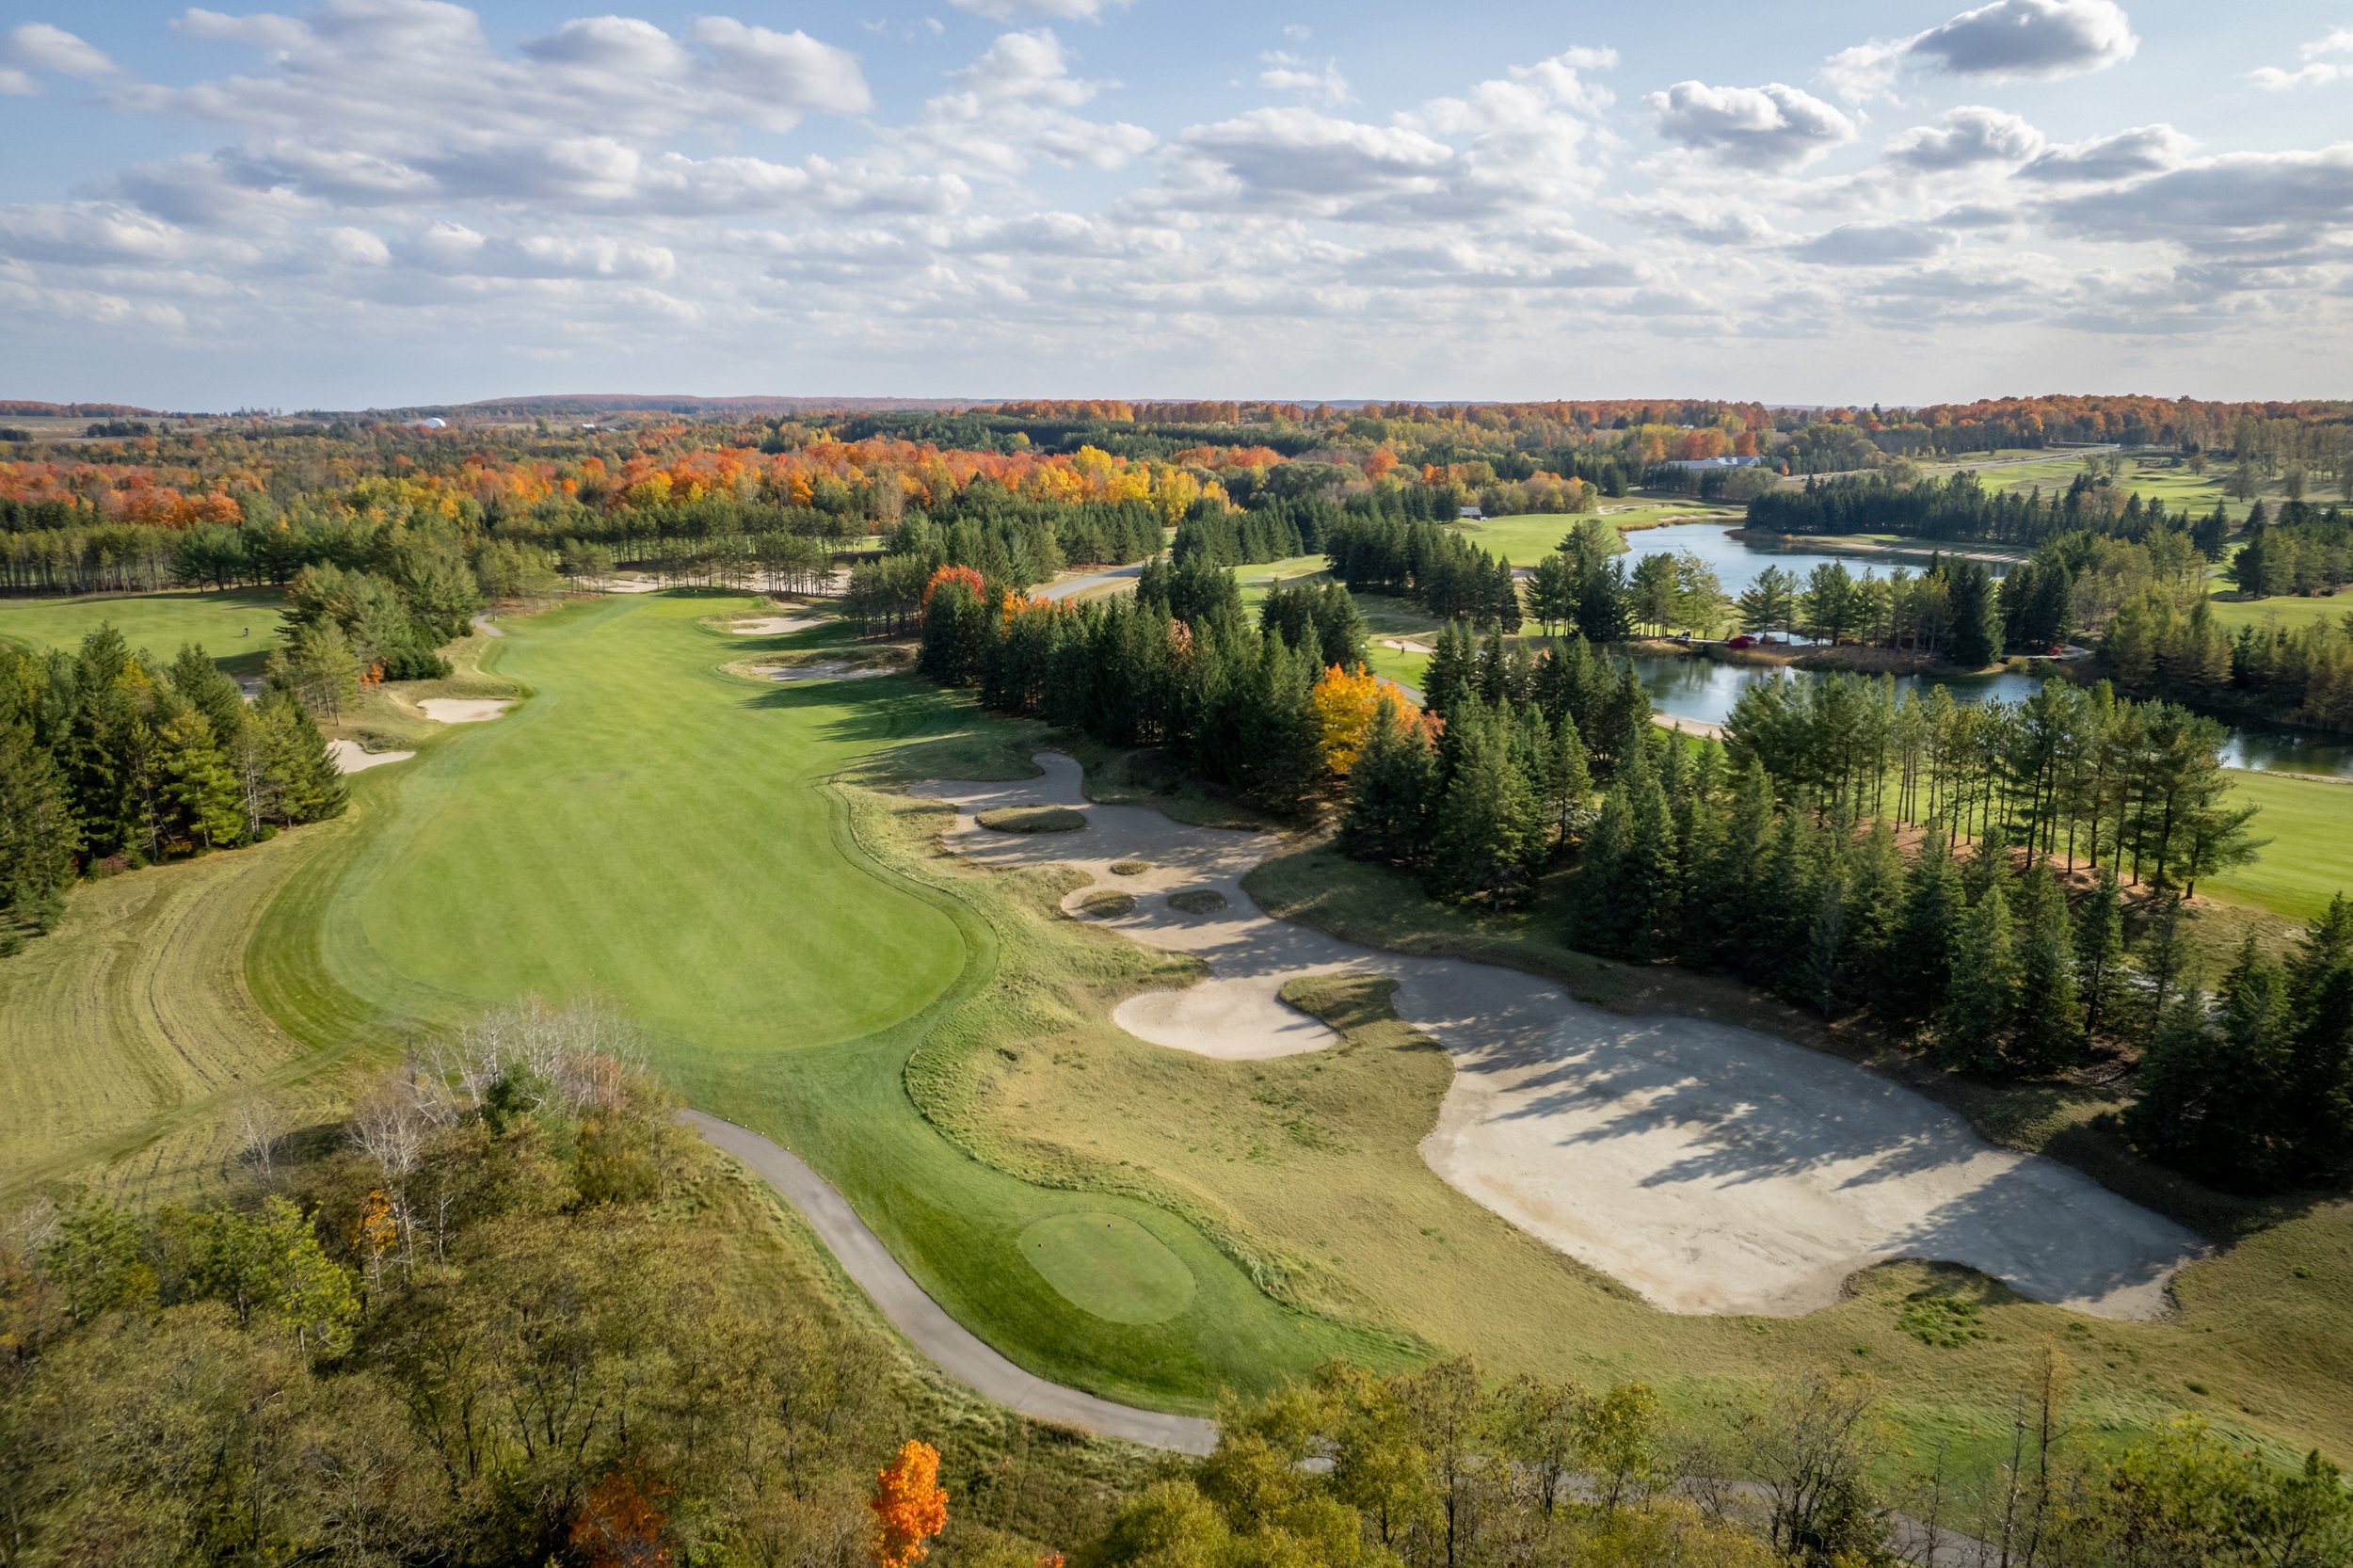
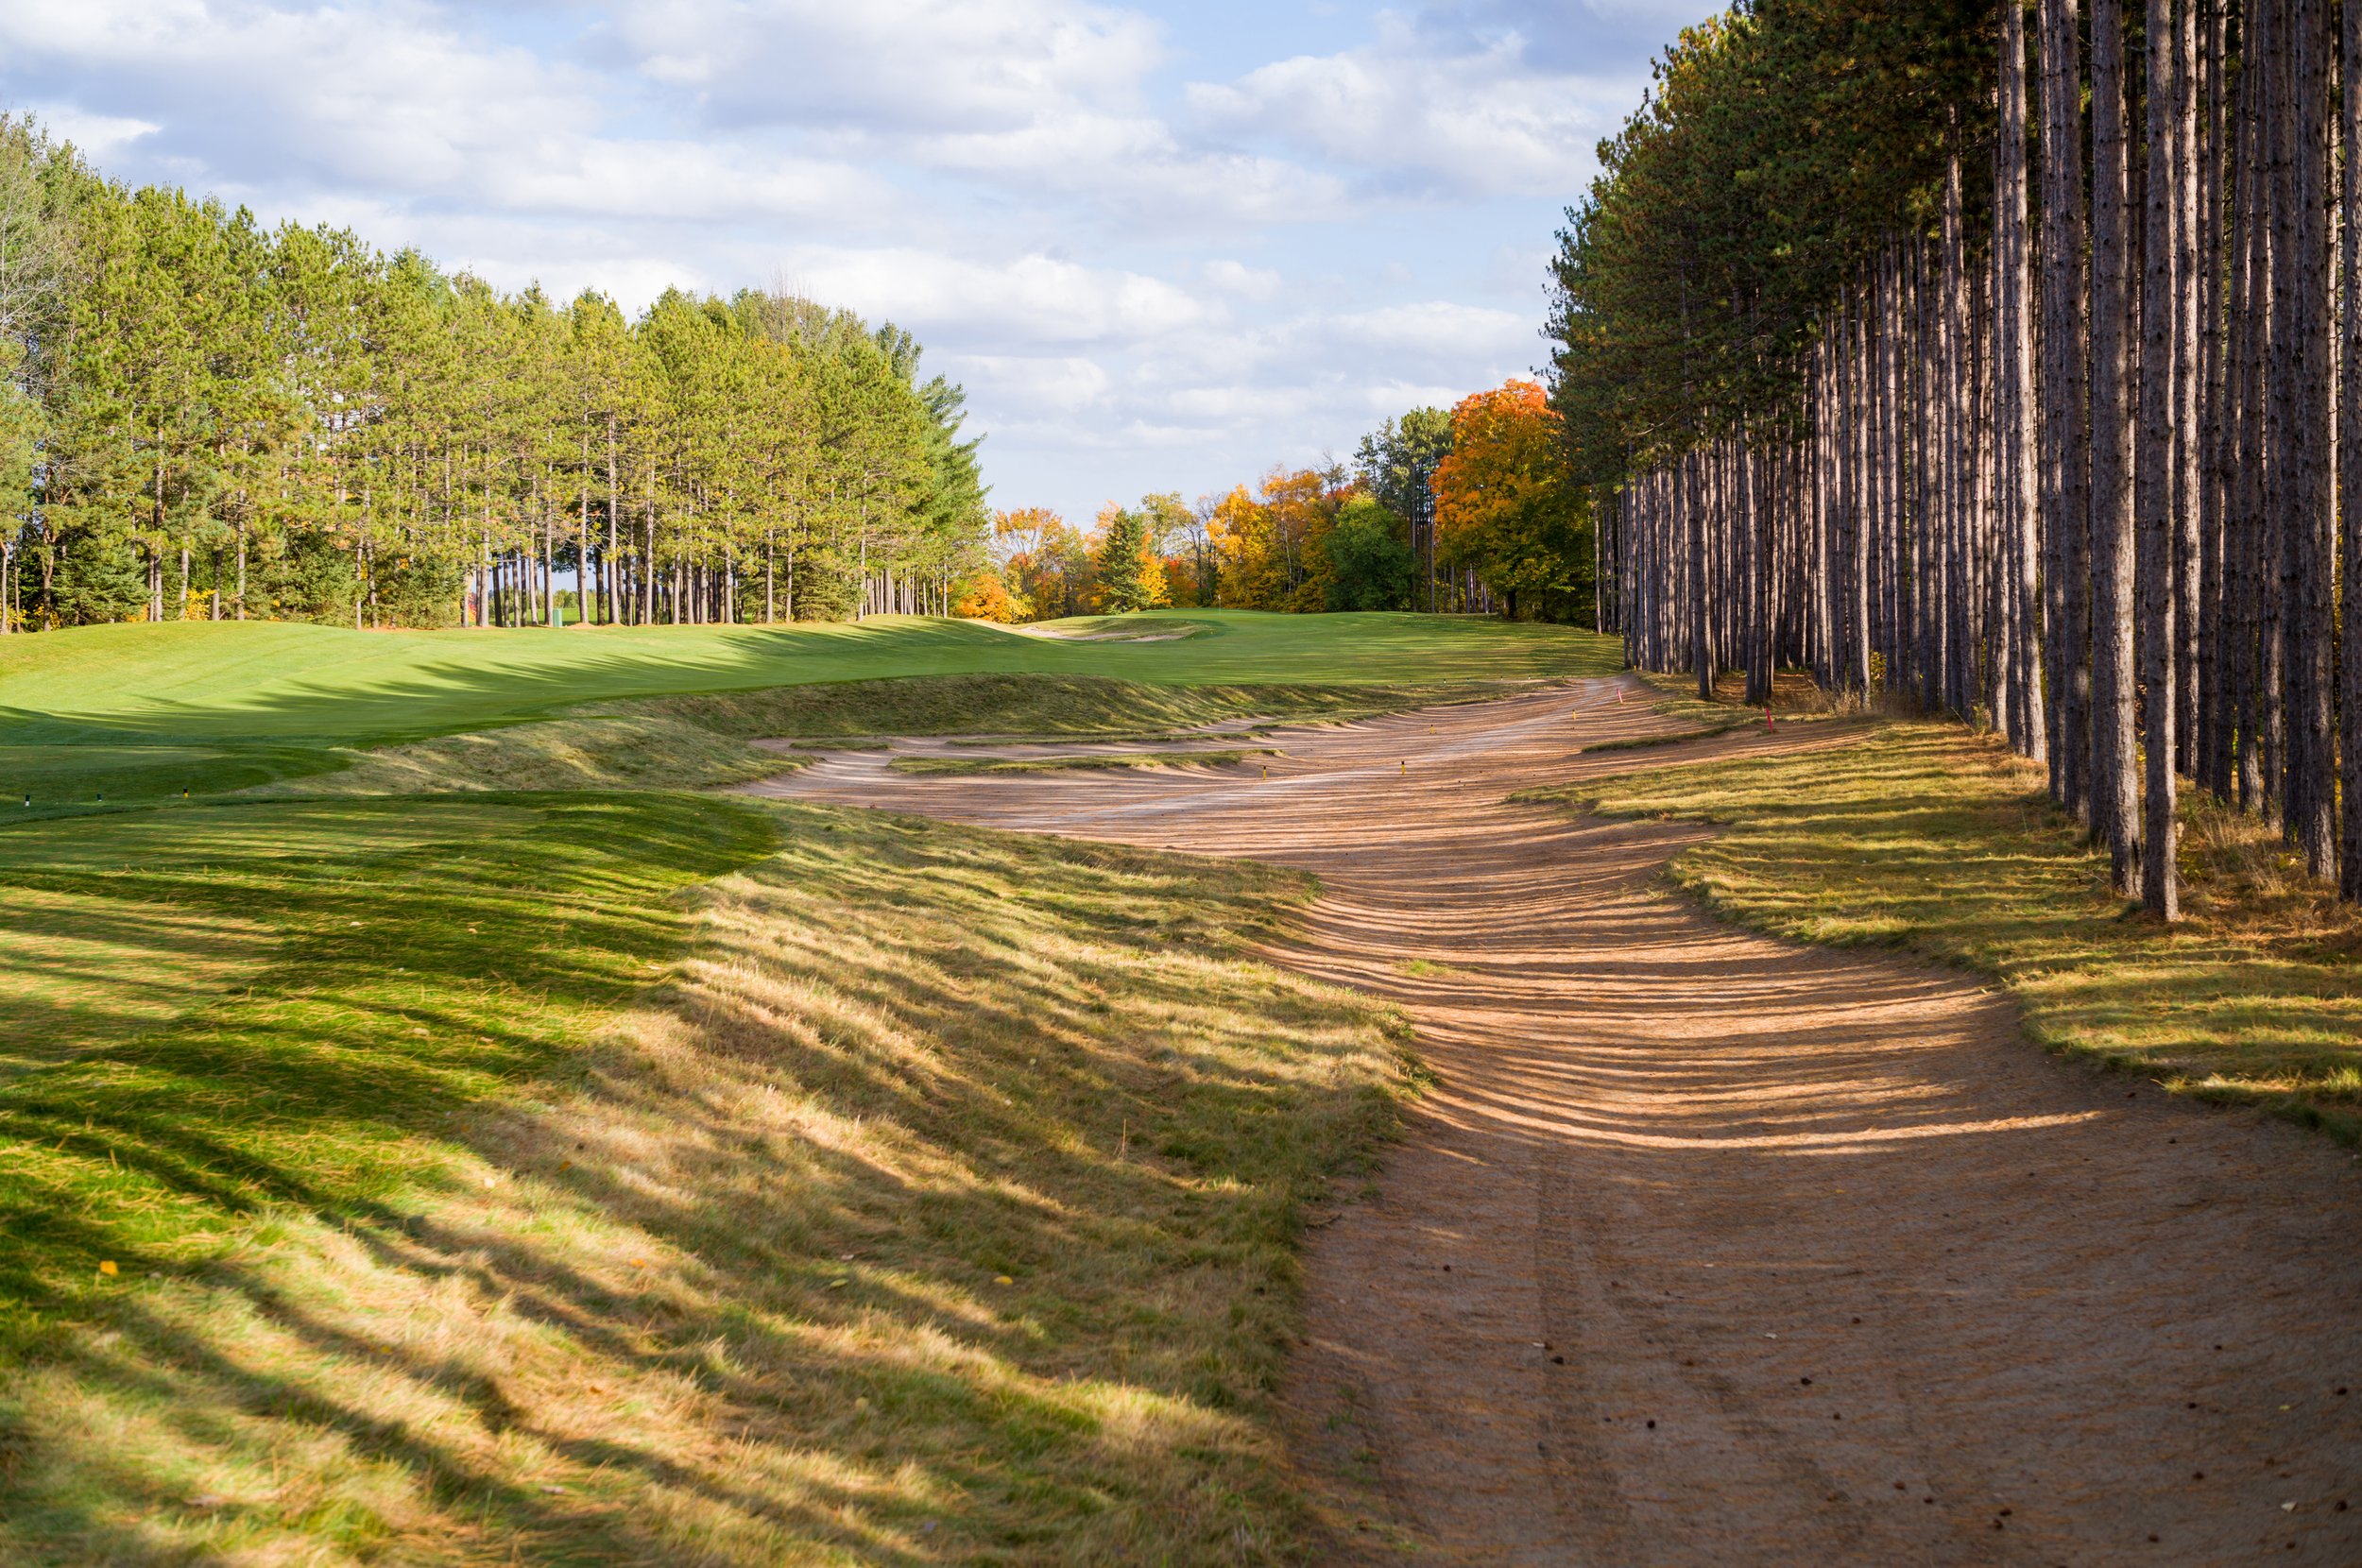
14th Hole - Photo by Chris Fry

14th Hole - Photo by Chris Fry

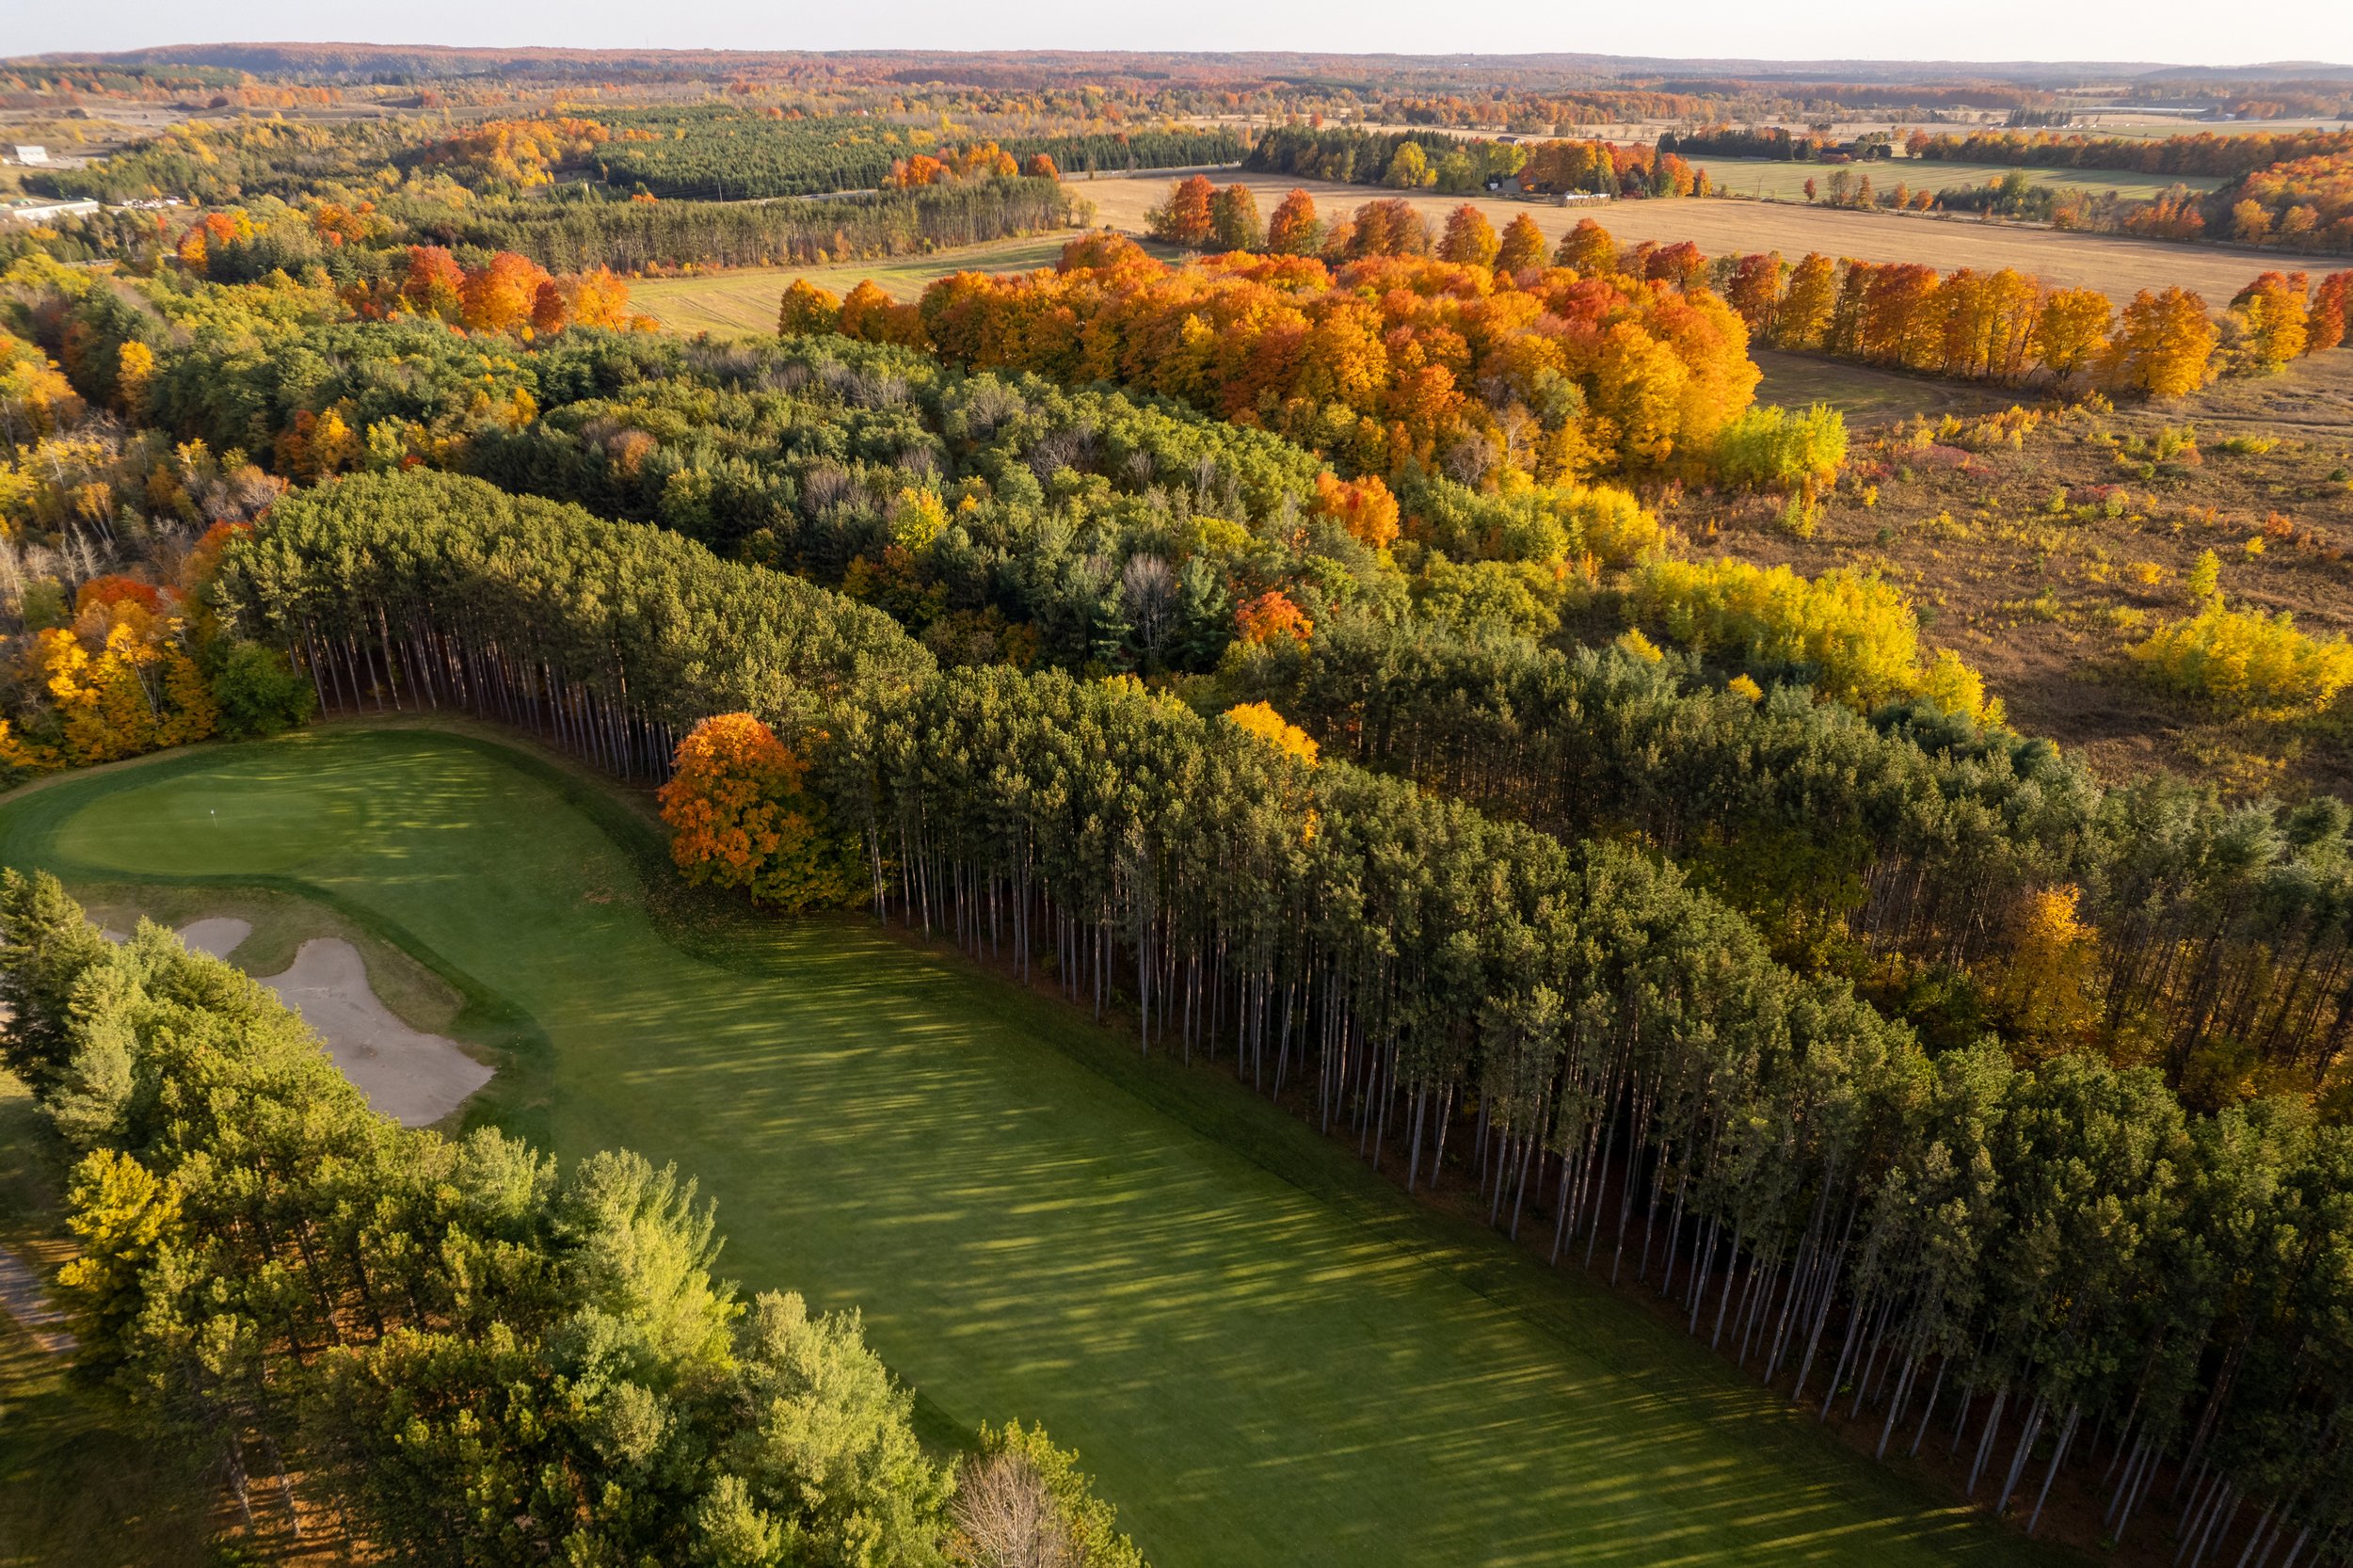
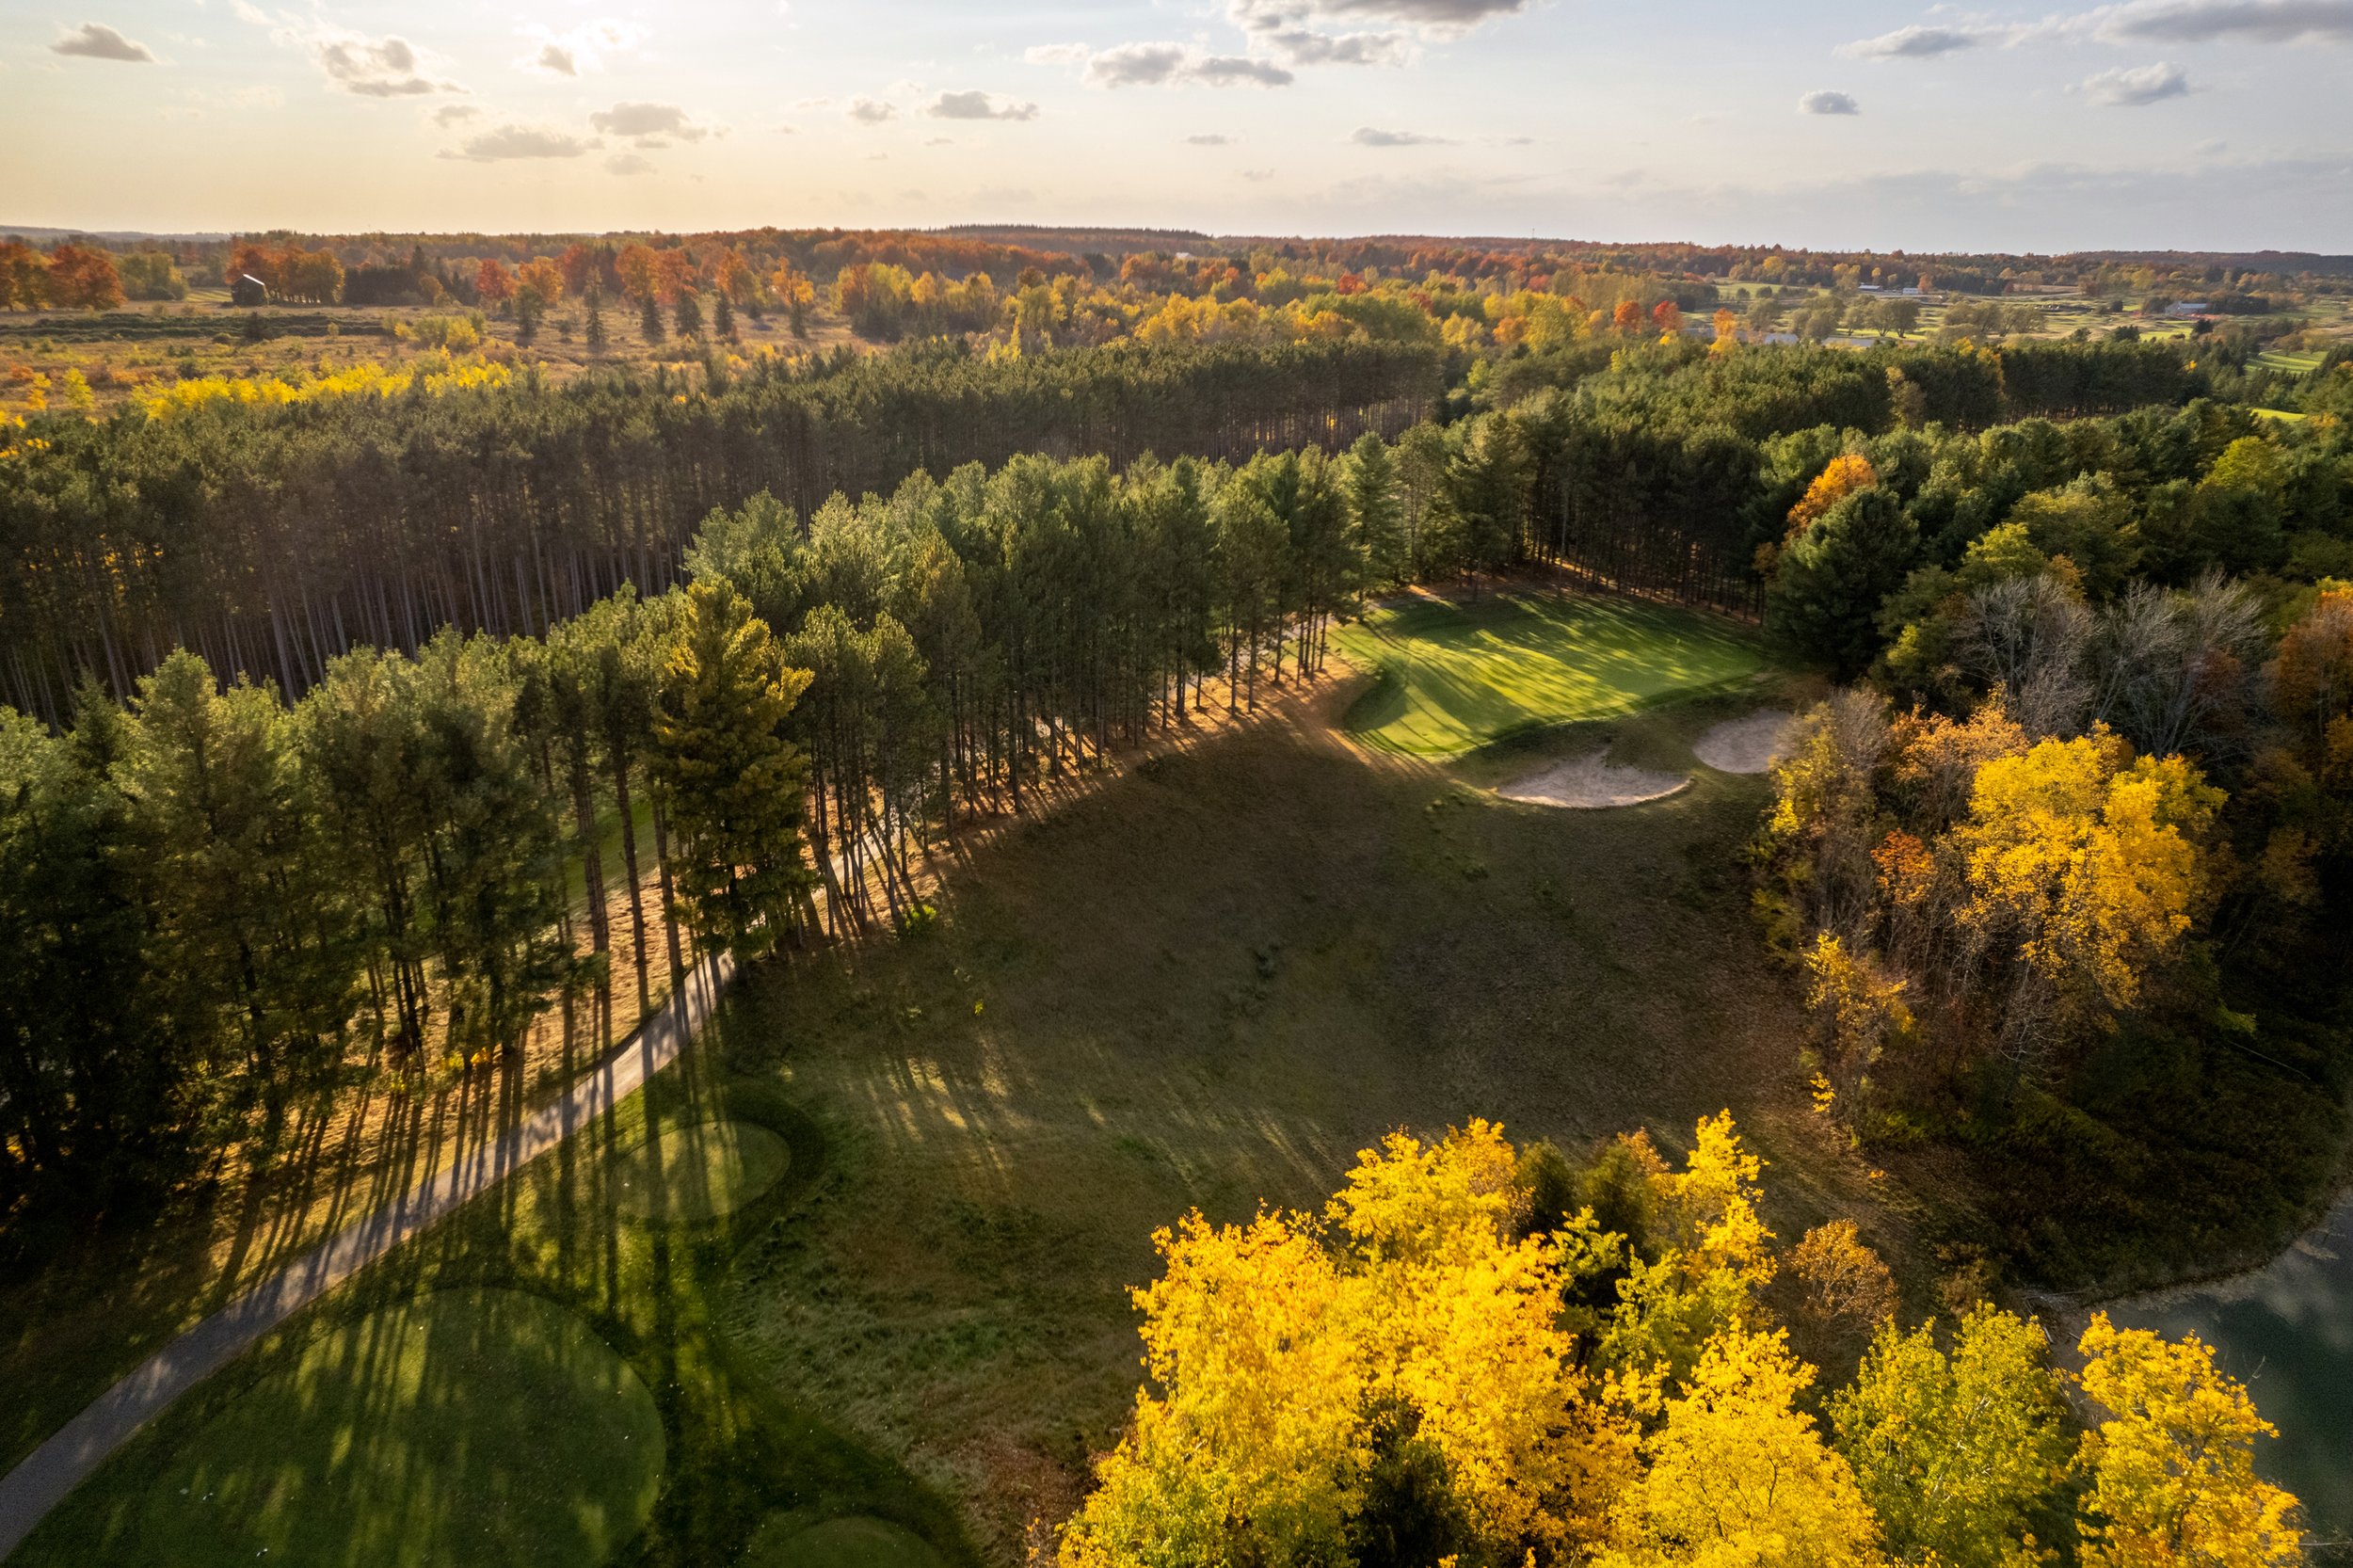
15h Hole
15th Hole - Photo by Chris Fry
15th Hole - Photo by Chris Fry
15th Hole - Photo by Chris Fry
16th Hole
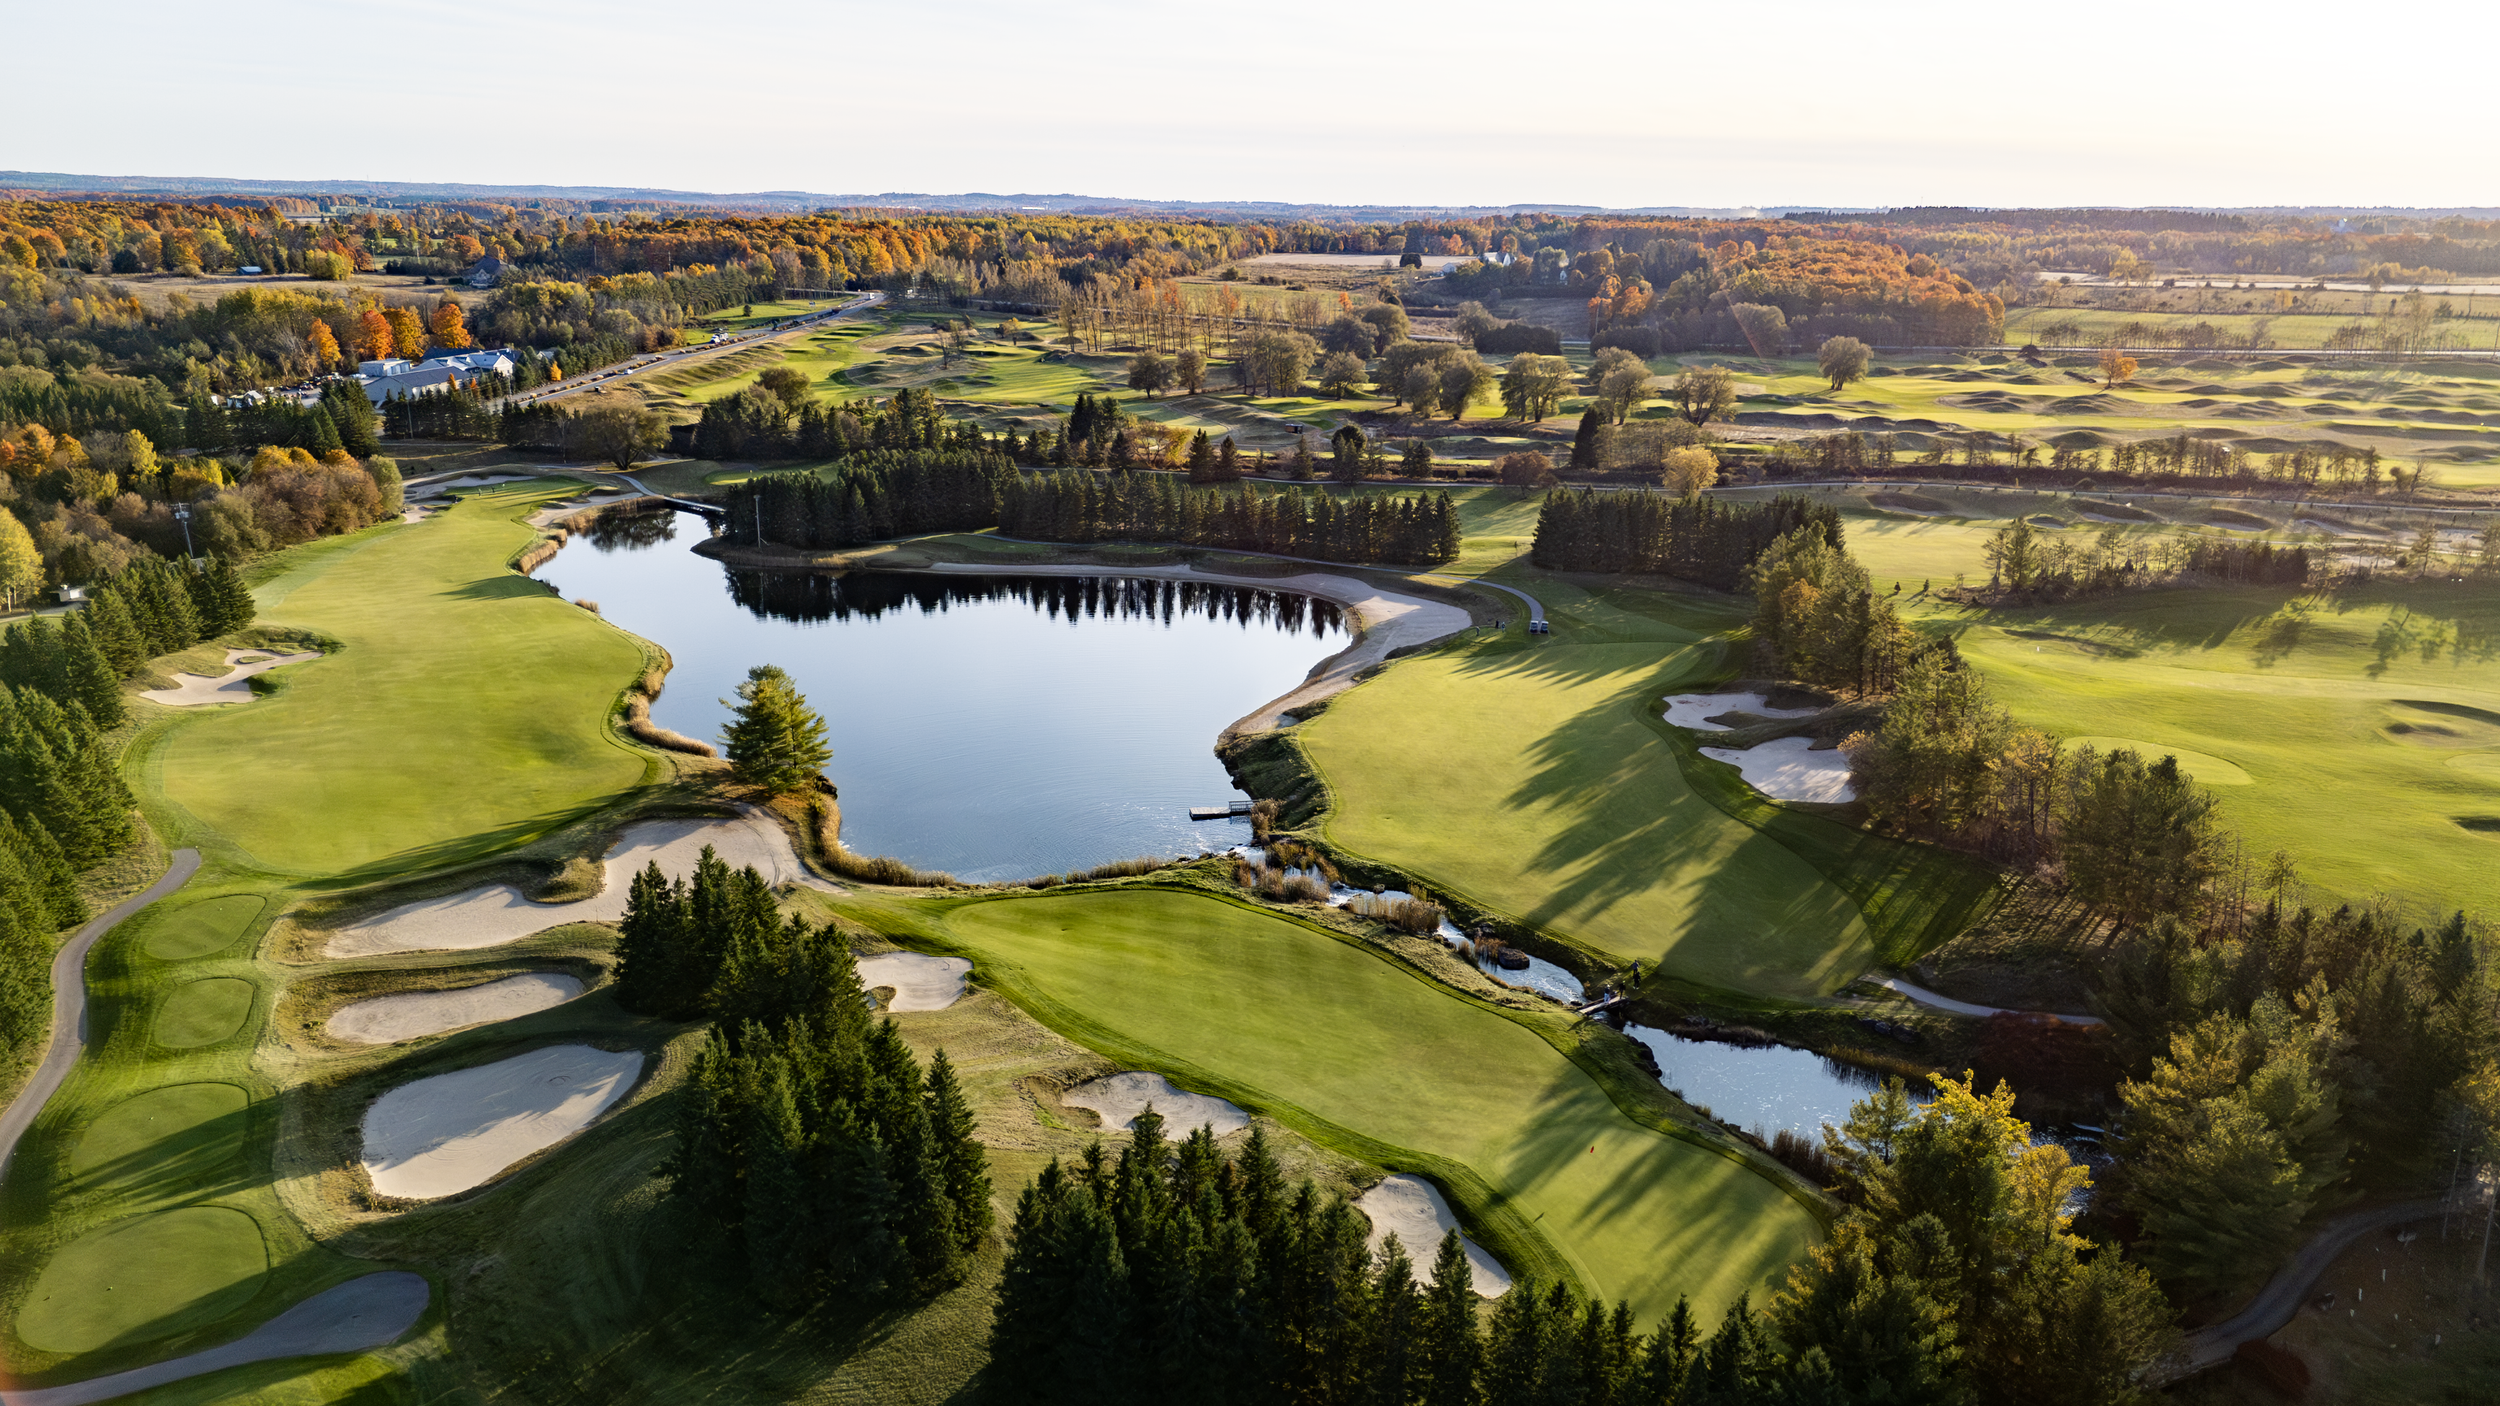
1st and 16th Holes - Photo by Chris Fry
1st and 16th Holes - Photo by Chris Fry

16th Hole - Photo by Chris Fry
1st, 16th and 16th Holes - Photo by Chris Fry
1st, 16th and 16th Holes - Photo by Chris Fry
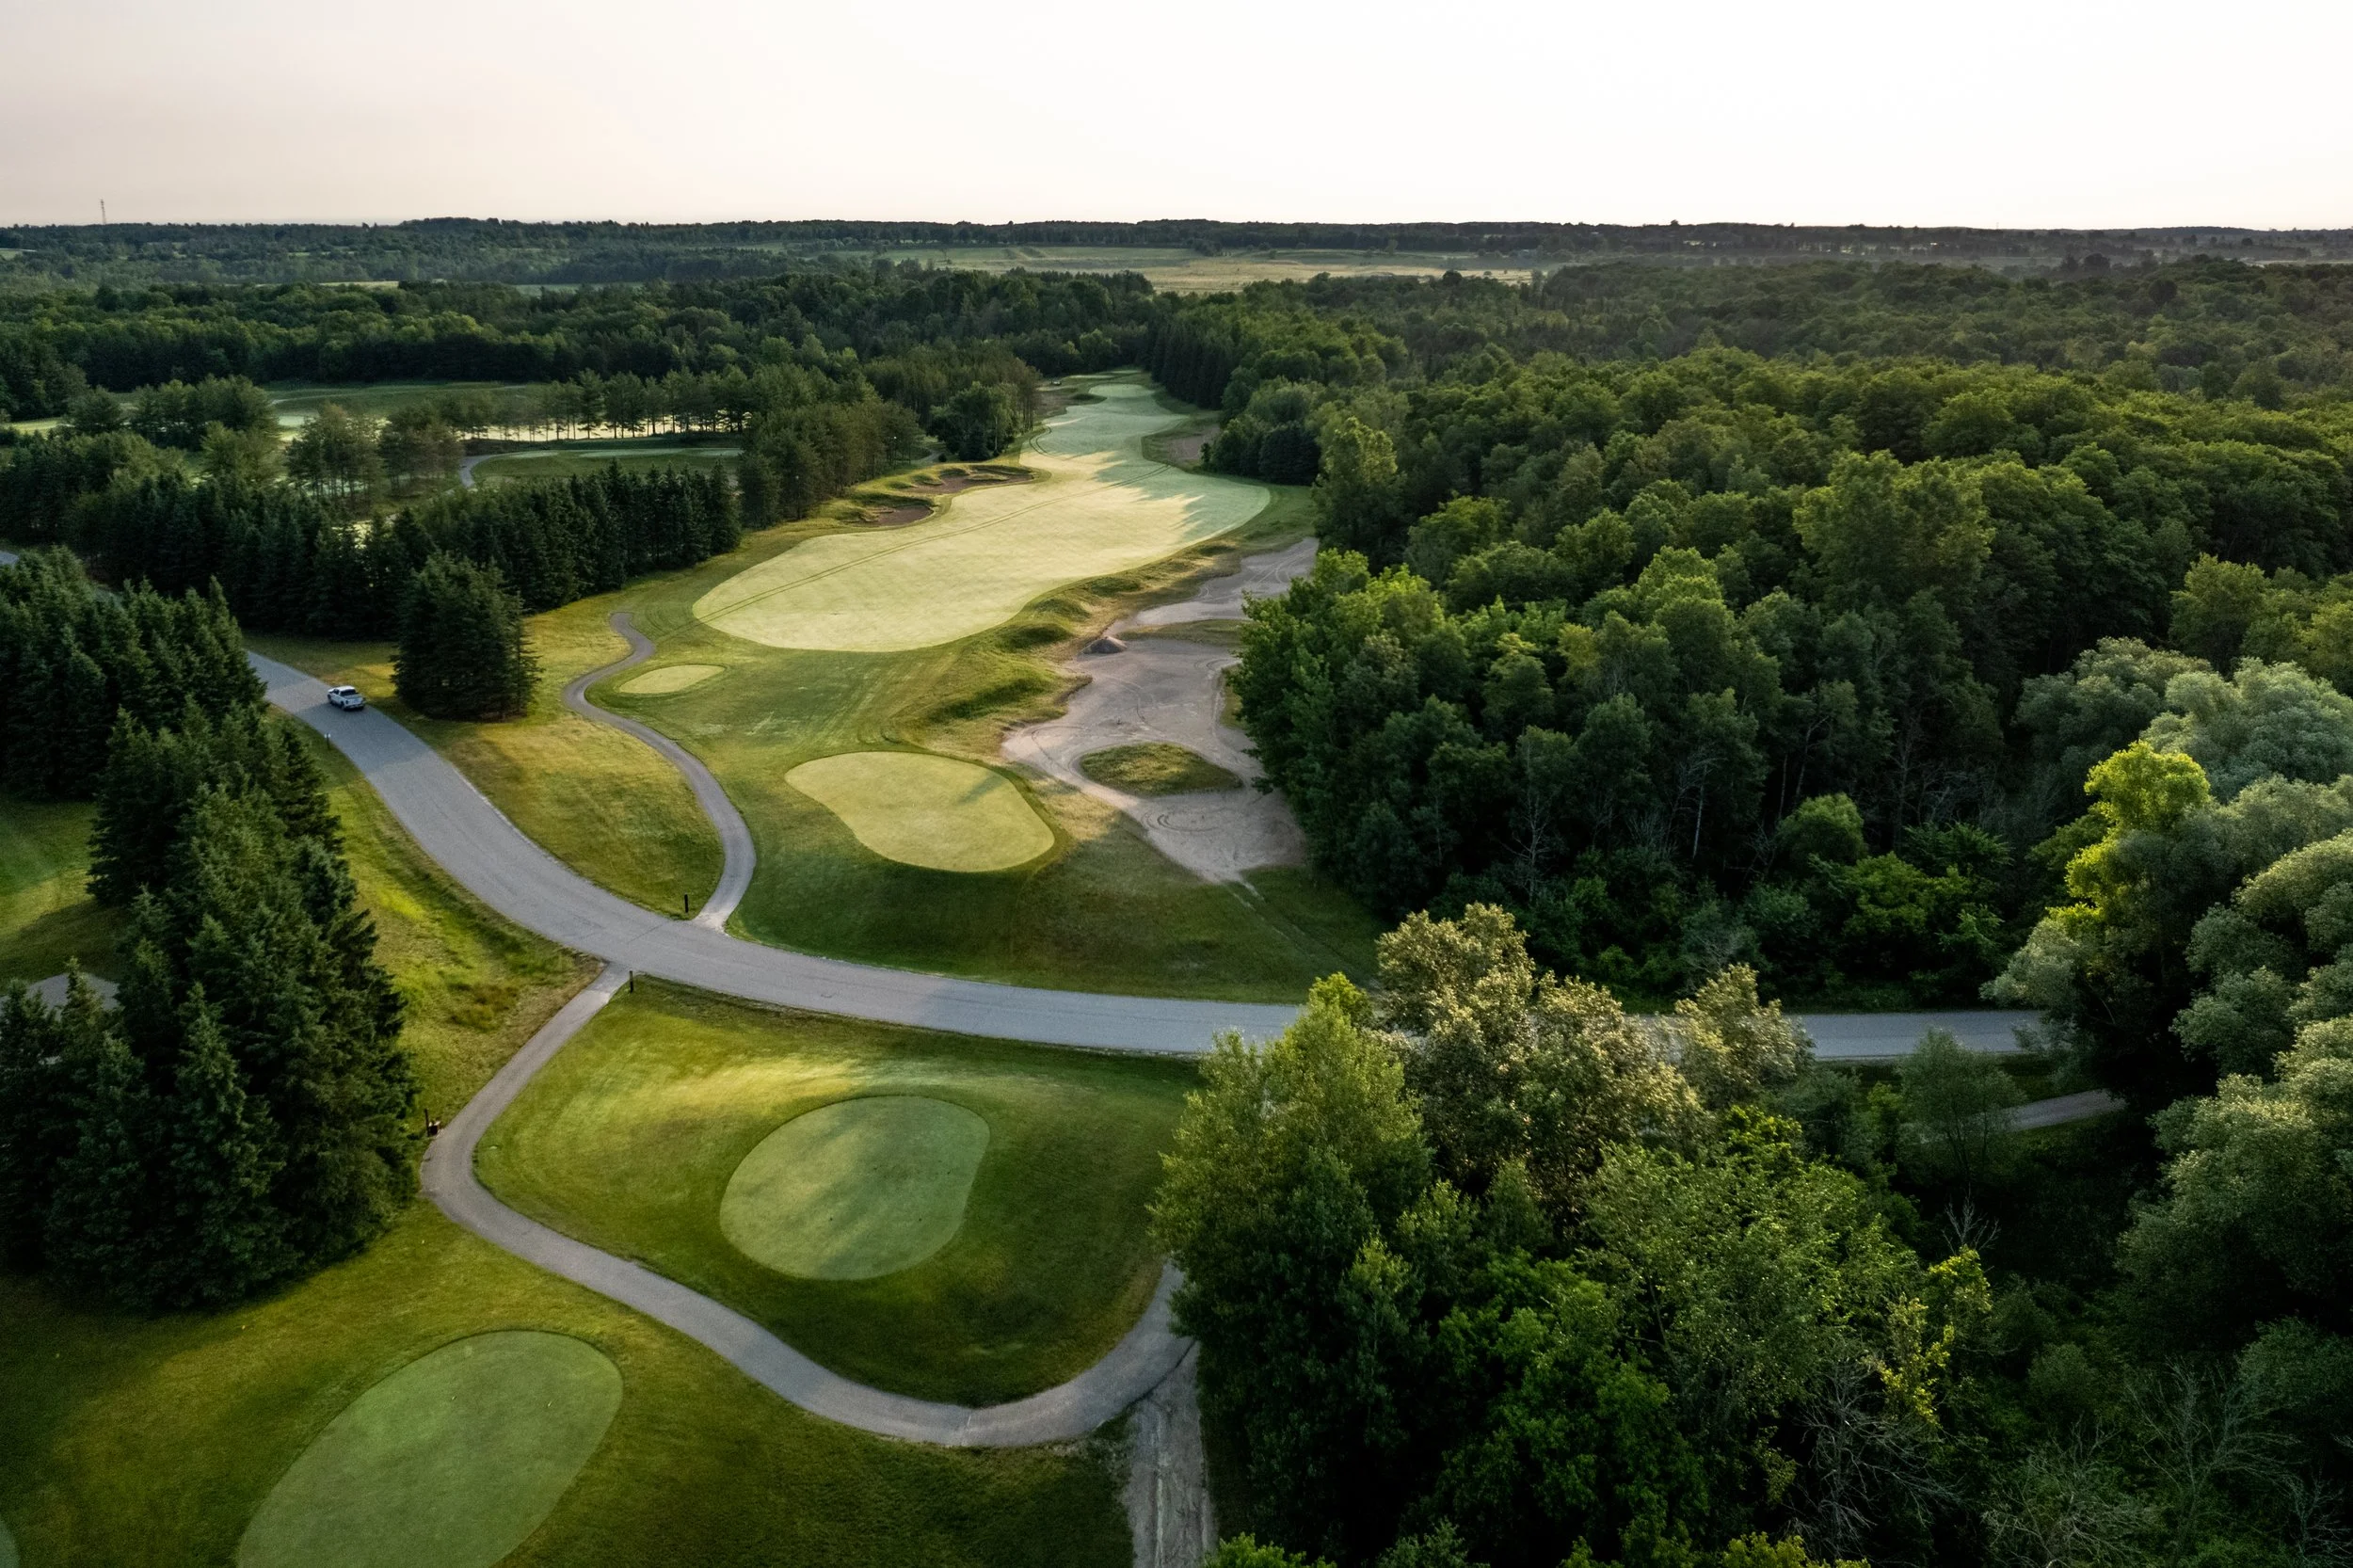
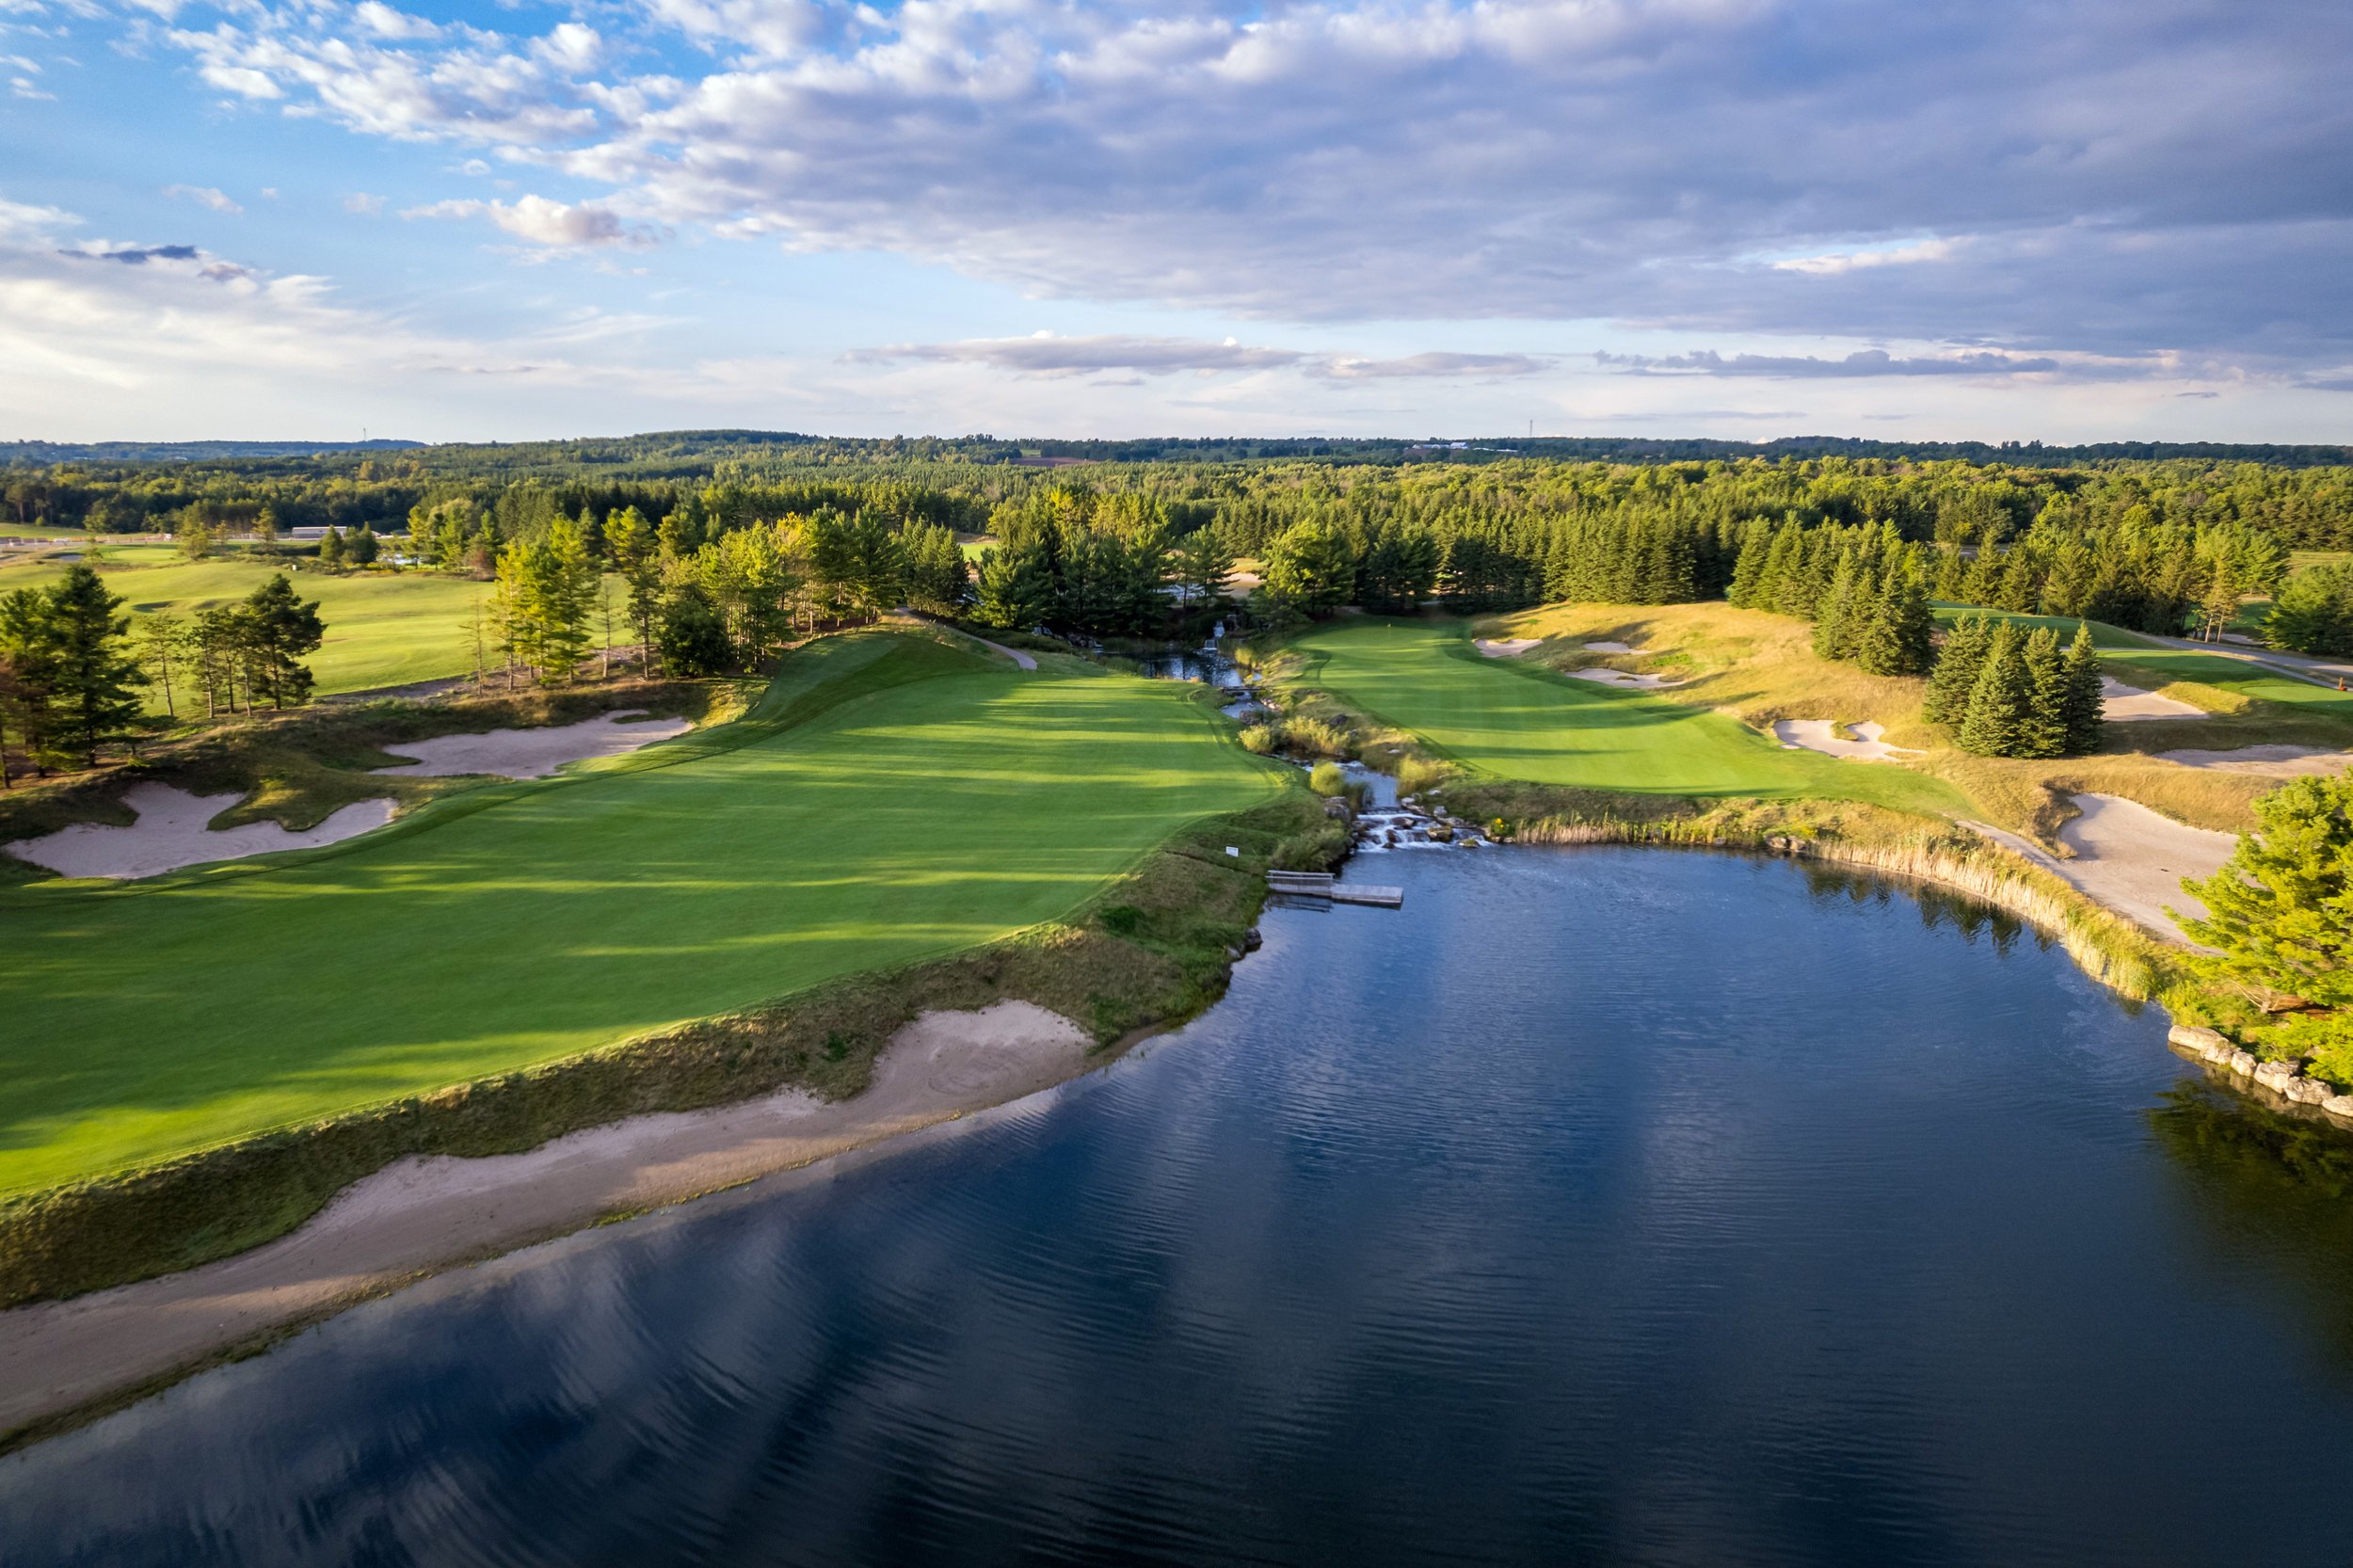
16th and 17th Holes - by Chris Fry
16th Holes - Photo by Chris Fry
16th and 17th Holes
Hoot #17 - Photo by Chris Fry
Hoot #17 - Photo by Chris Fry
Hoot #17 - Photo by Chris Fry
Hoot #17 - Photo by Chris Fry
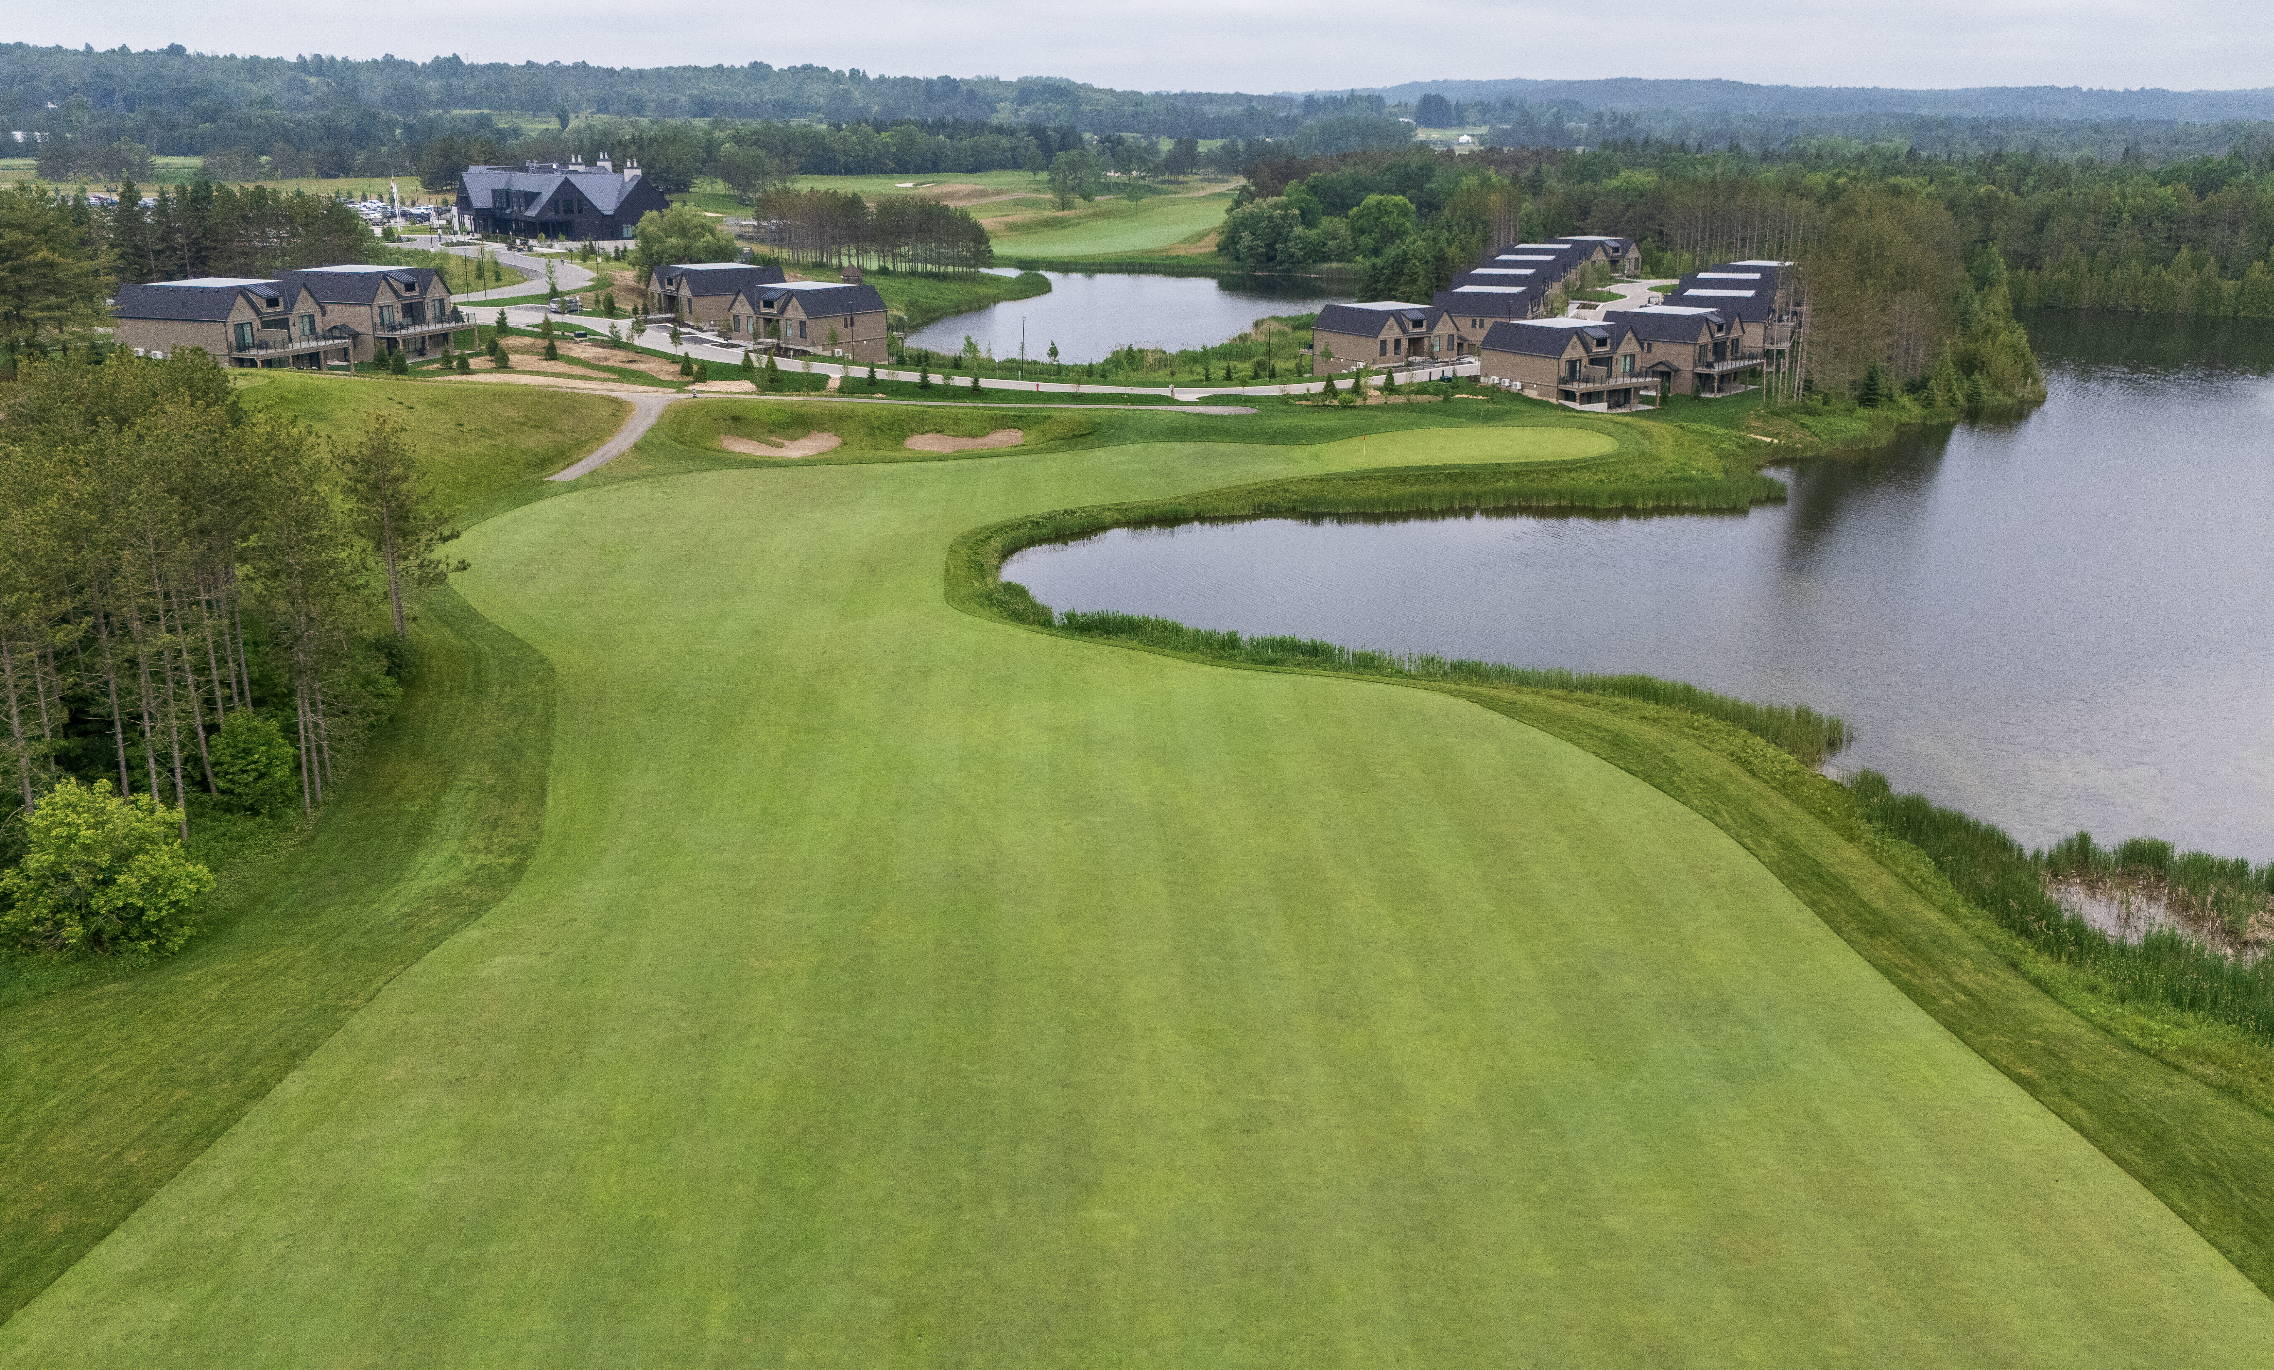
Hoot #18 - Photo by Chris Fry
Hoot #18 - Photo by Chris Fry
